CGI hair
In late 2017 I started learning how to make CGI hair in Blender. I’d watched some videos from Pixar showing how their fur and hair technology had improved over the years, and it seemed like a fun area to explore myself.
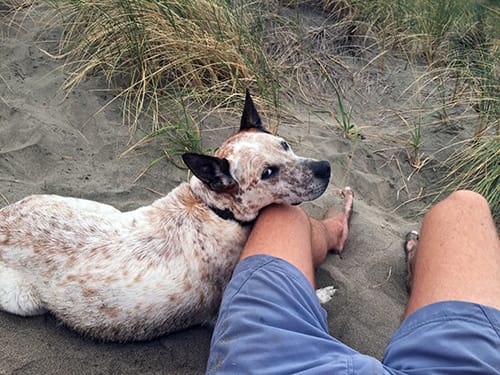
The hair I knew best belonged to Sam, and I wondered if I could reproduce his spotty coat.
I began slowly, working out how to change the shape of single strands of hair in Blender (Figure 2).
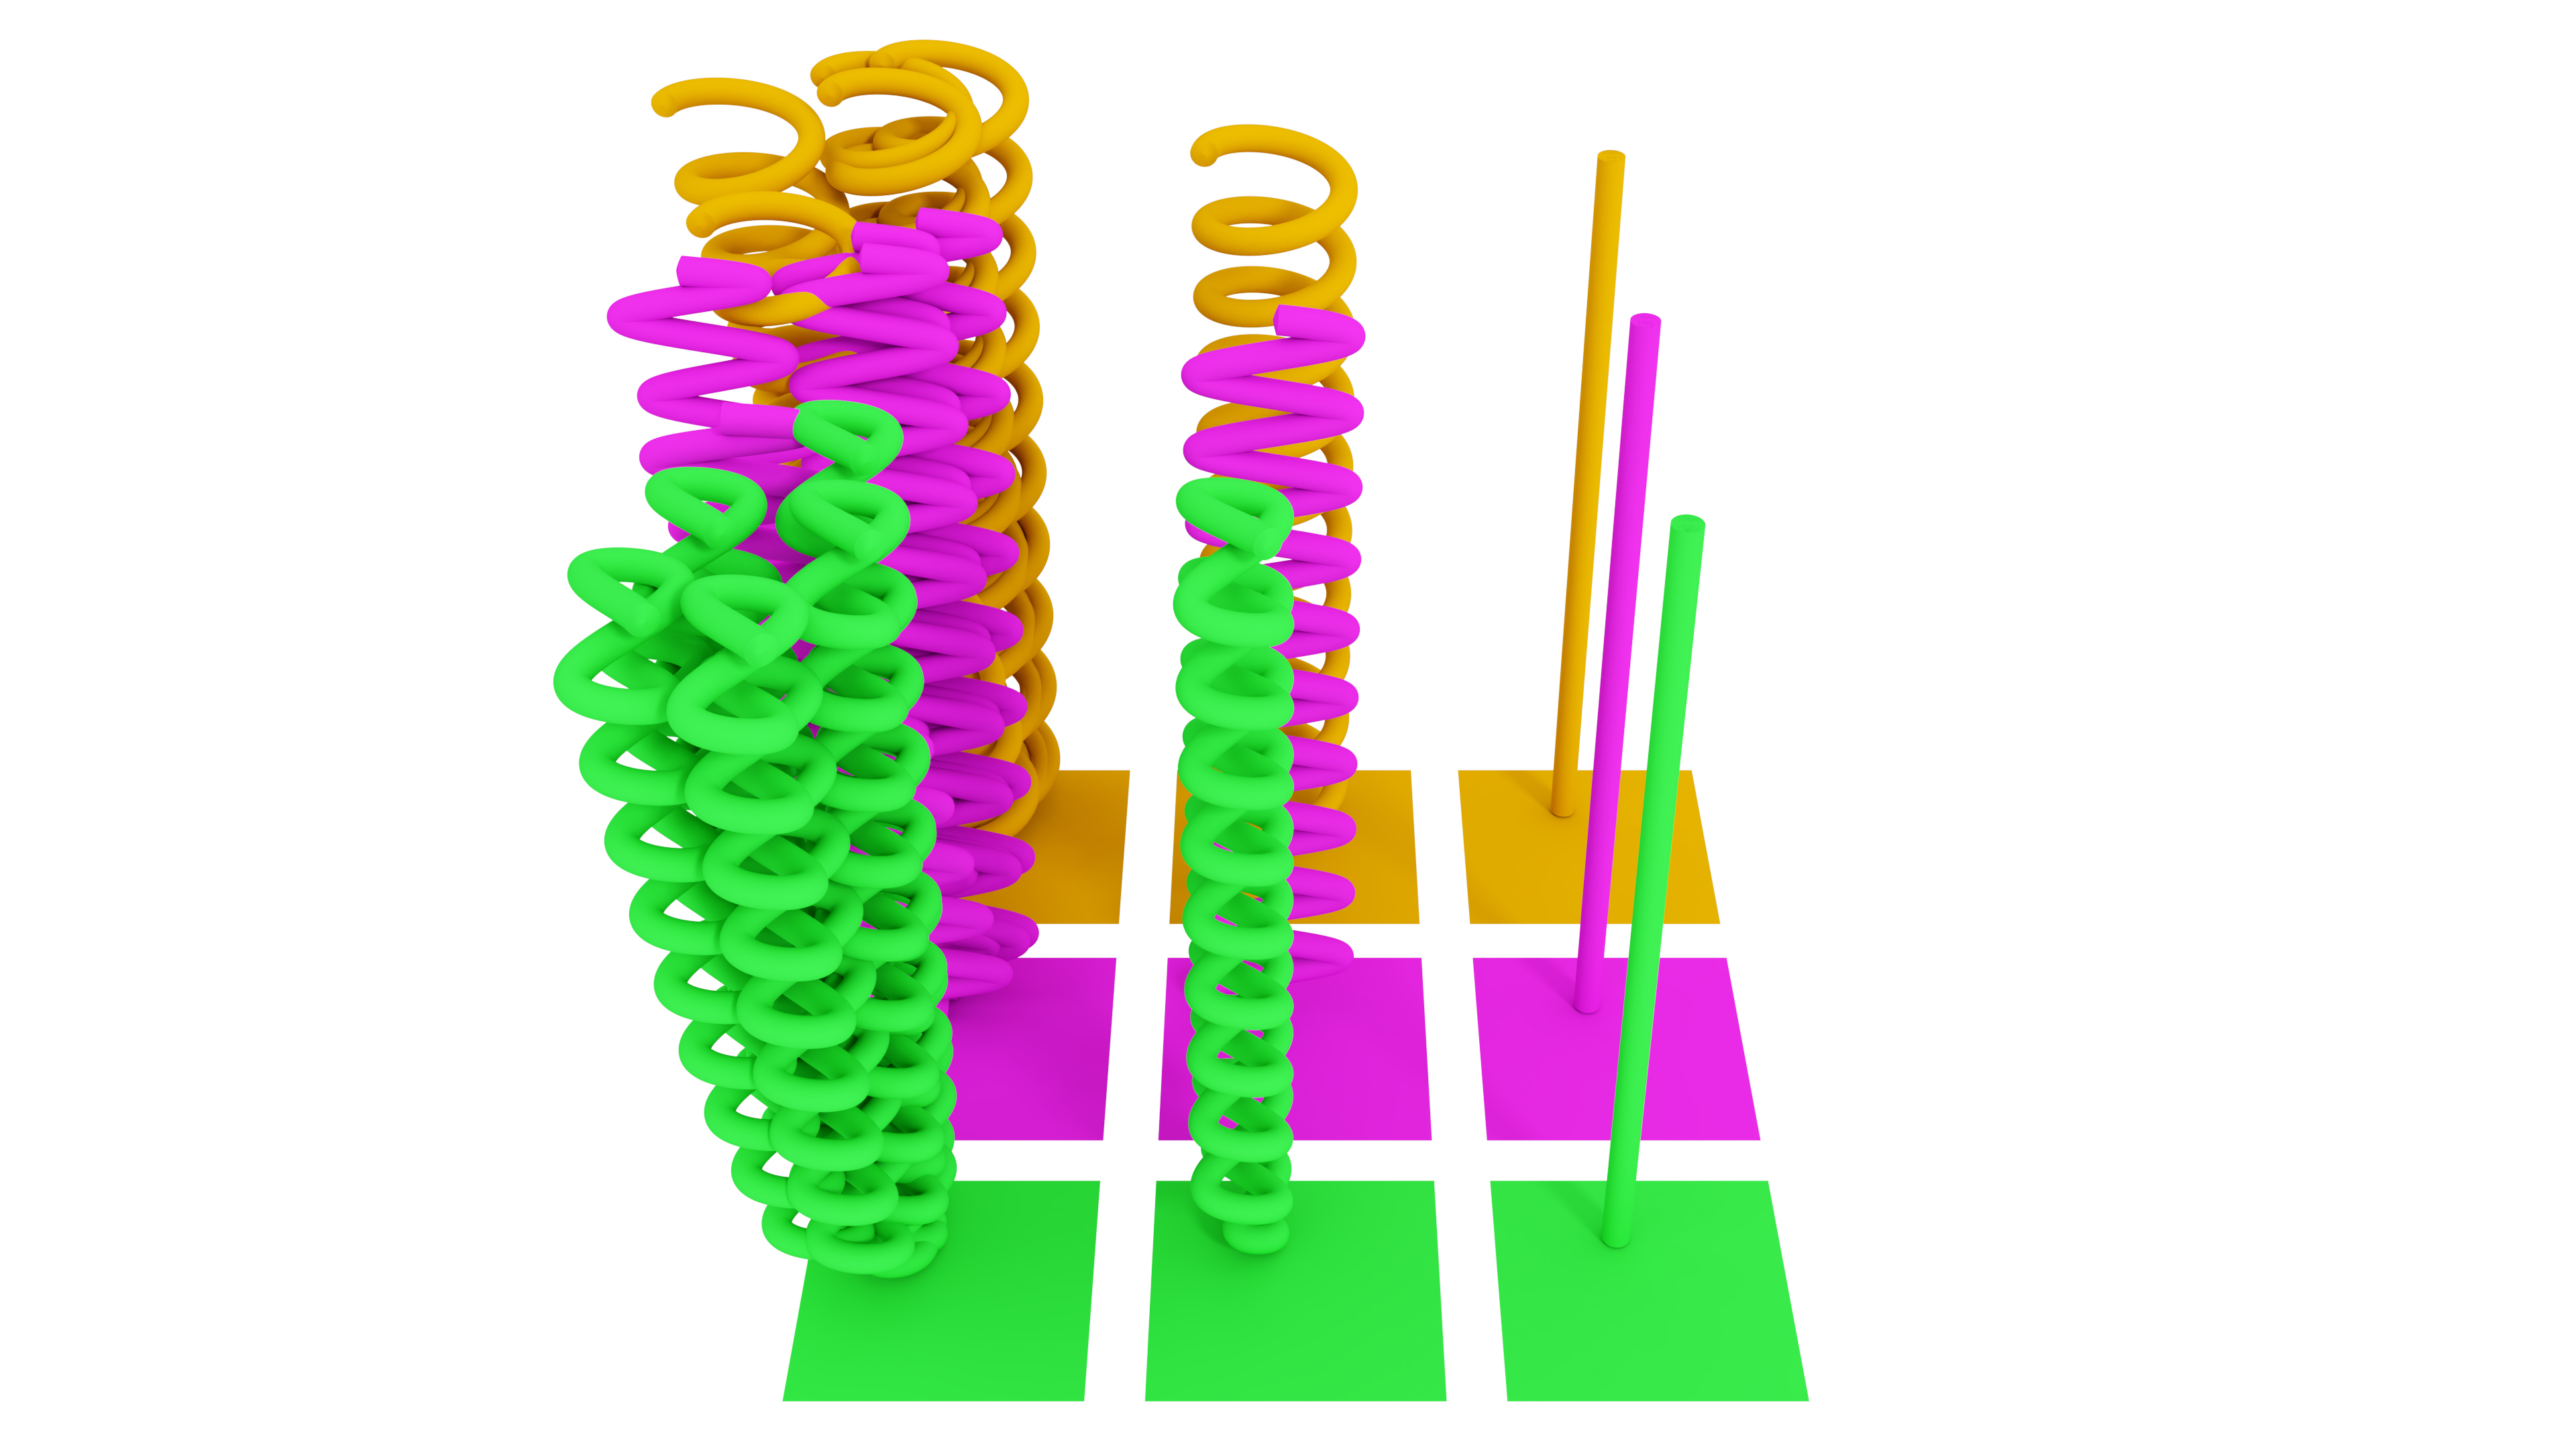
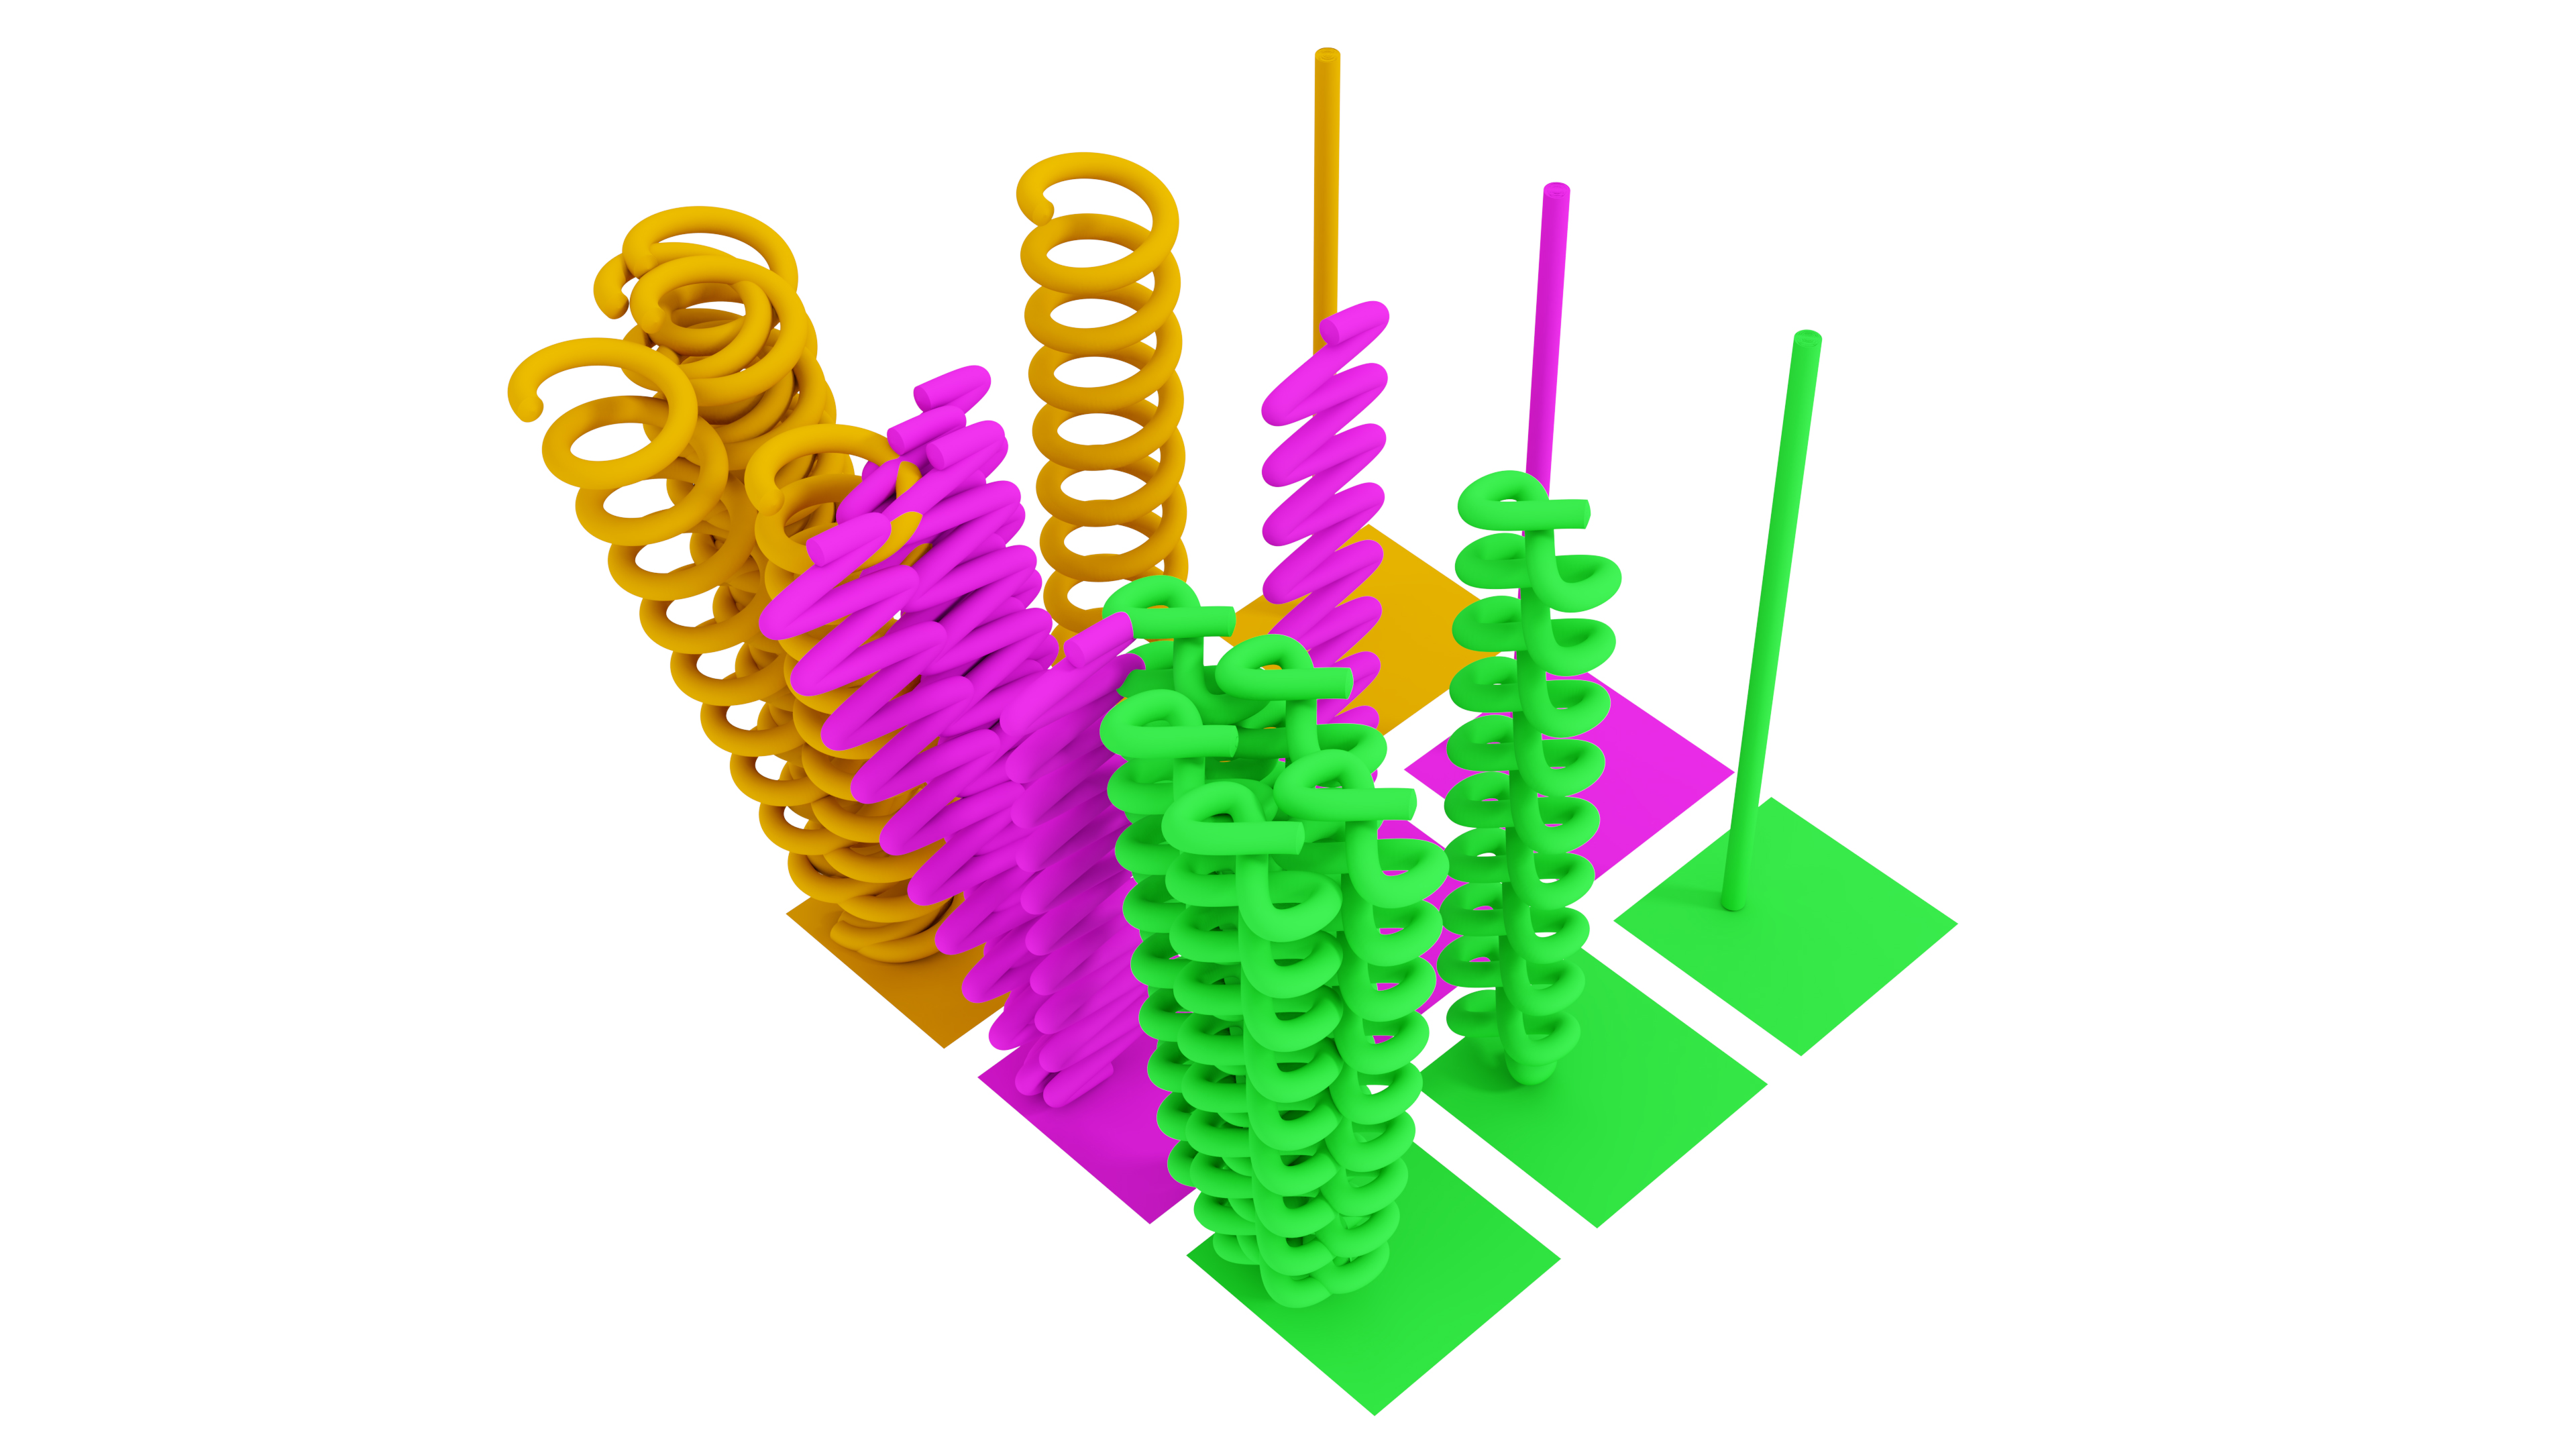
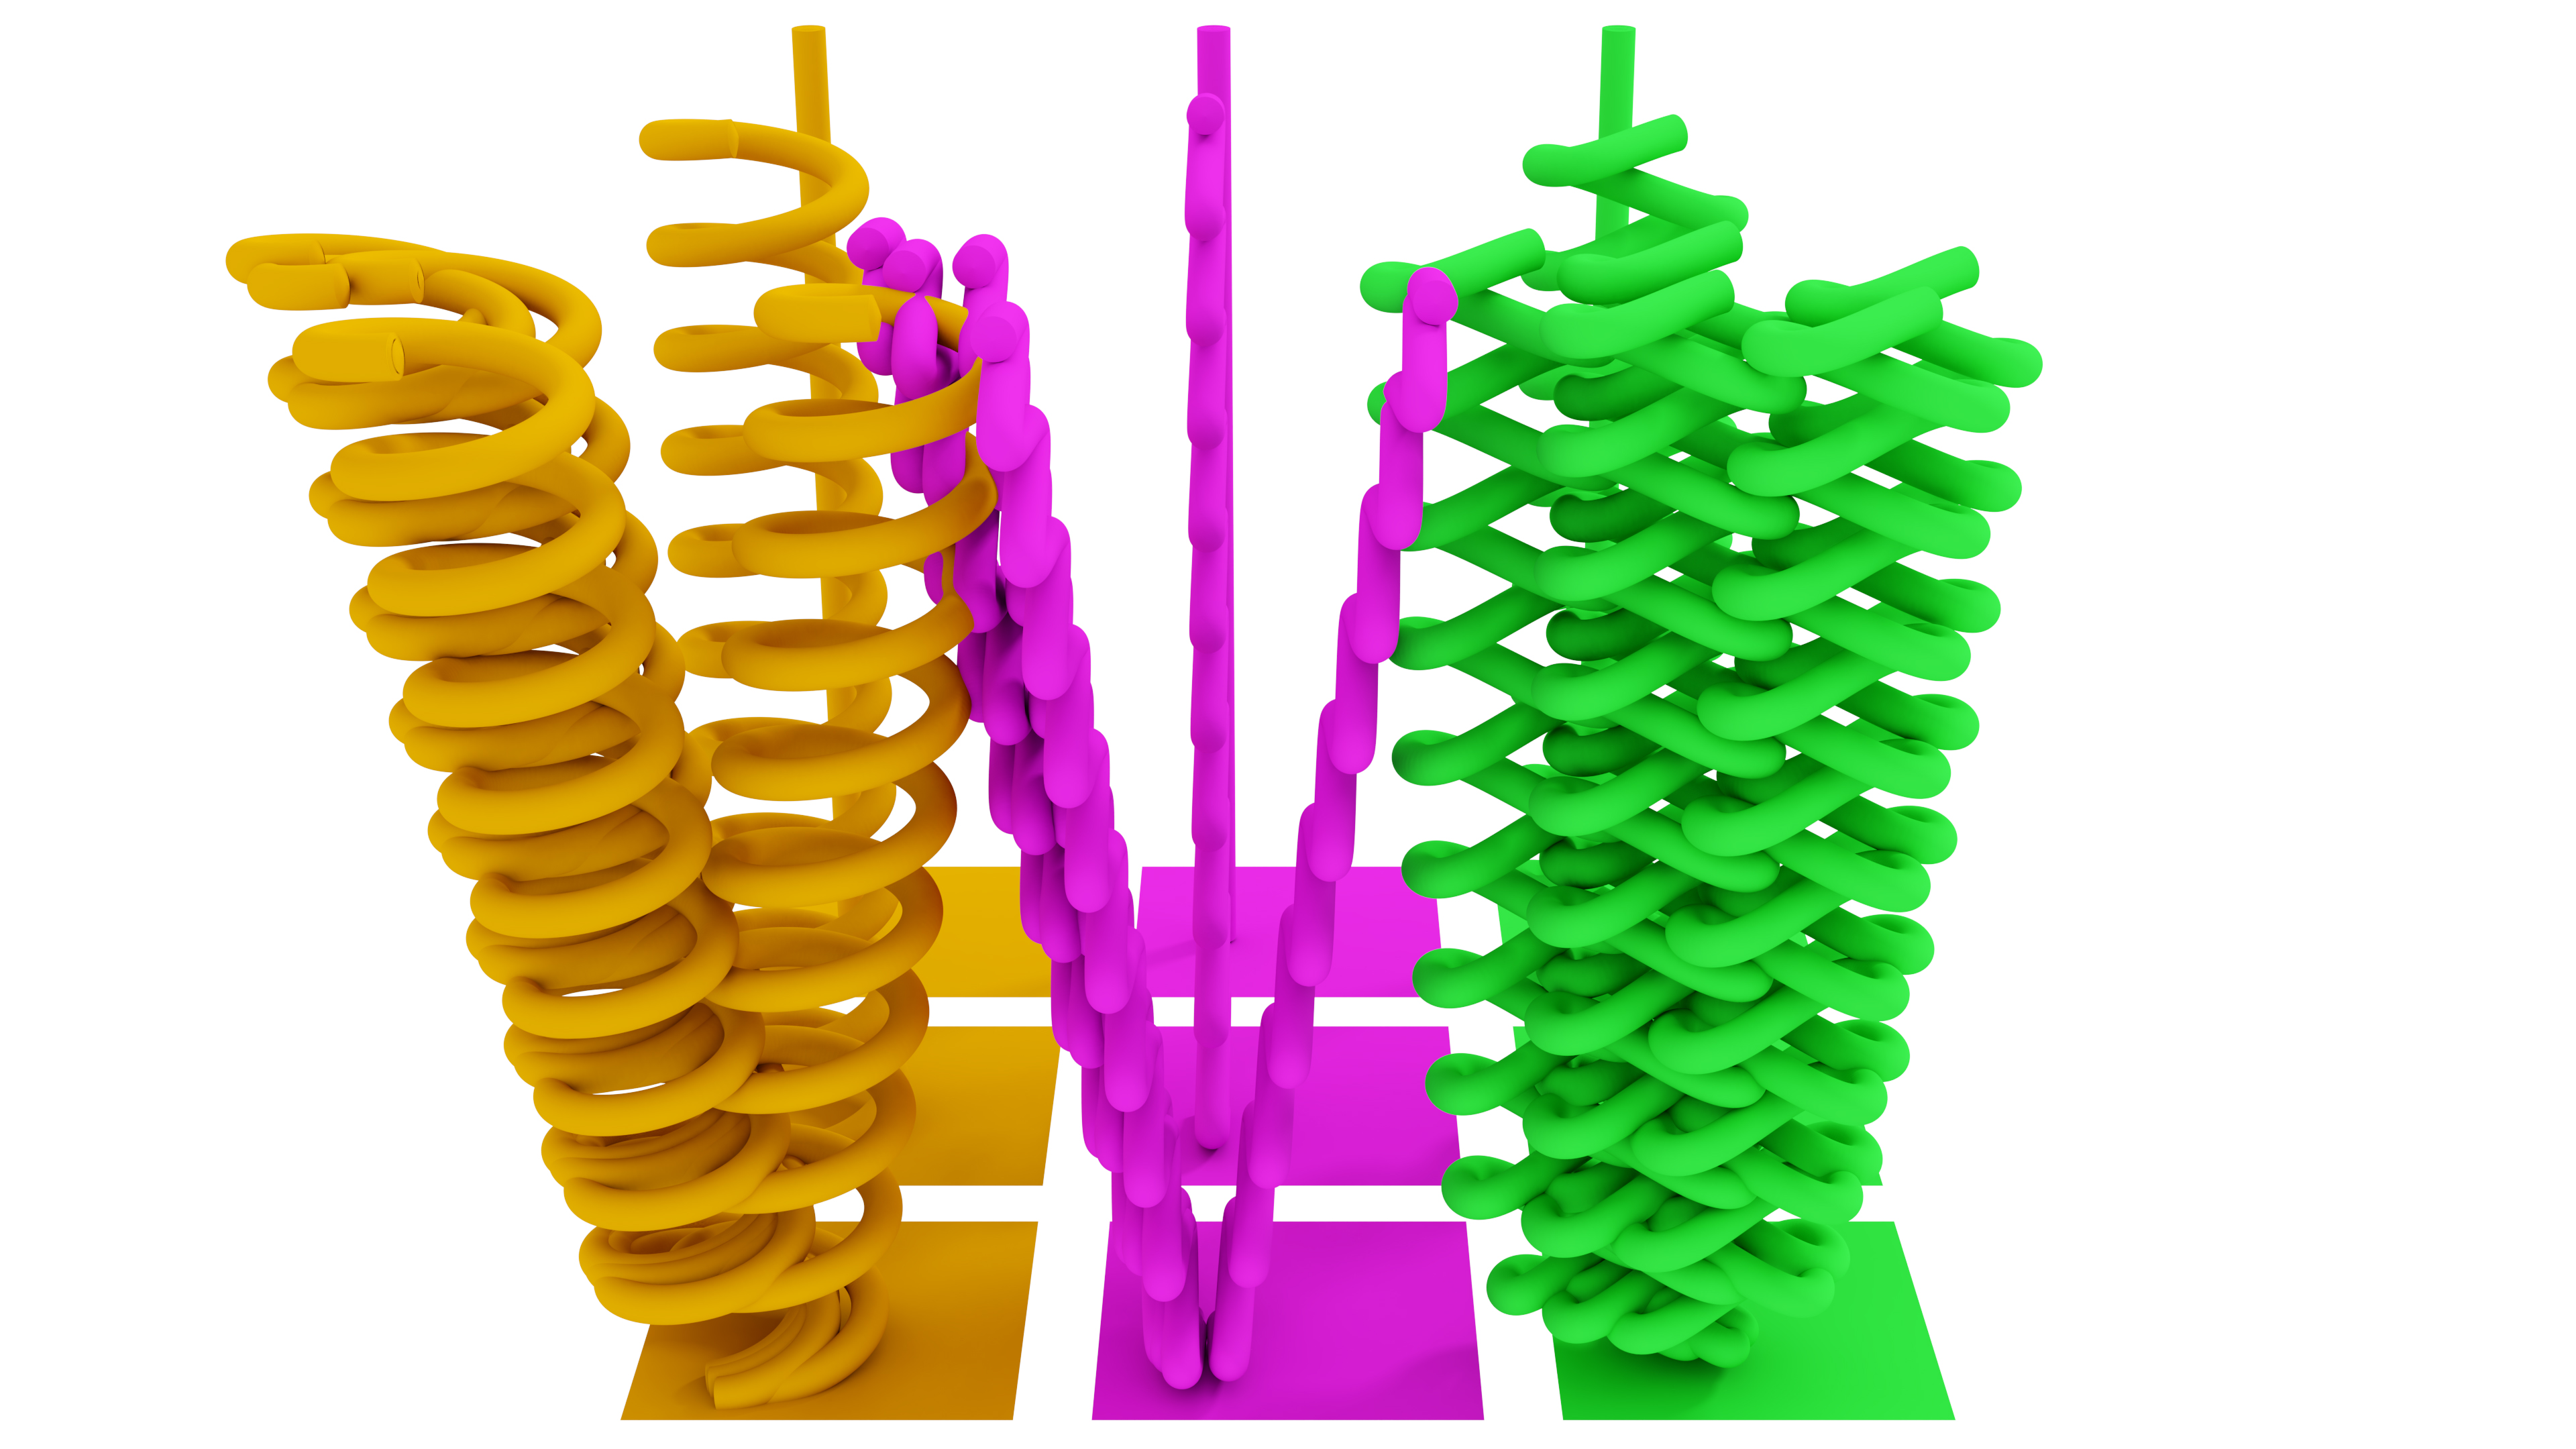
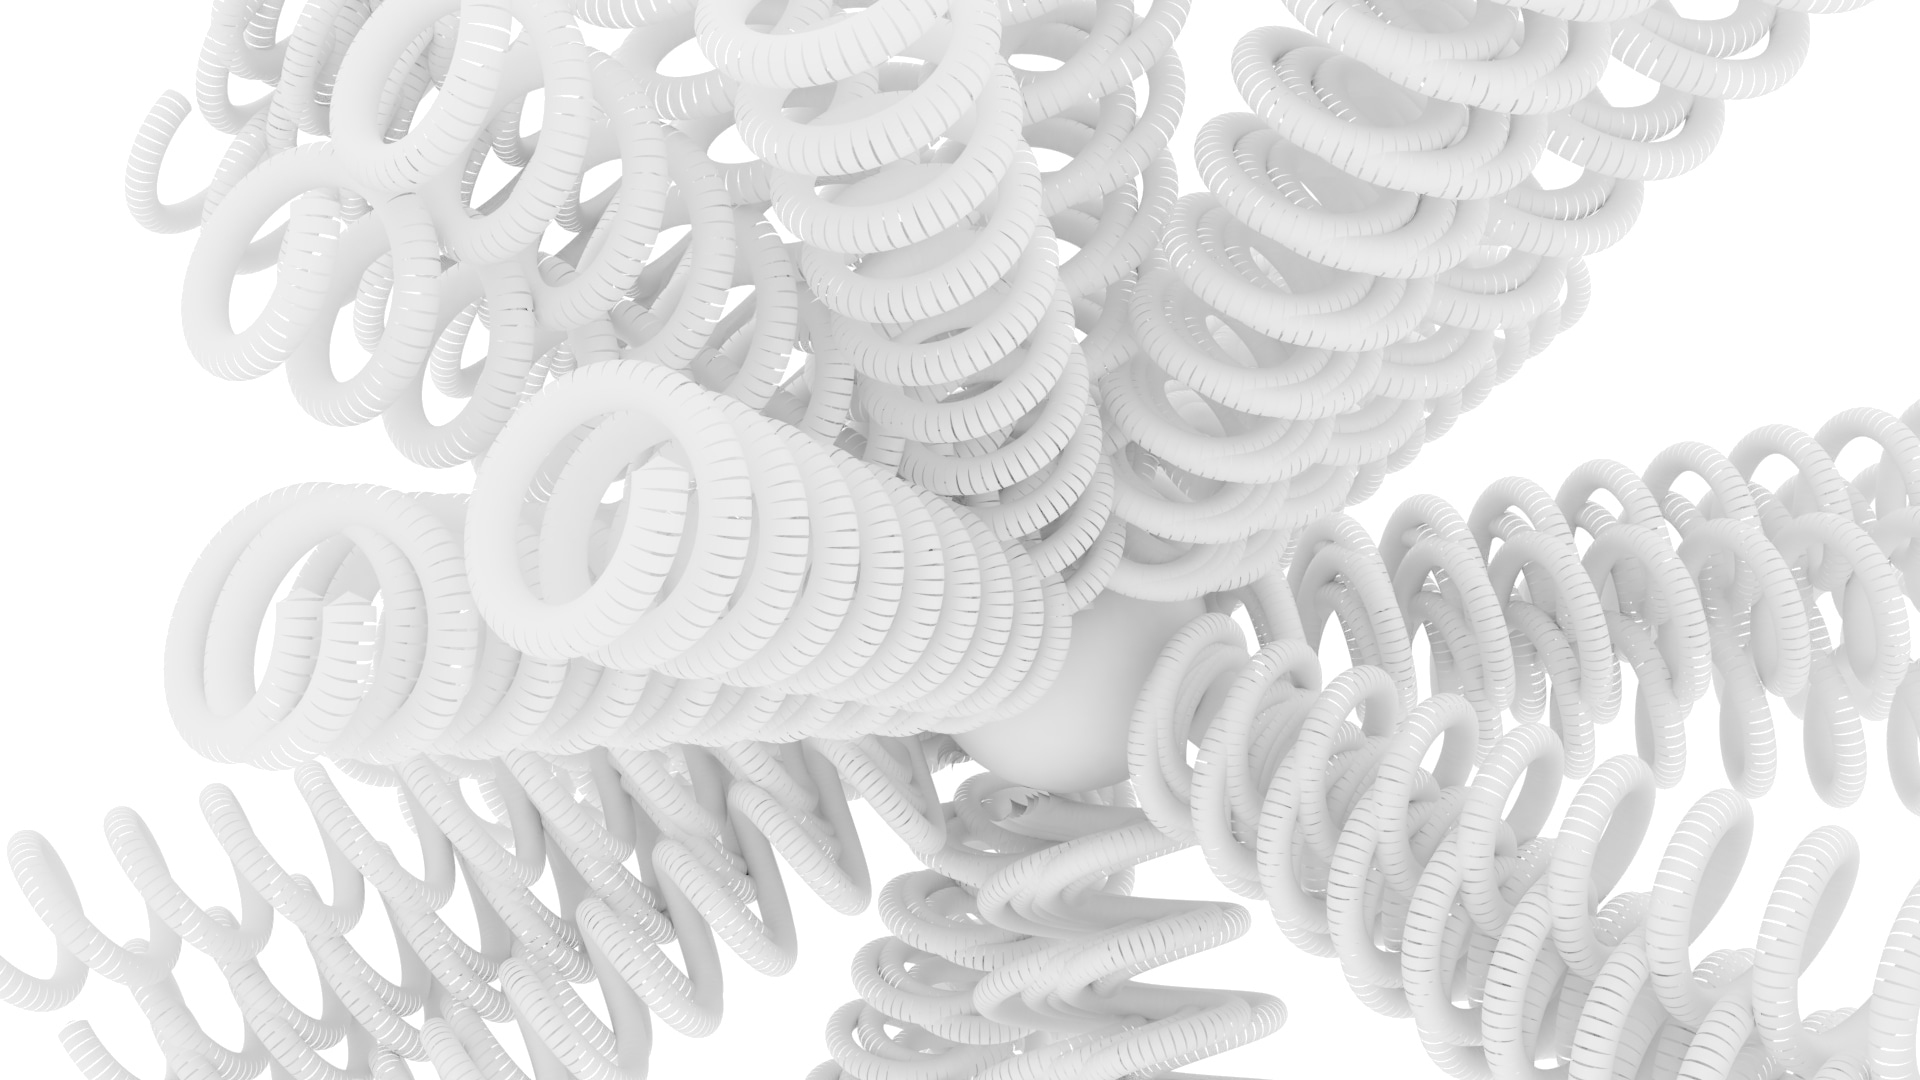
I then took six spheres and grew 100 hairs from each of them, altering their root and tip dimensions, adding in some randomness to affect their shape, and generally changing as many settings as I could to see what happened (Figure 3). The results were enlightening, but not very organic.

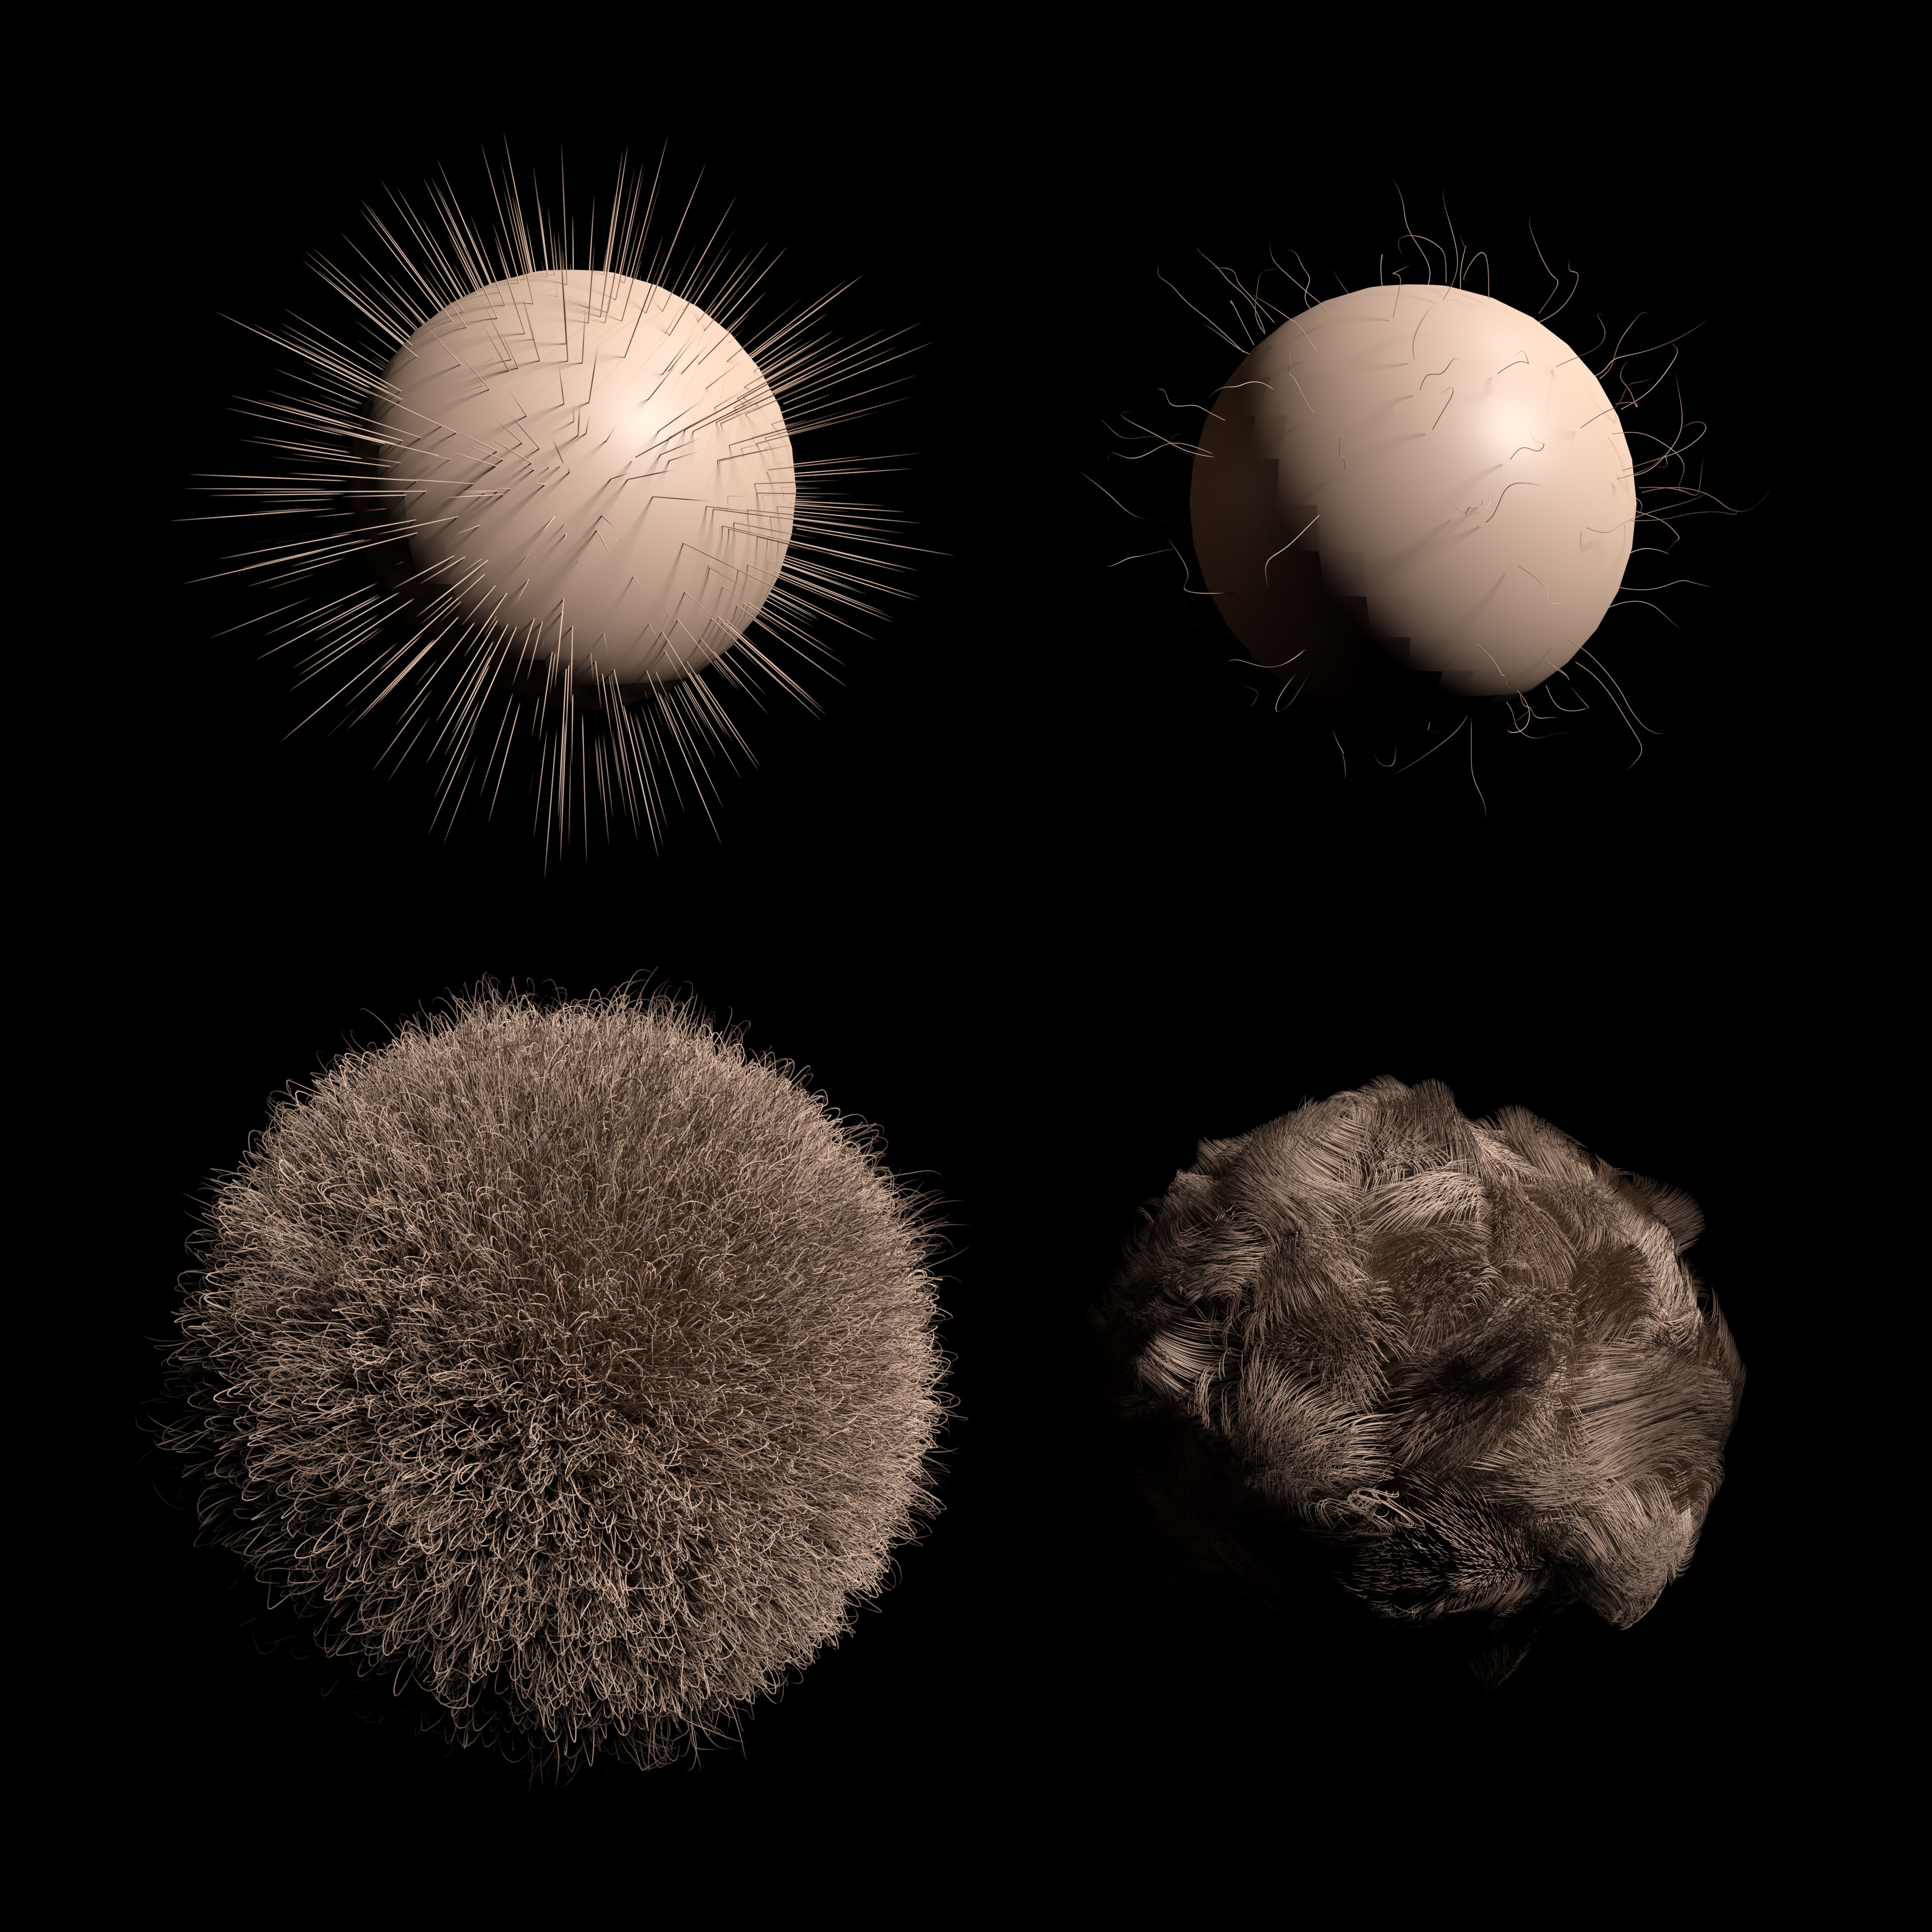
To produce more natural, fur-like textures I had to dial the thickness right down, add in some color, and turn on child hairs (Figure 4).
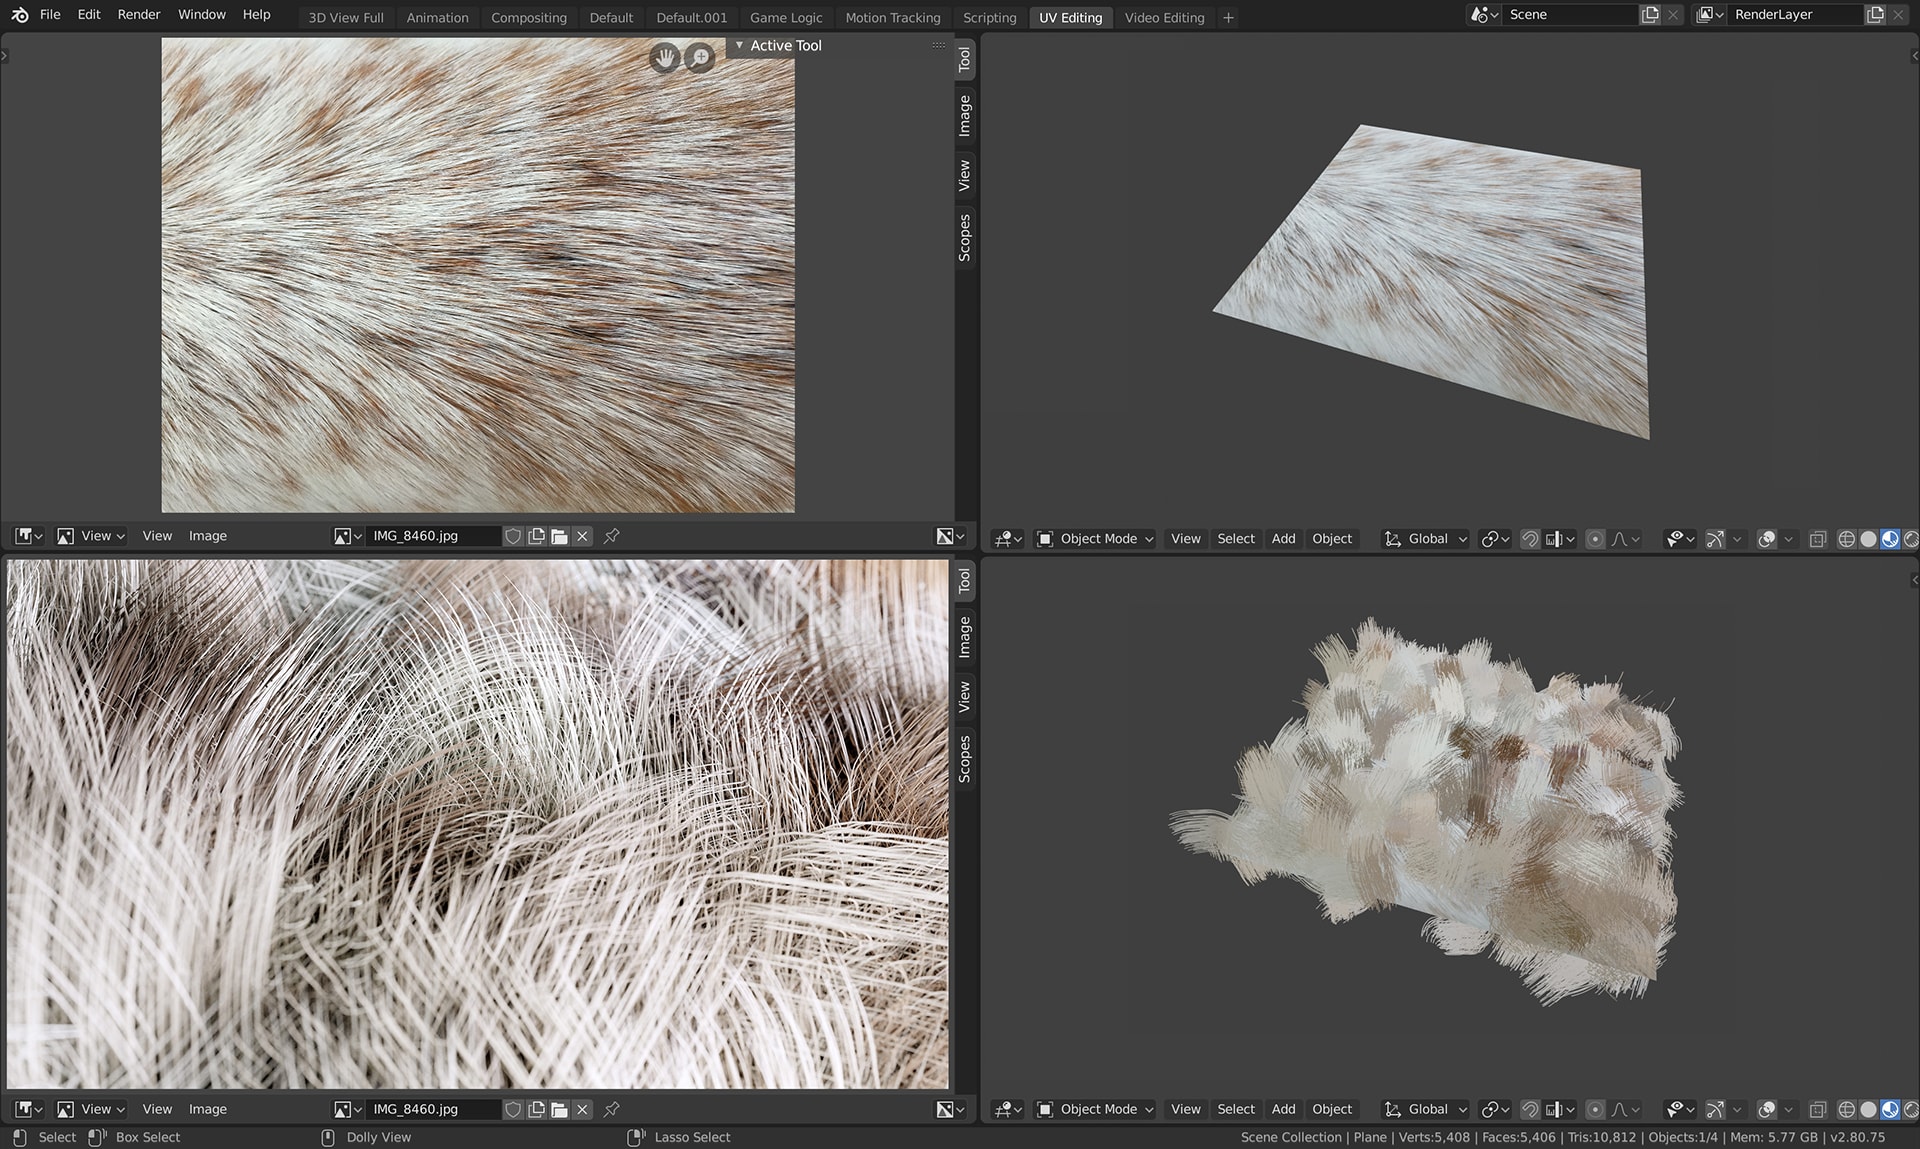
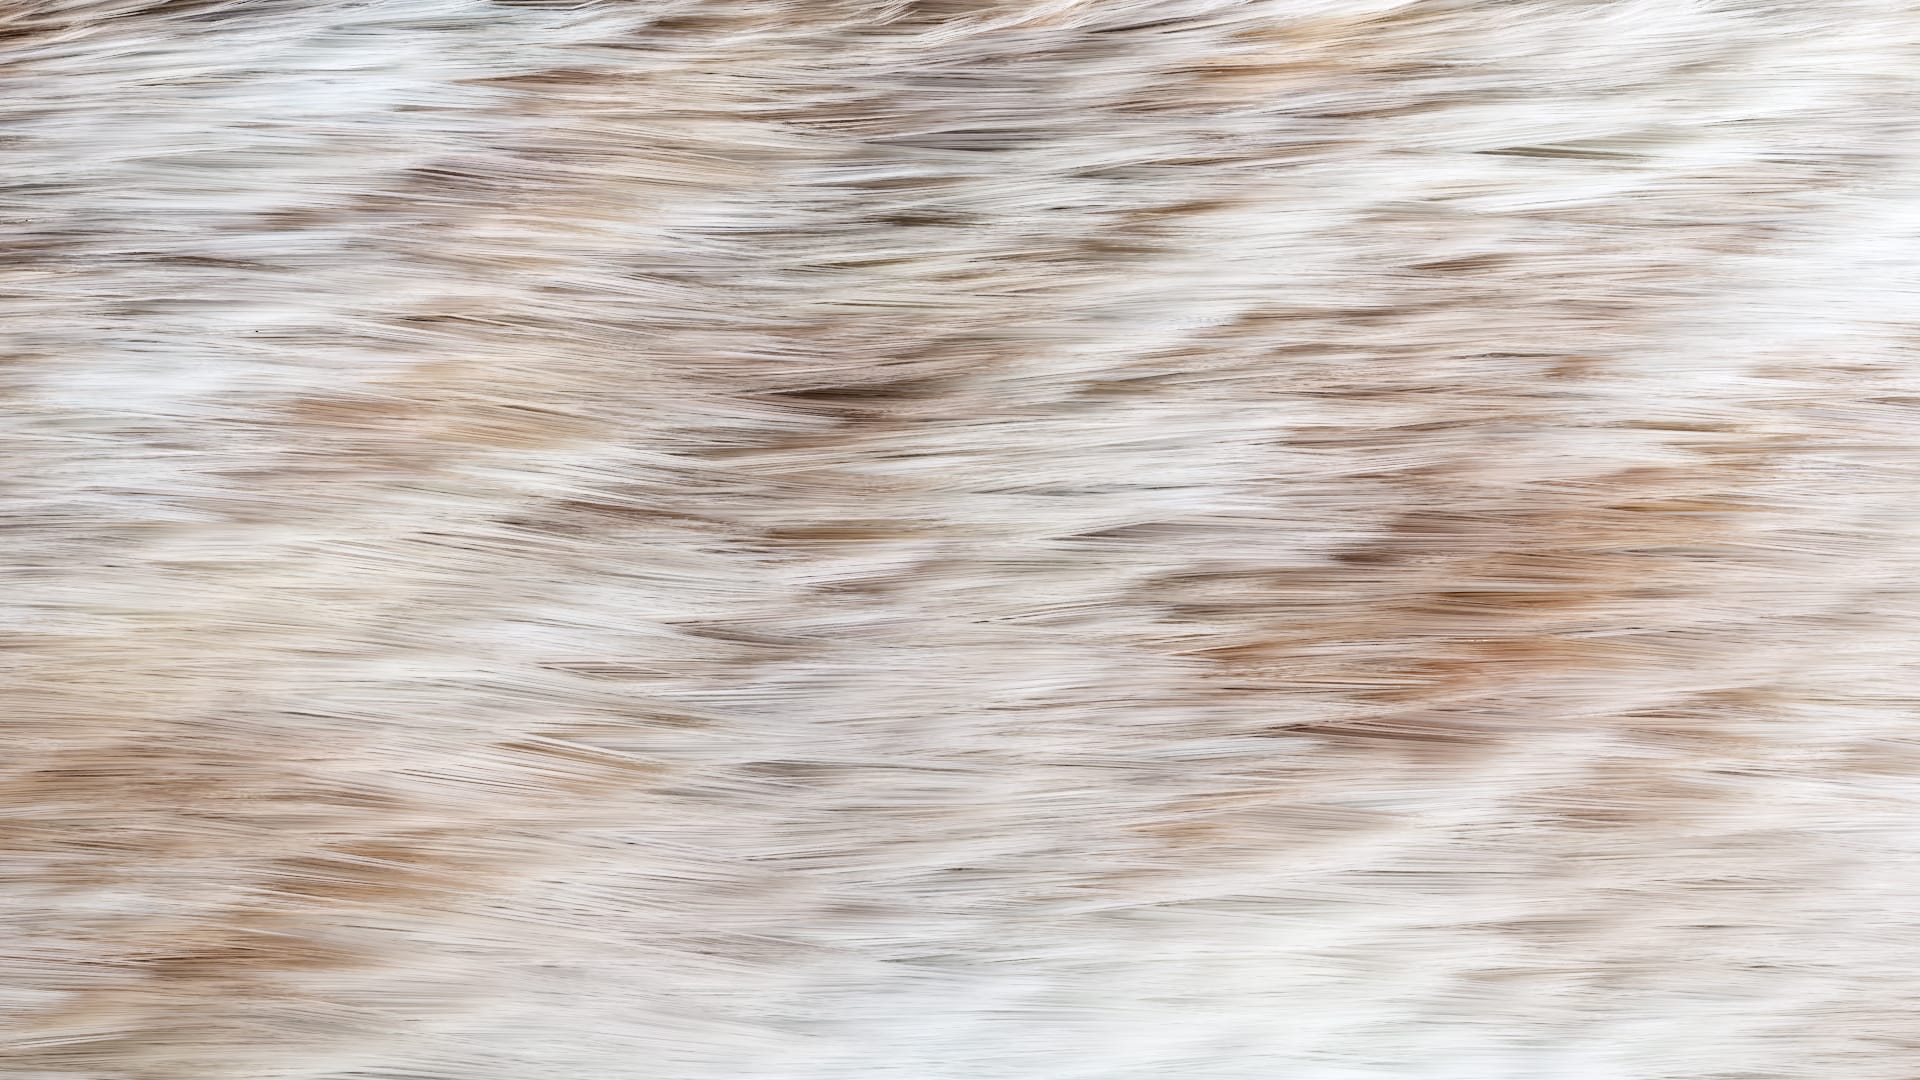
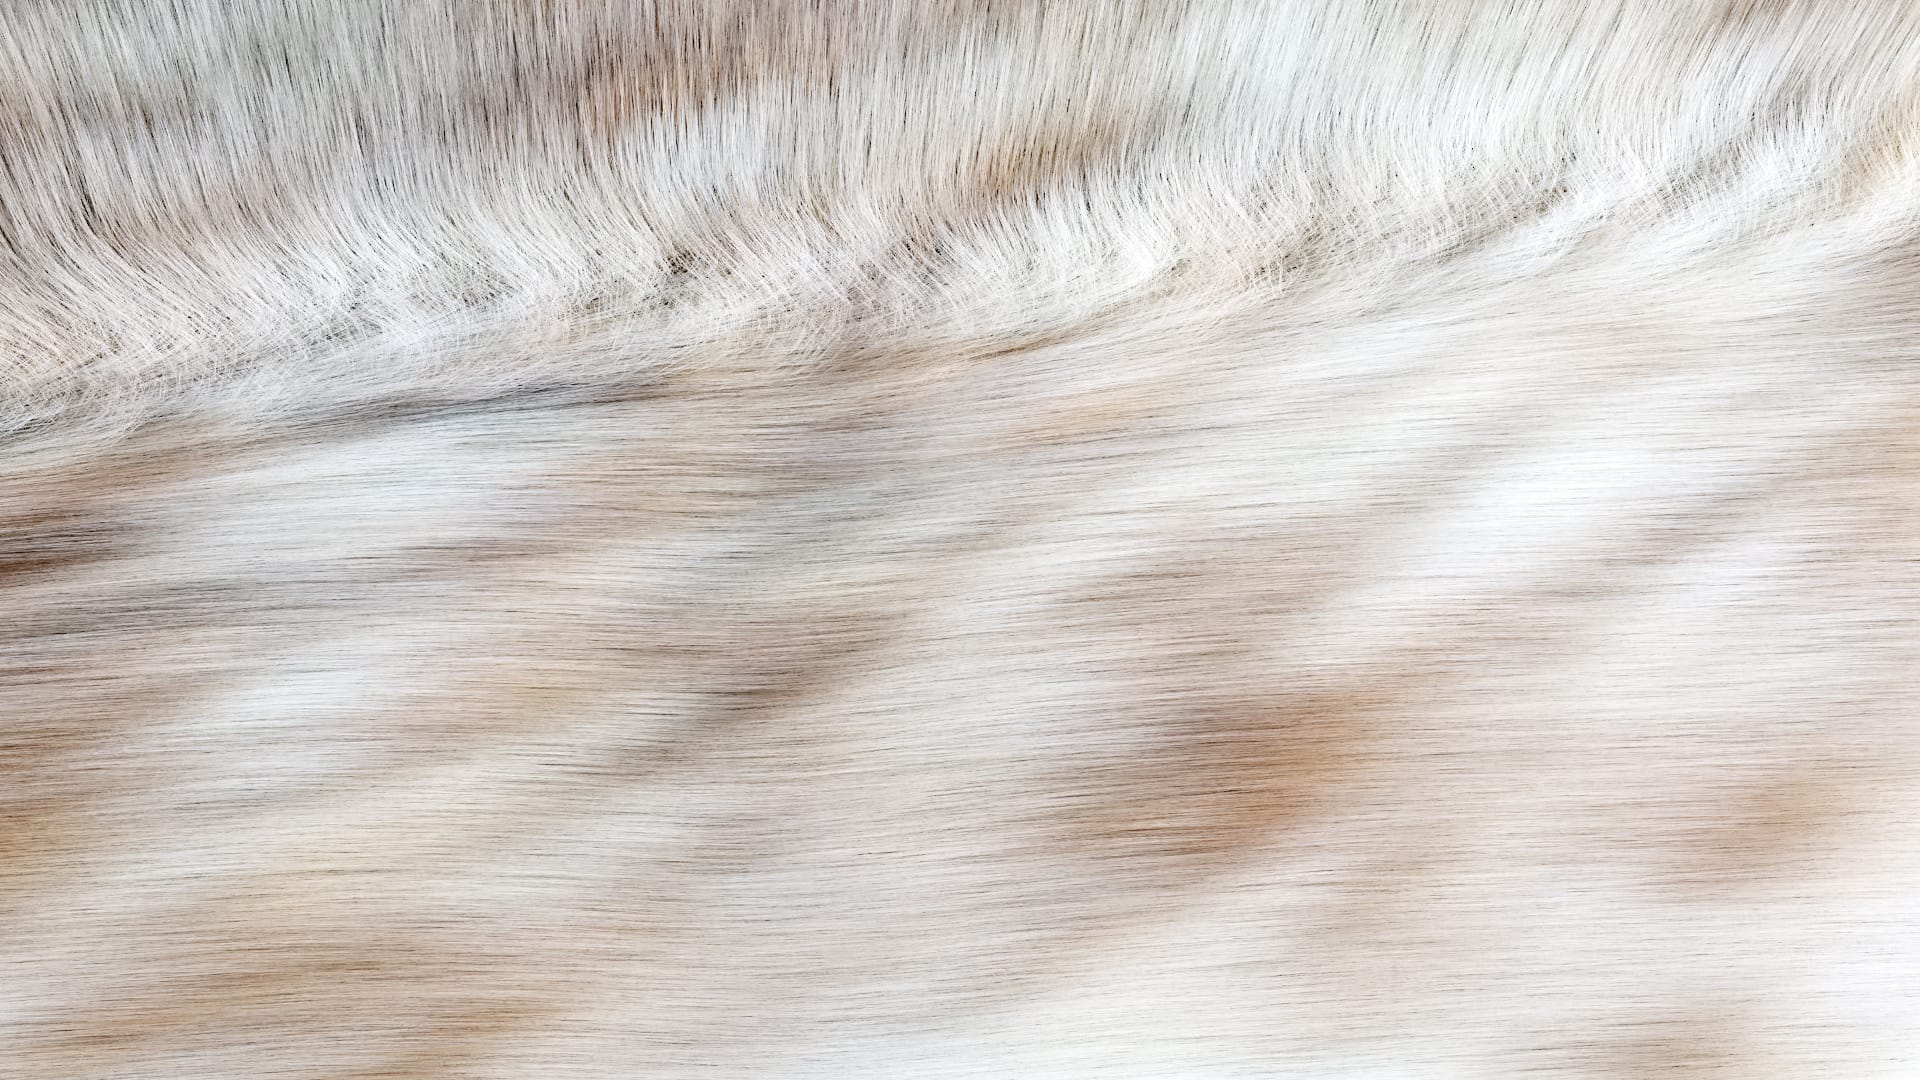
Feeling a bit more confident about things, I started working on Sam’s coat. To match his coloring I took a photo of the hair on his back and applied it to the surface of a plane in Blender. Any hairs grown from this plane would now inherit their color from the pixels they sprang from (Figure 5). I was pleasantly surprised at how simple that part of the project was.
A much trickier task was matching the spreading pattern of hair growth on his back. I have a better idea of how I’d approach that today, but at the time I just couldn’t get it to look right. Nevertheless, I’d say Figures 6 and 7 still came out feeling very familiar. I spent 11 years looking at and touching Sam’s coat, and Figure 7 has a softness to it that I know he got after a bath.
It makes me miss my friend.
A footnote on how hairs are made
Although I started off this project by using single strands of hair, you can see that I quickly moved on to generating hundreds, and then thousands of strands for my models. There’s no way to create and animate that many objects manually, so the simulation process is handled by something called a particle system.
Emitter particle systems are commonly used to generate fuzzy phenomena like fire, smoke, sparks, or falling snow. Hair particle systems are used to generate strand-like objects such as fur or grass, but they can also be used to scatter copies of any object over a wide area, like dust on a shelf, trees in a forest, or planets in a galaxy.
Blender might be free software, but it’s still capable of modeling many millions of particles at a time. The head in Figure 10 has 500,000 strands coming out of it, and although I wasn’t skilled enough to make them look like real hair, Blender handled their creation and animation with ease.