A map in a picture frame sitting in a futuristic blue room

CGI photo studio

In December 2017, after several months of work, I was almost ready to share the results of my latest project. I’d been trying to create an illustration of Lake Tahoe using the 3D program Blender, and finally had something I thought was worth writing about.

Before I could do that though, I wanted to be sure the illustration would be seen in its best light, so I planned to print it, frame it, and photograph it. I was halfway to buying a plotter for the project when I realised I could save myself some money and build a CGI picture frame and photo studio right there inside Blender. So, I did.

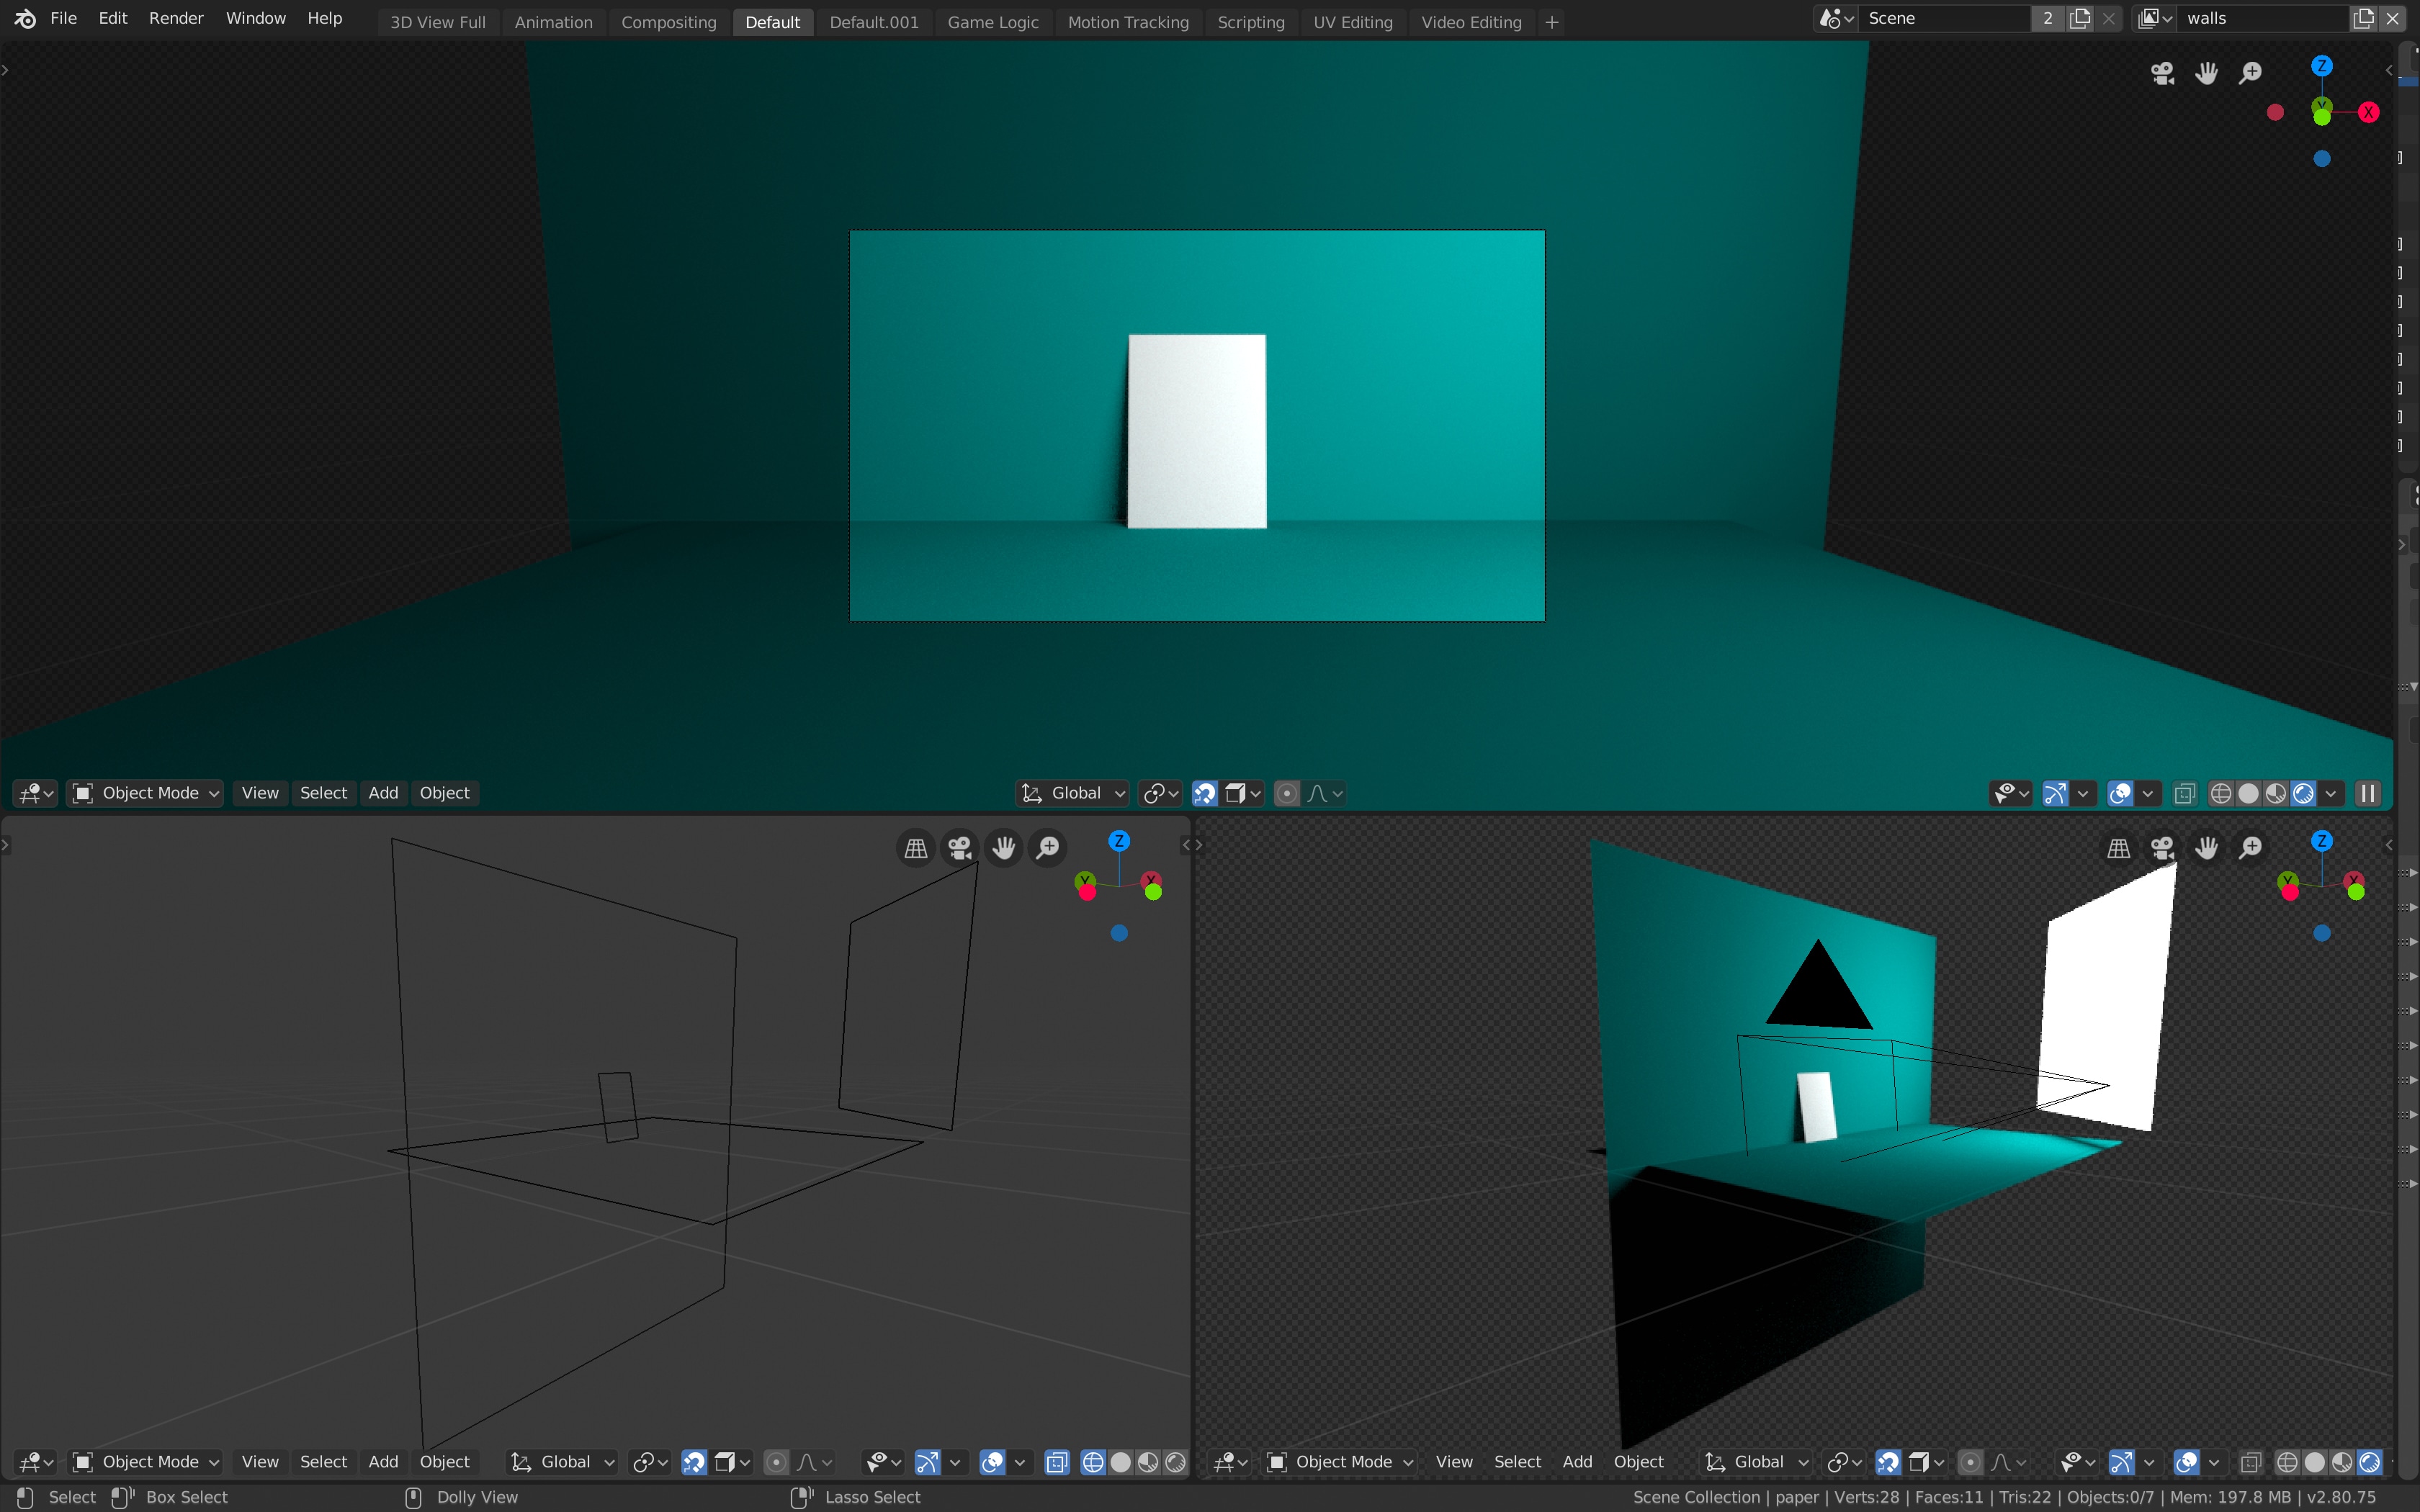
Figure 1 shows where I started. The studio had a piece of card leaning against a wall, a light off to the right, and a camera straight in front.

Screenshot of a model in the 3D program Blender
Figure 1. The basic photo studio setup

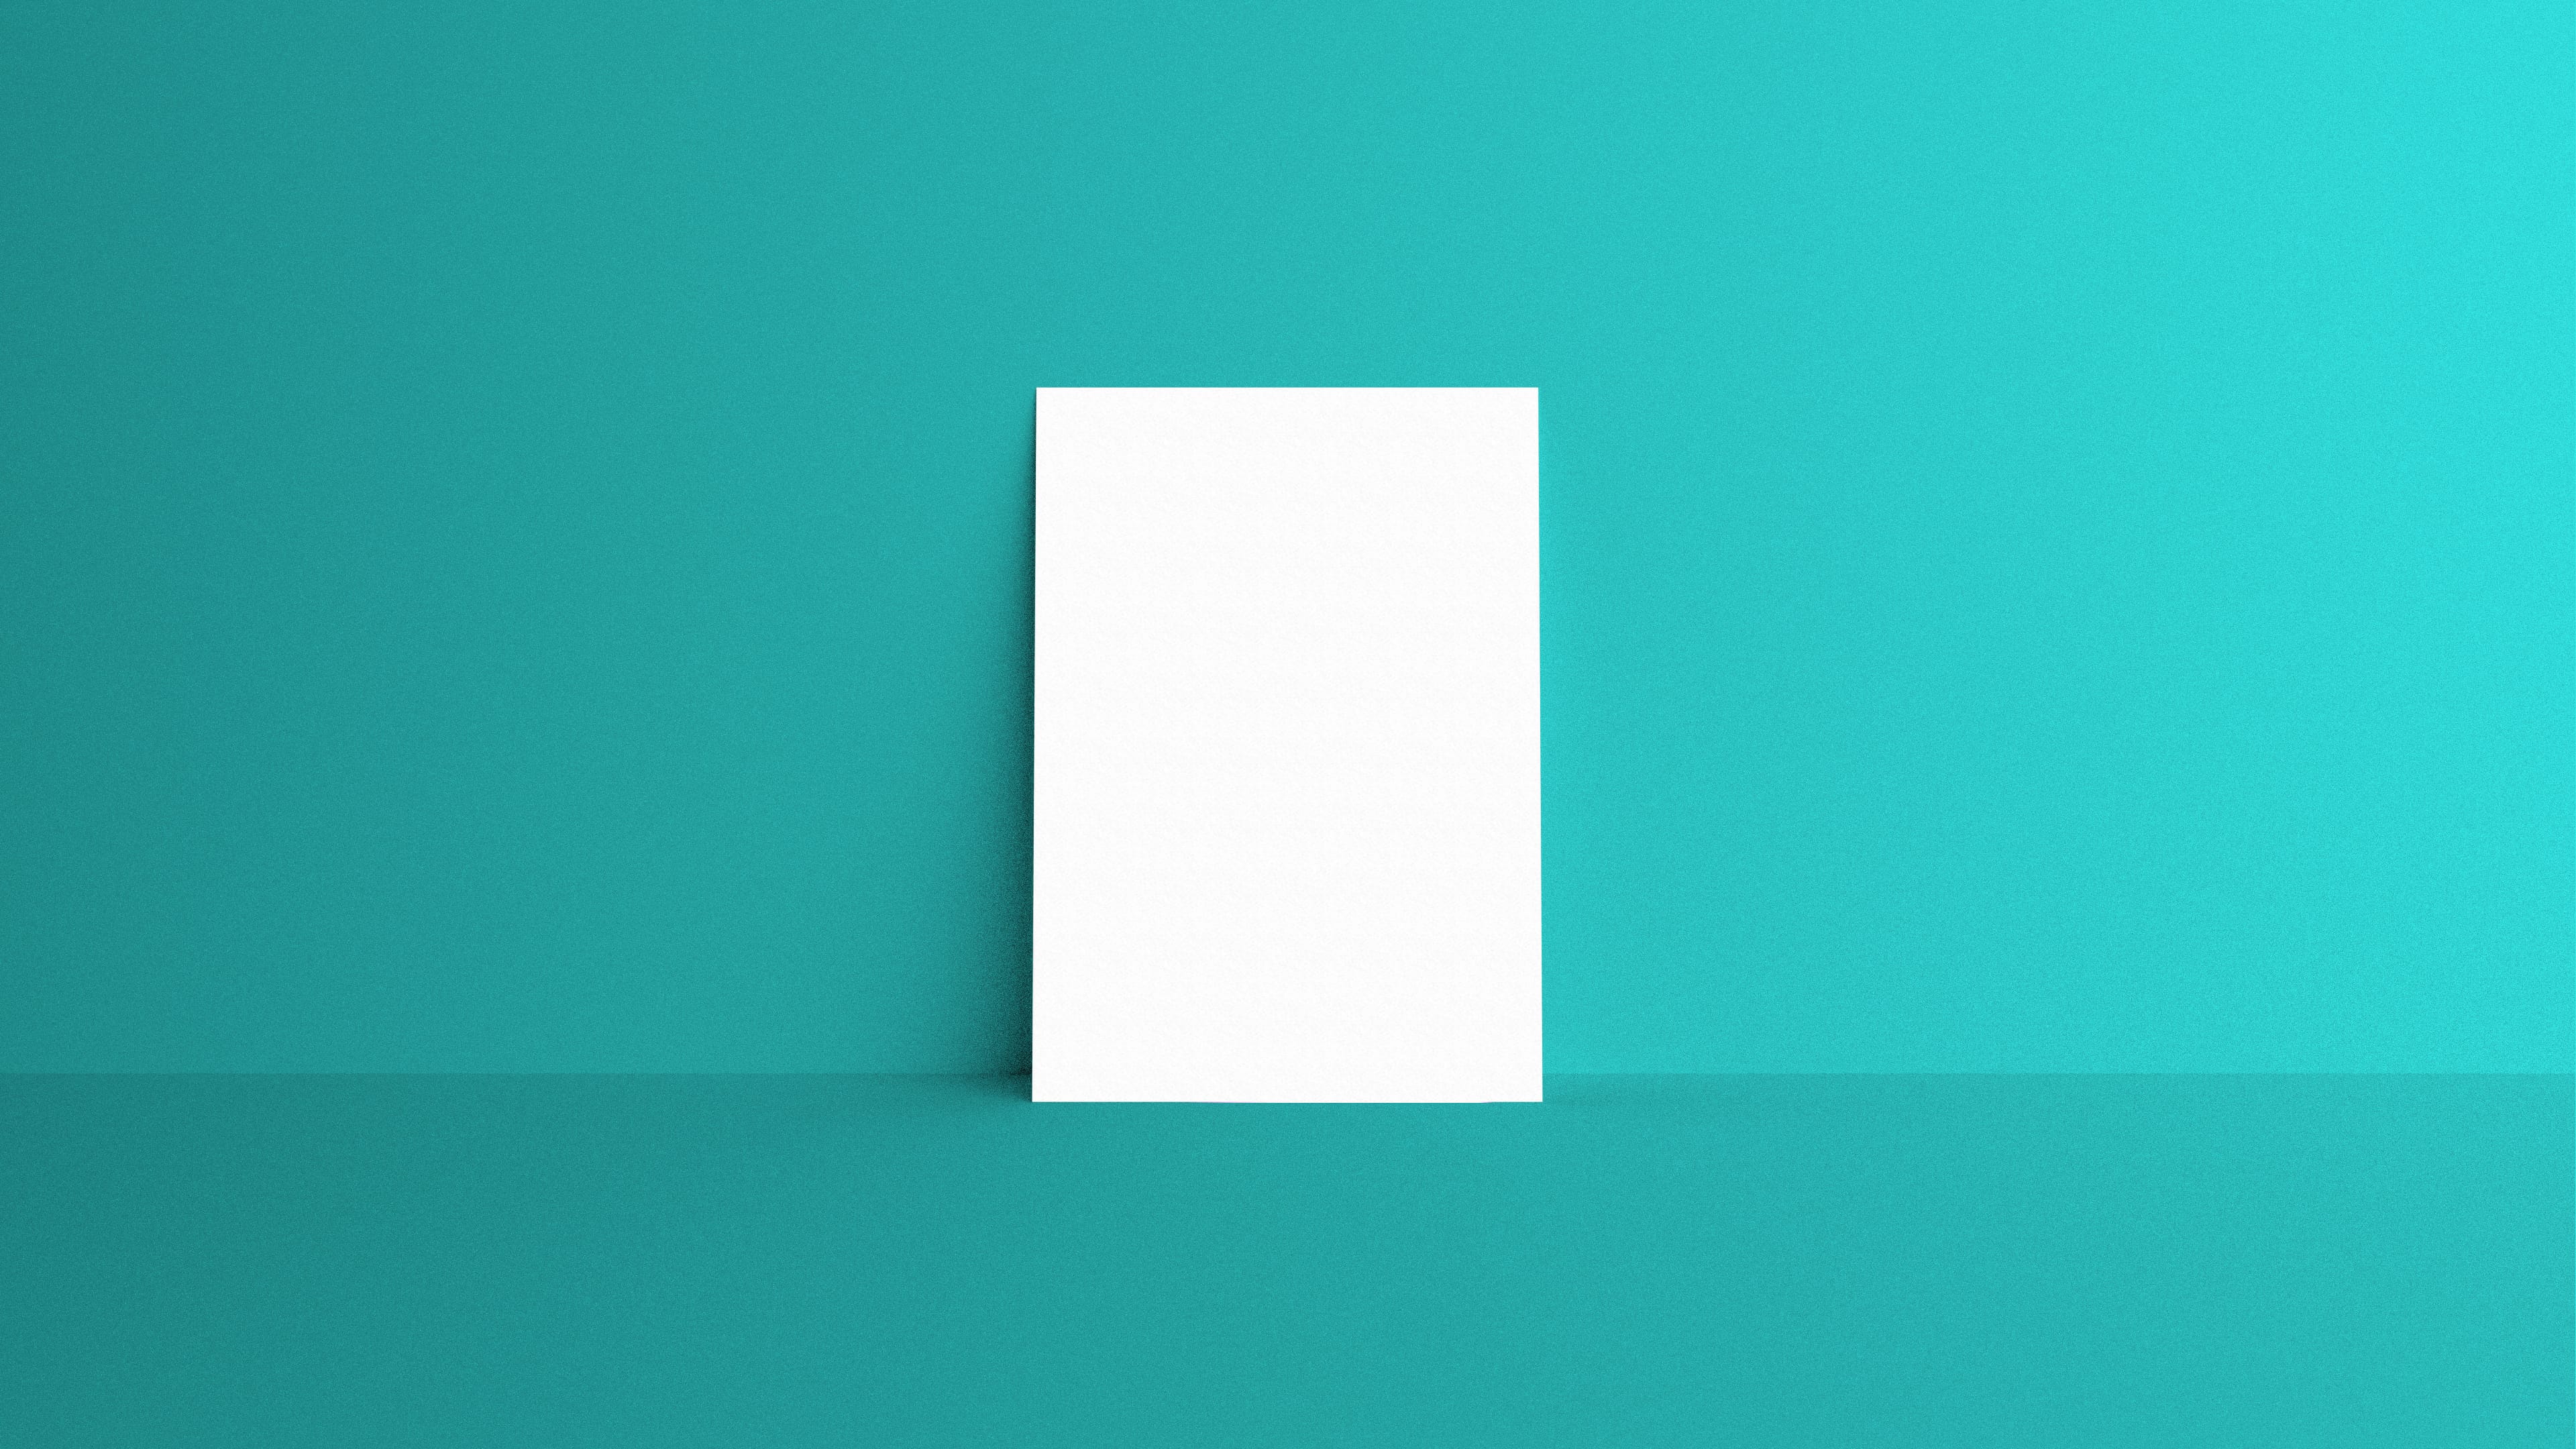
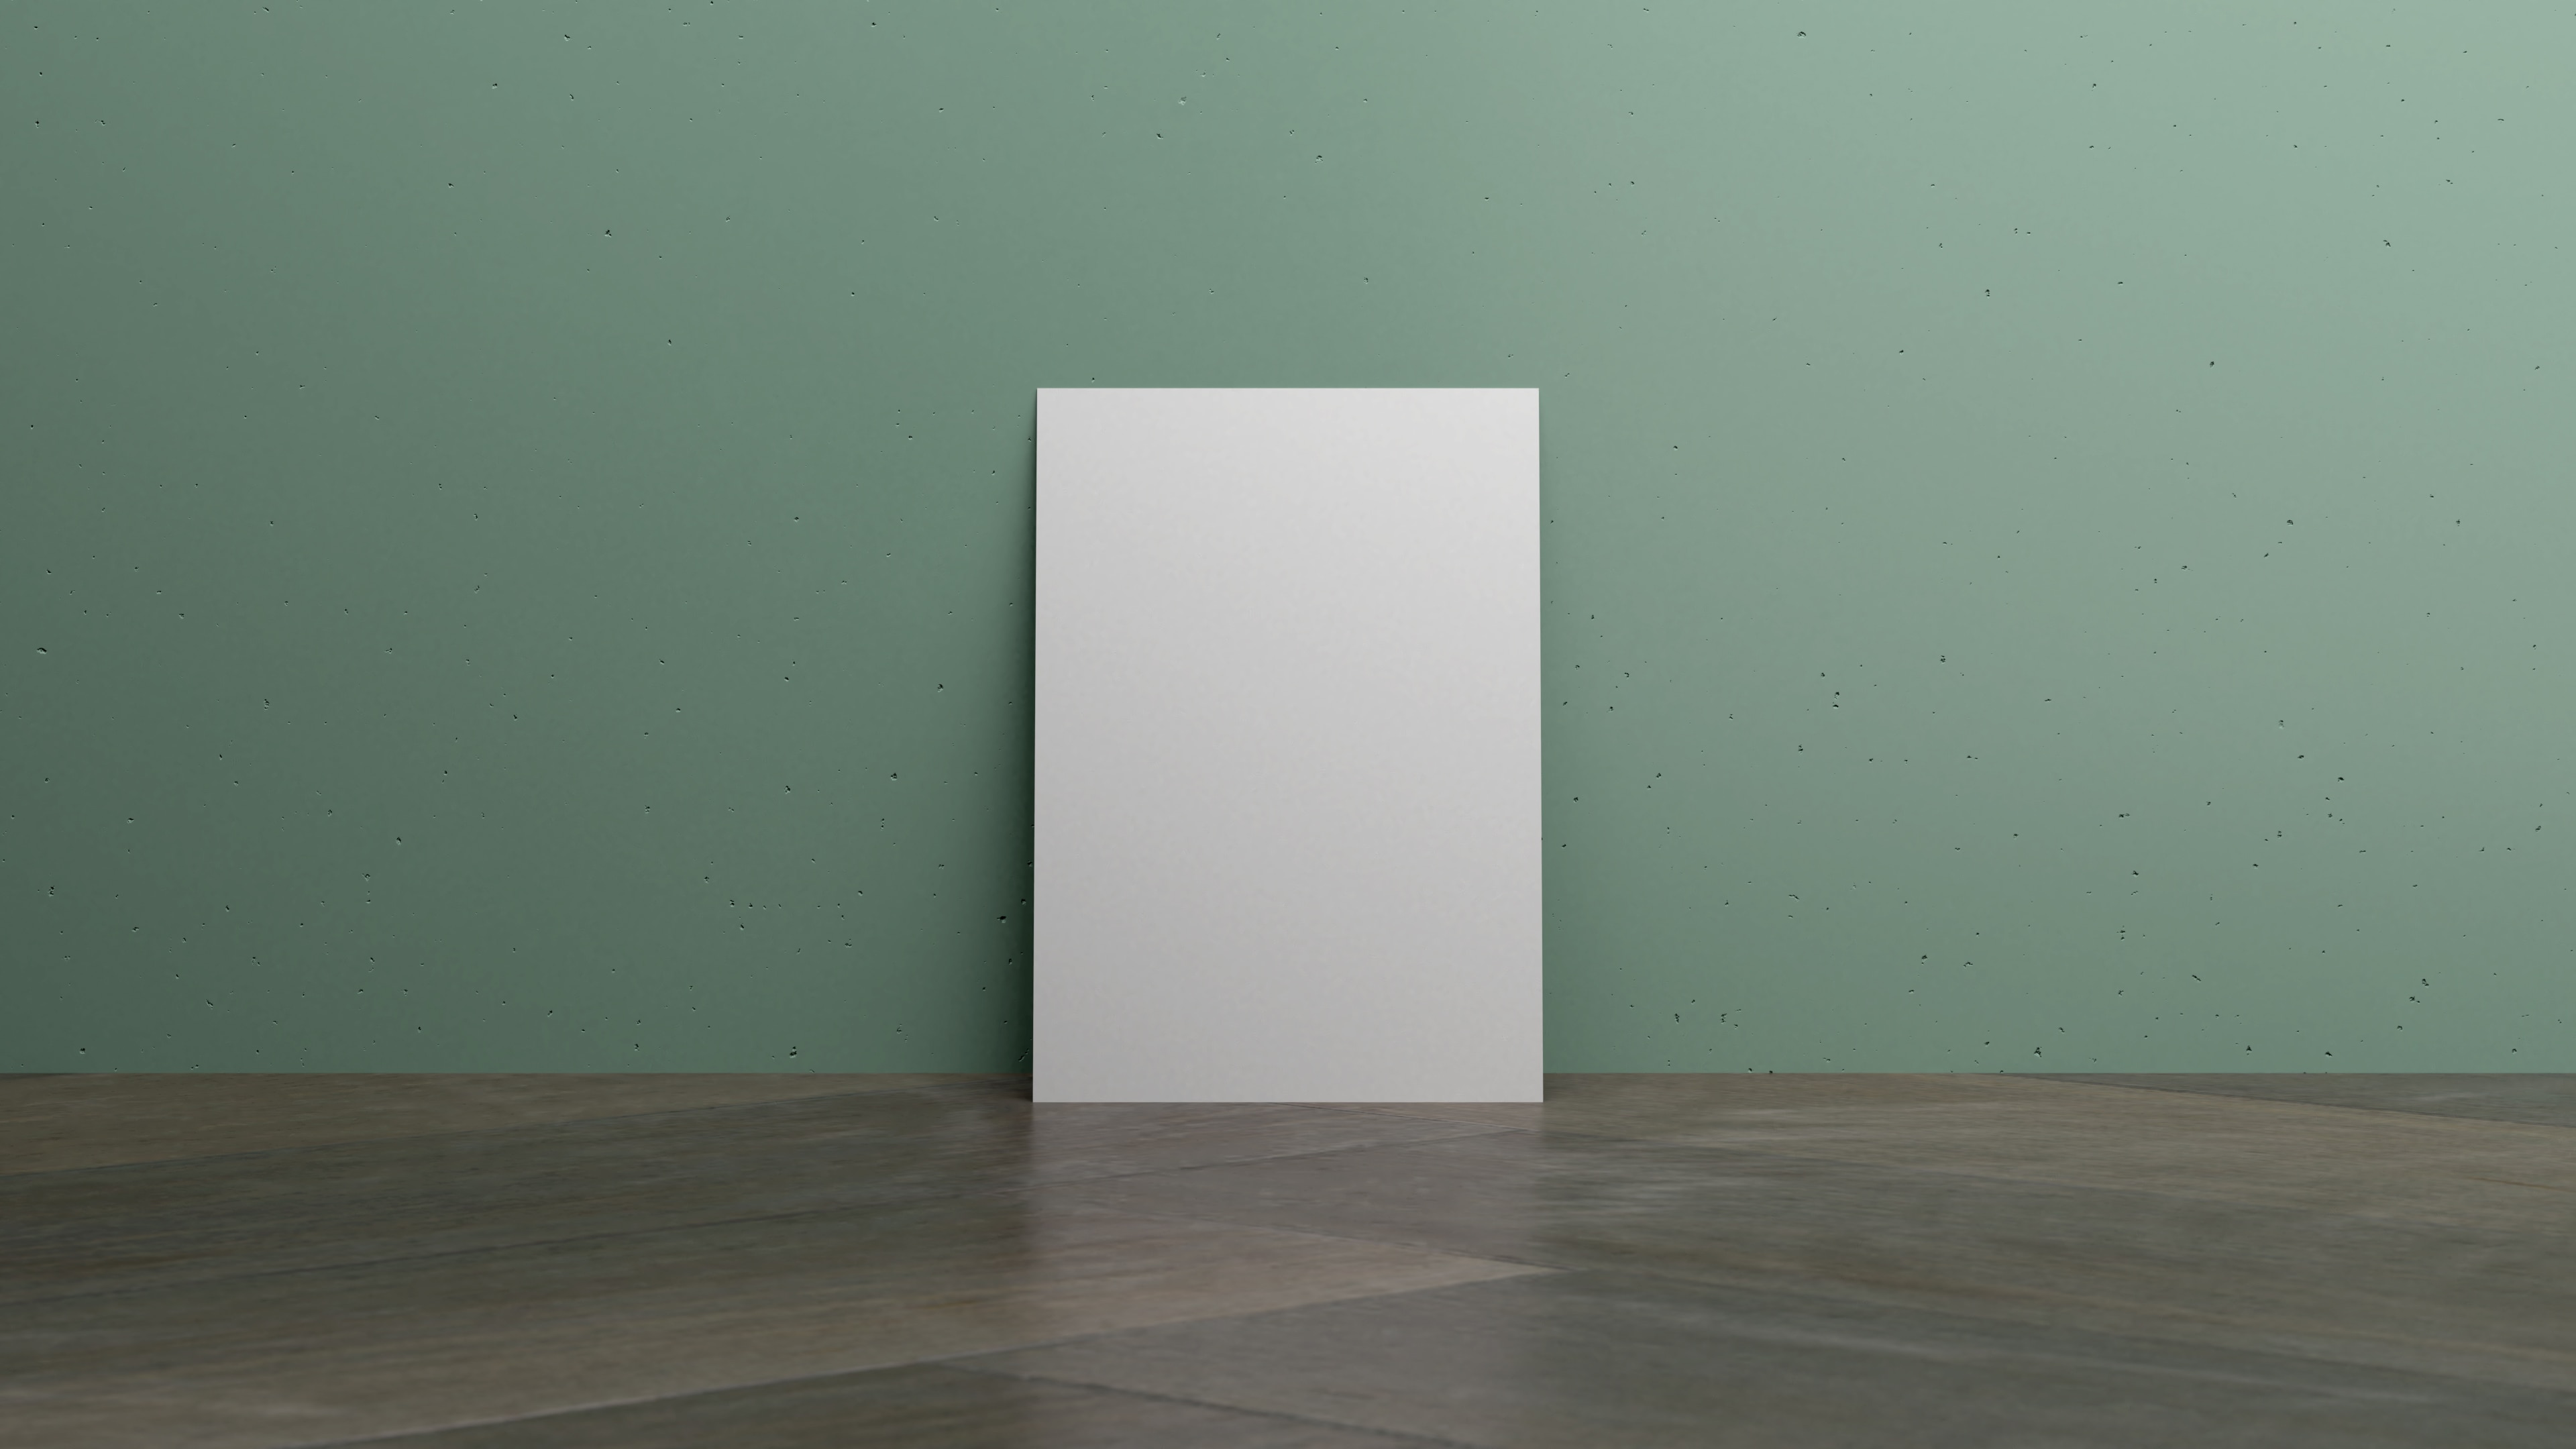
I began rendering tests, trying out various textures and colors for the background (Figures 2–6).

A piece of card leaning against a wall in a blue room
Figure 2. Plain blue wall and floor
A piece of card leaning against a wall in a white room
Figure 3. A heavy paper texture
A piece of card leaning against a wall in a room with wooden floors and a green wall
Figure 4. Realistic wall and floor materials
A piece of card leaning against a wall in a room with purple floors and a green wall
Figure 5. Unusual colors and a textured wall
A piece of card leaning against a wall in a room with pink floors, a white wall, and pink balls stacked against the wall
Figure 6. Adding some depth to the scene with a stray ball

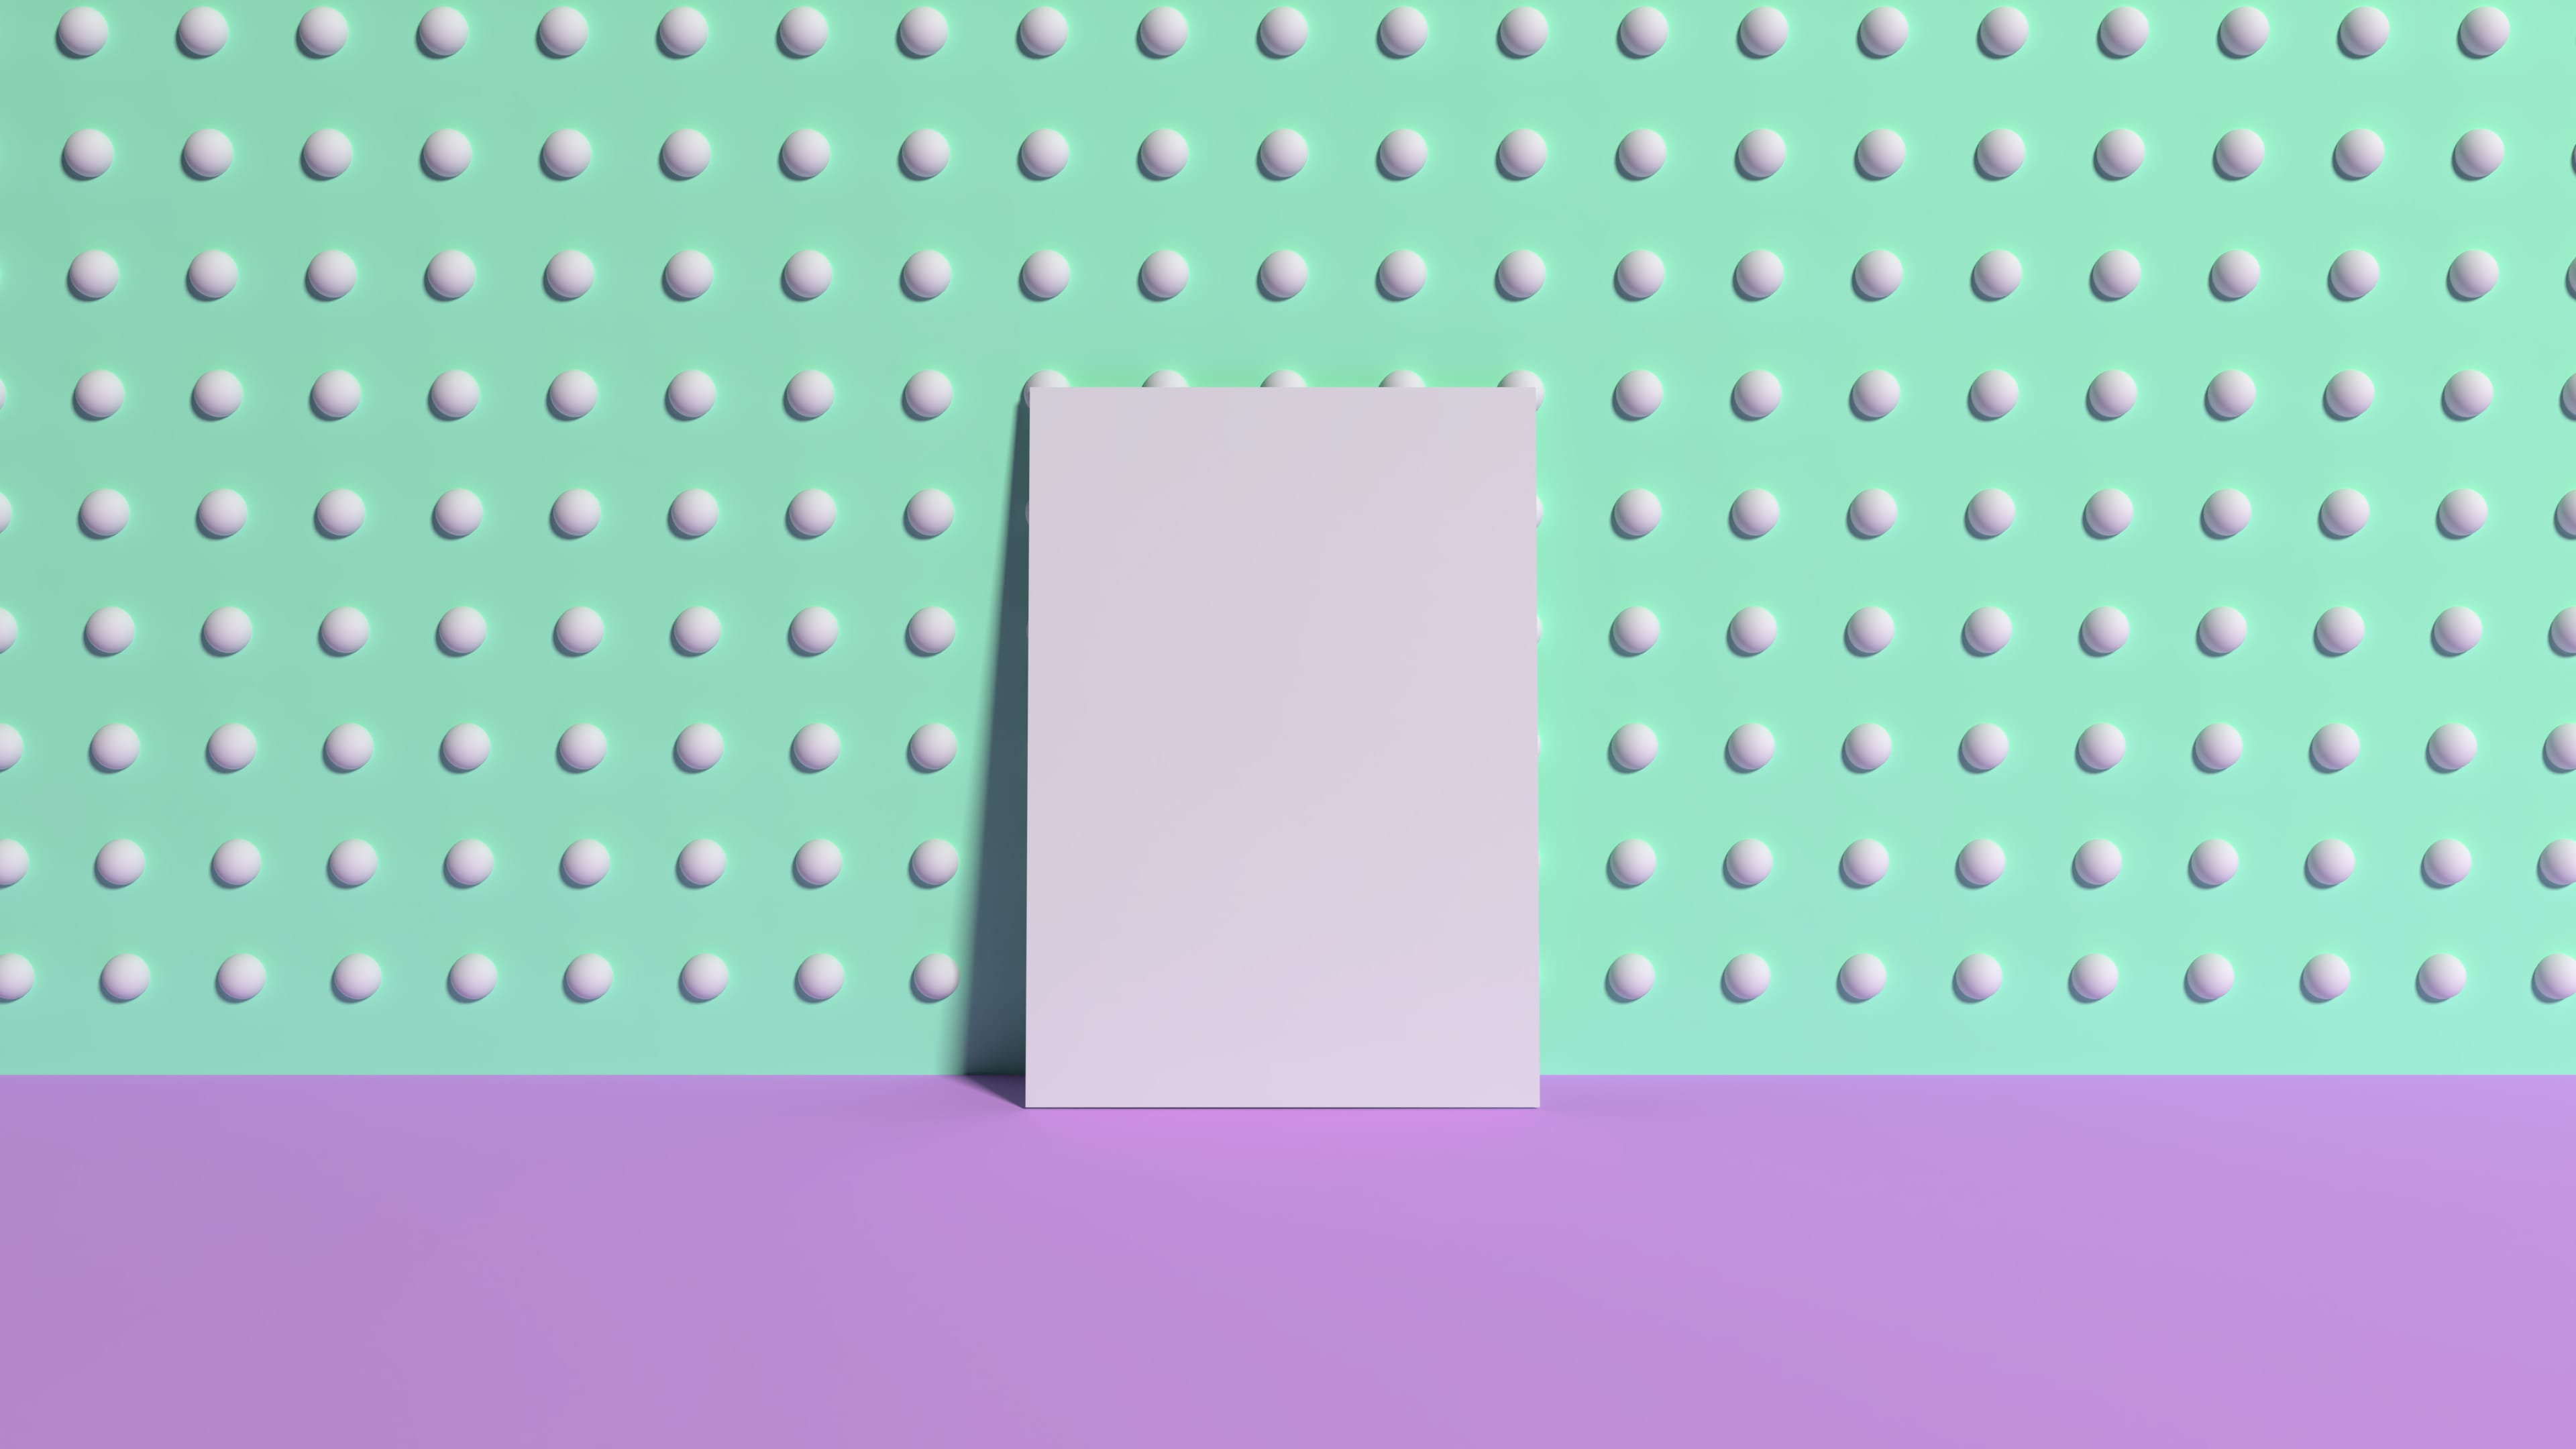
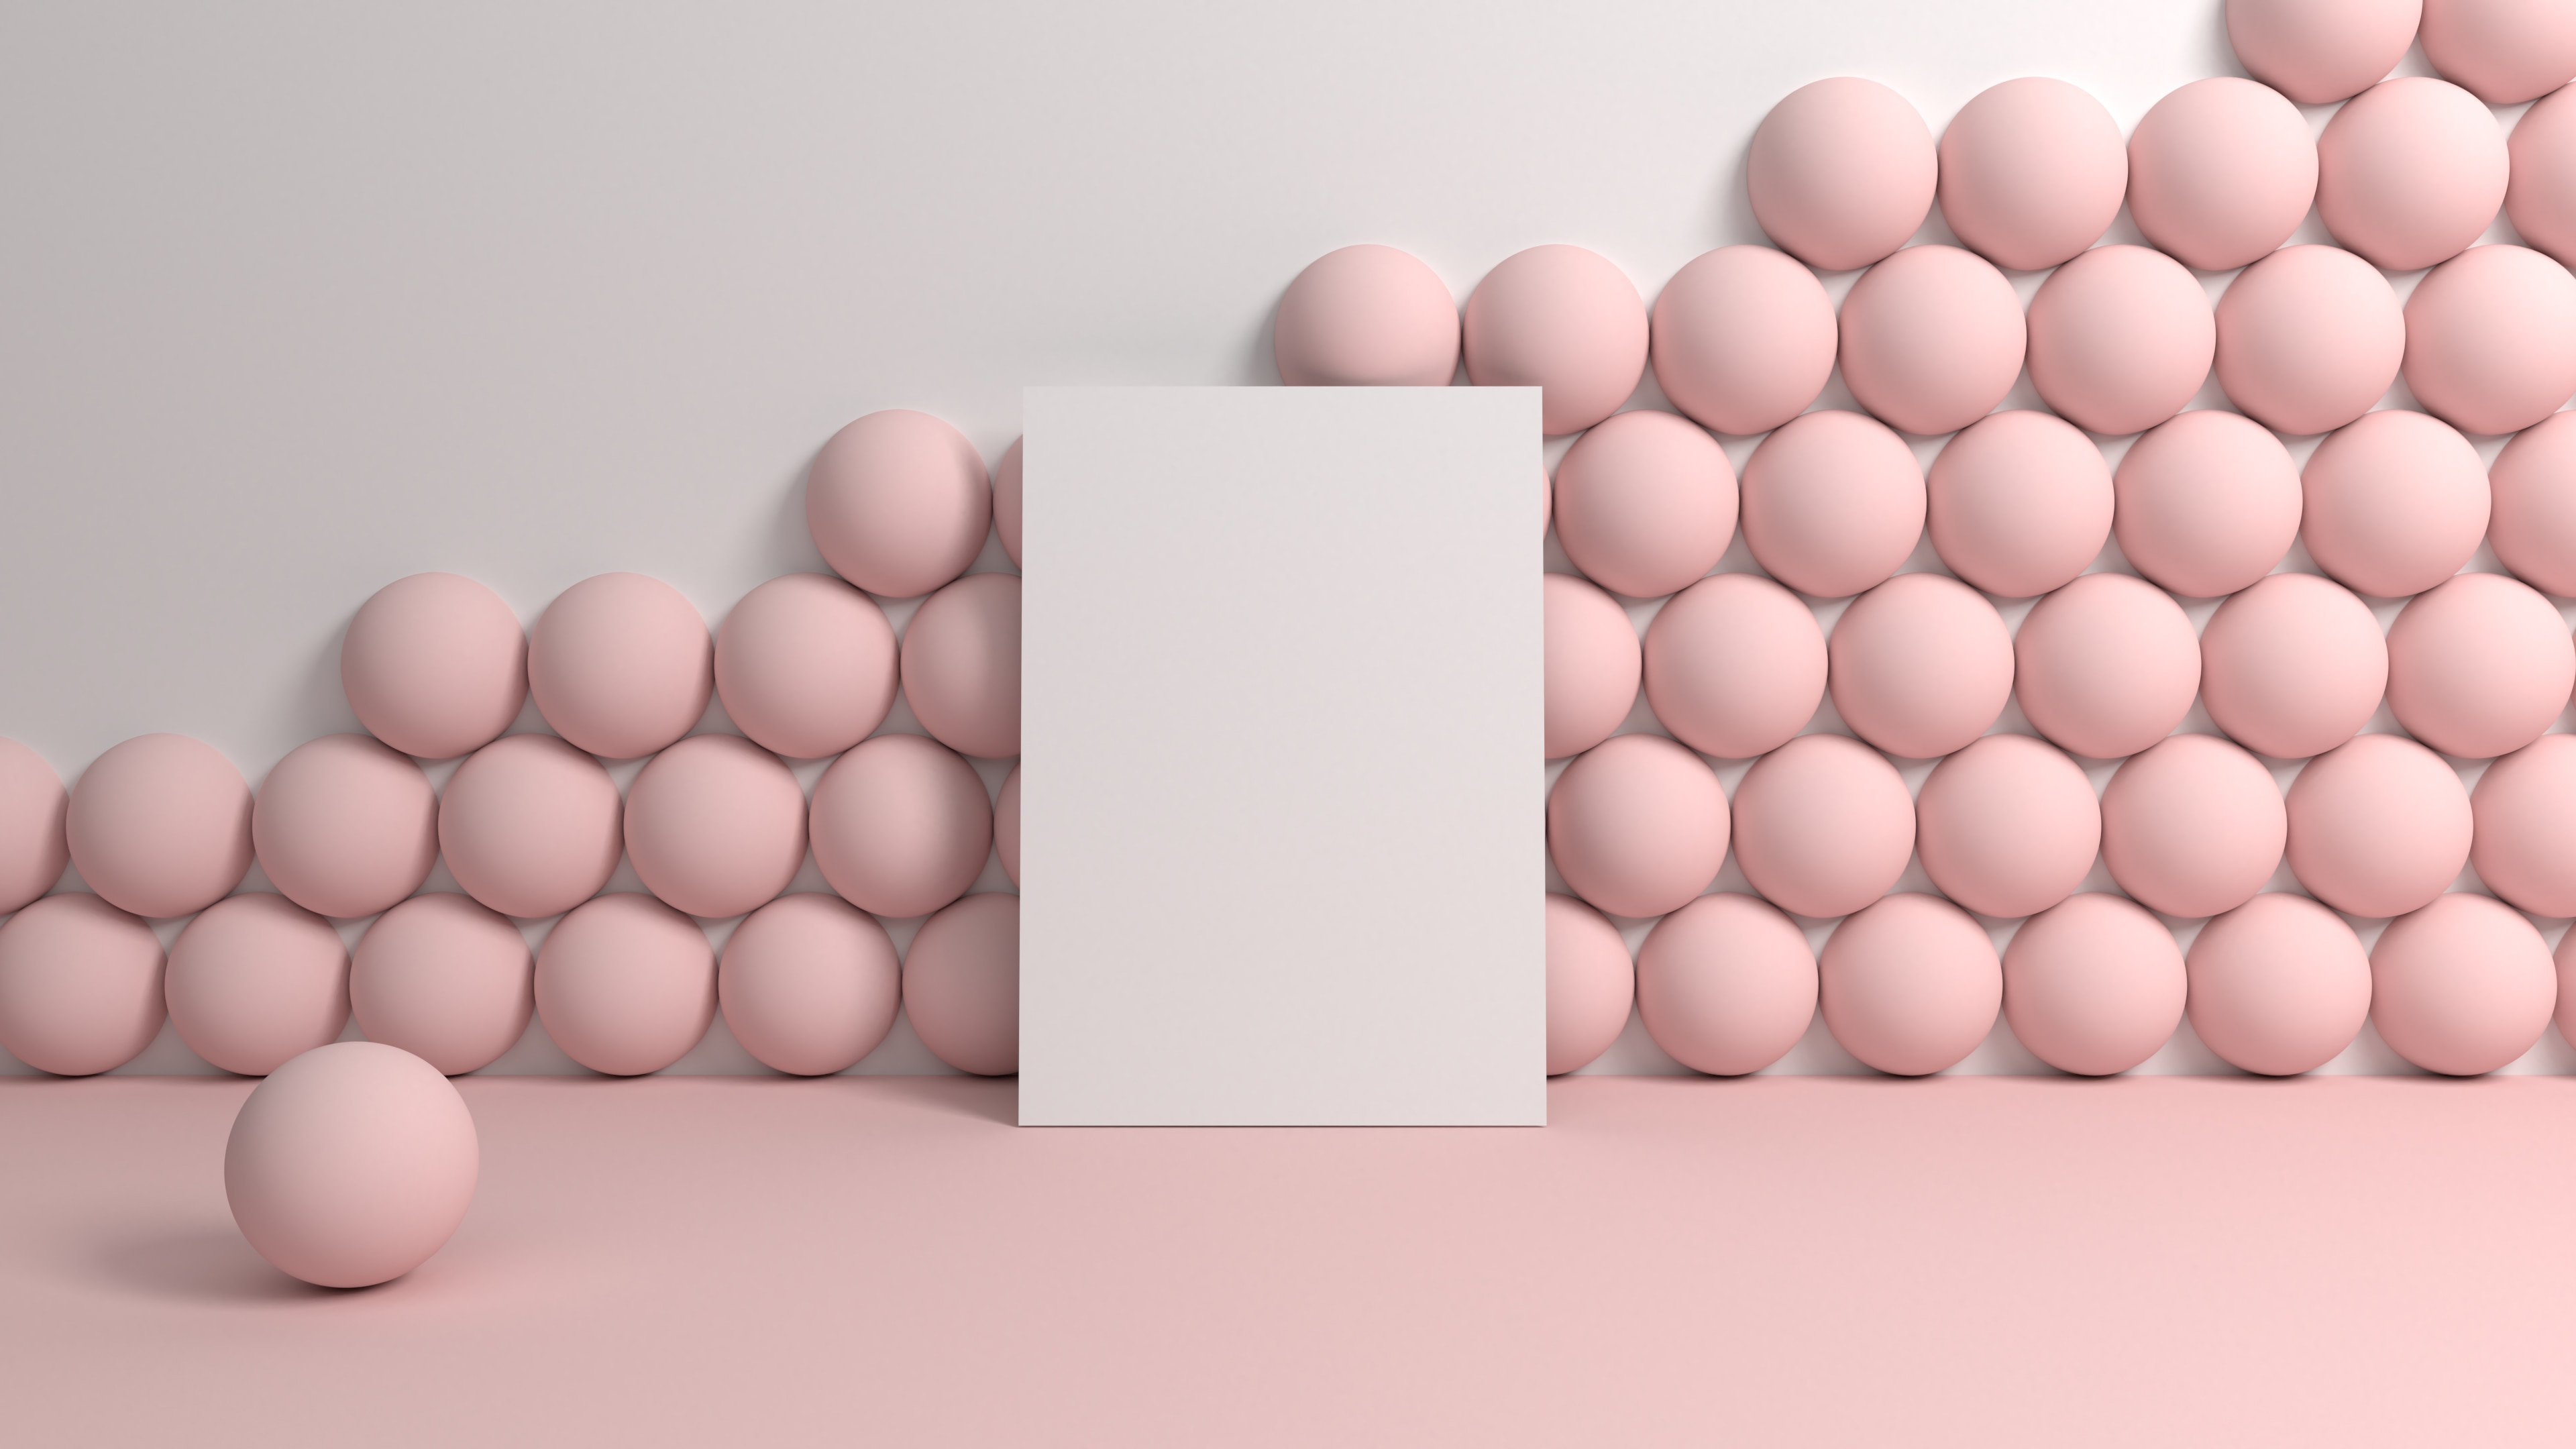
I rather liked the direction that Figure 6 was taking me, so I moved the camera back a bit and upgraded the card to a picture frame (Figure 7).

An empty white picture frame leaning against a wall in a room with pink floors, a blue wall, and pink balls stacked against the wall
Figure 7. Adding in a picture frame

Then I added in my Lake Tahoe illustration and started adjusting the lighting and materials in the scene (Figures 8–11).

Screenshot of a model in the 3D program Blender
Figure 8. The scene in Blender
A map in a white picture frame leaning against a wall in a room with pink floors, a blue wall, and pink balls stacked against the wall
Figure 9. Reflective materials
A map in a white picture frame leaning against a wall in a room with pink floors, a blue wall, and pink balls stacked against the wall
Figure 10. Ground-level lighting
A map in a white picture frame leaning against a wall in a room with pink floors, a blue wall, and pink balls stacked against the wall
Figure 11. The final version of this scene (full size)

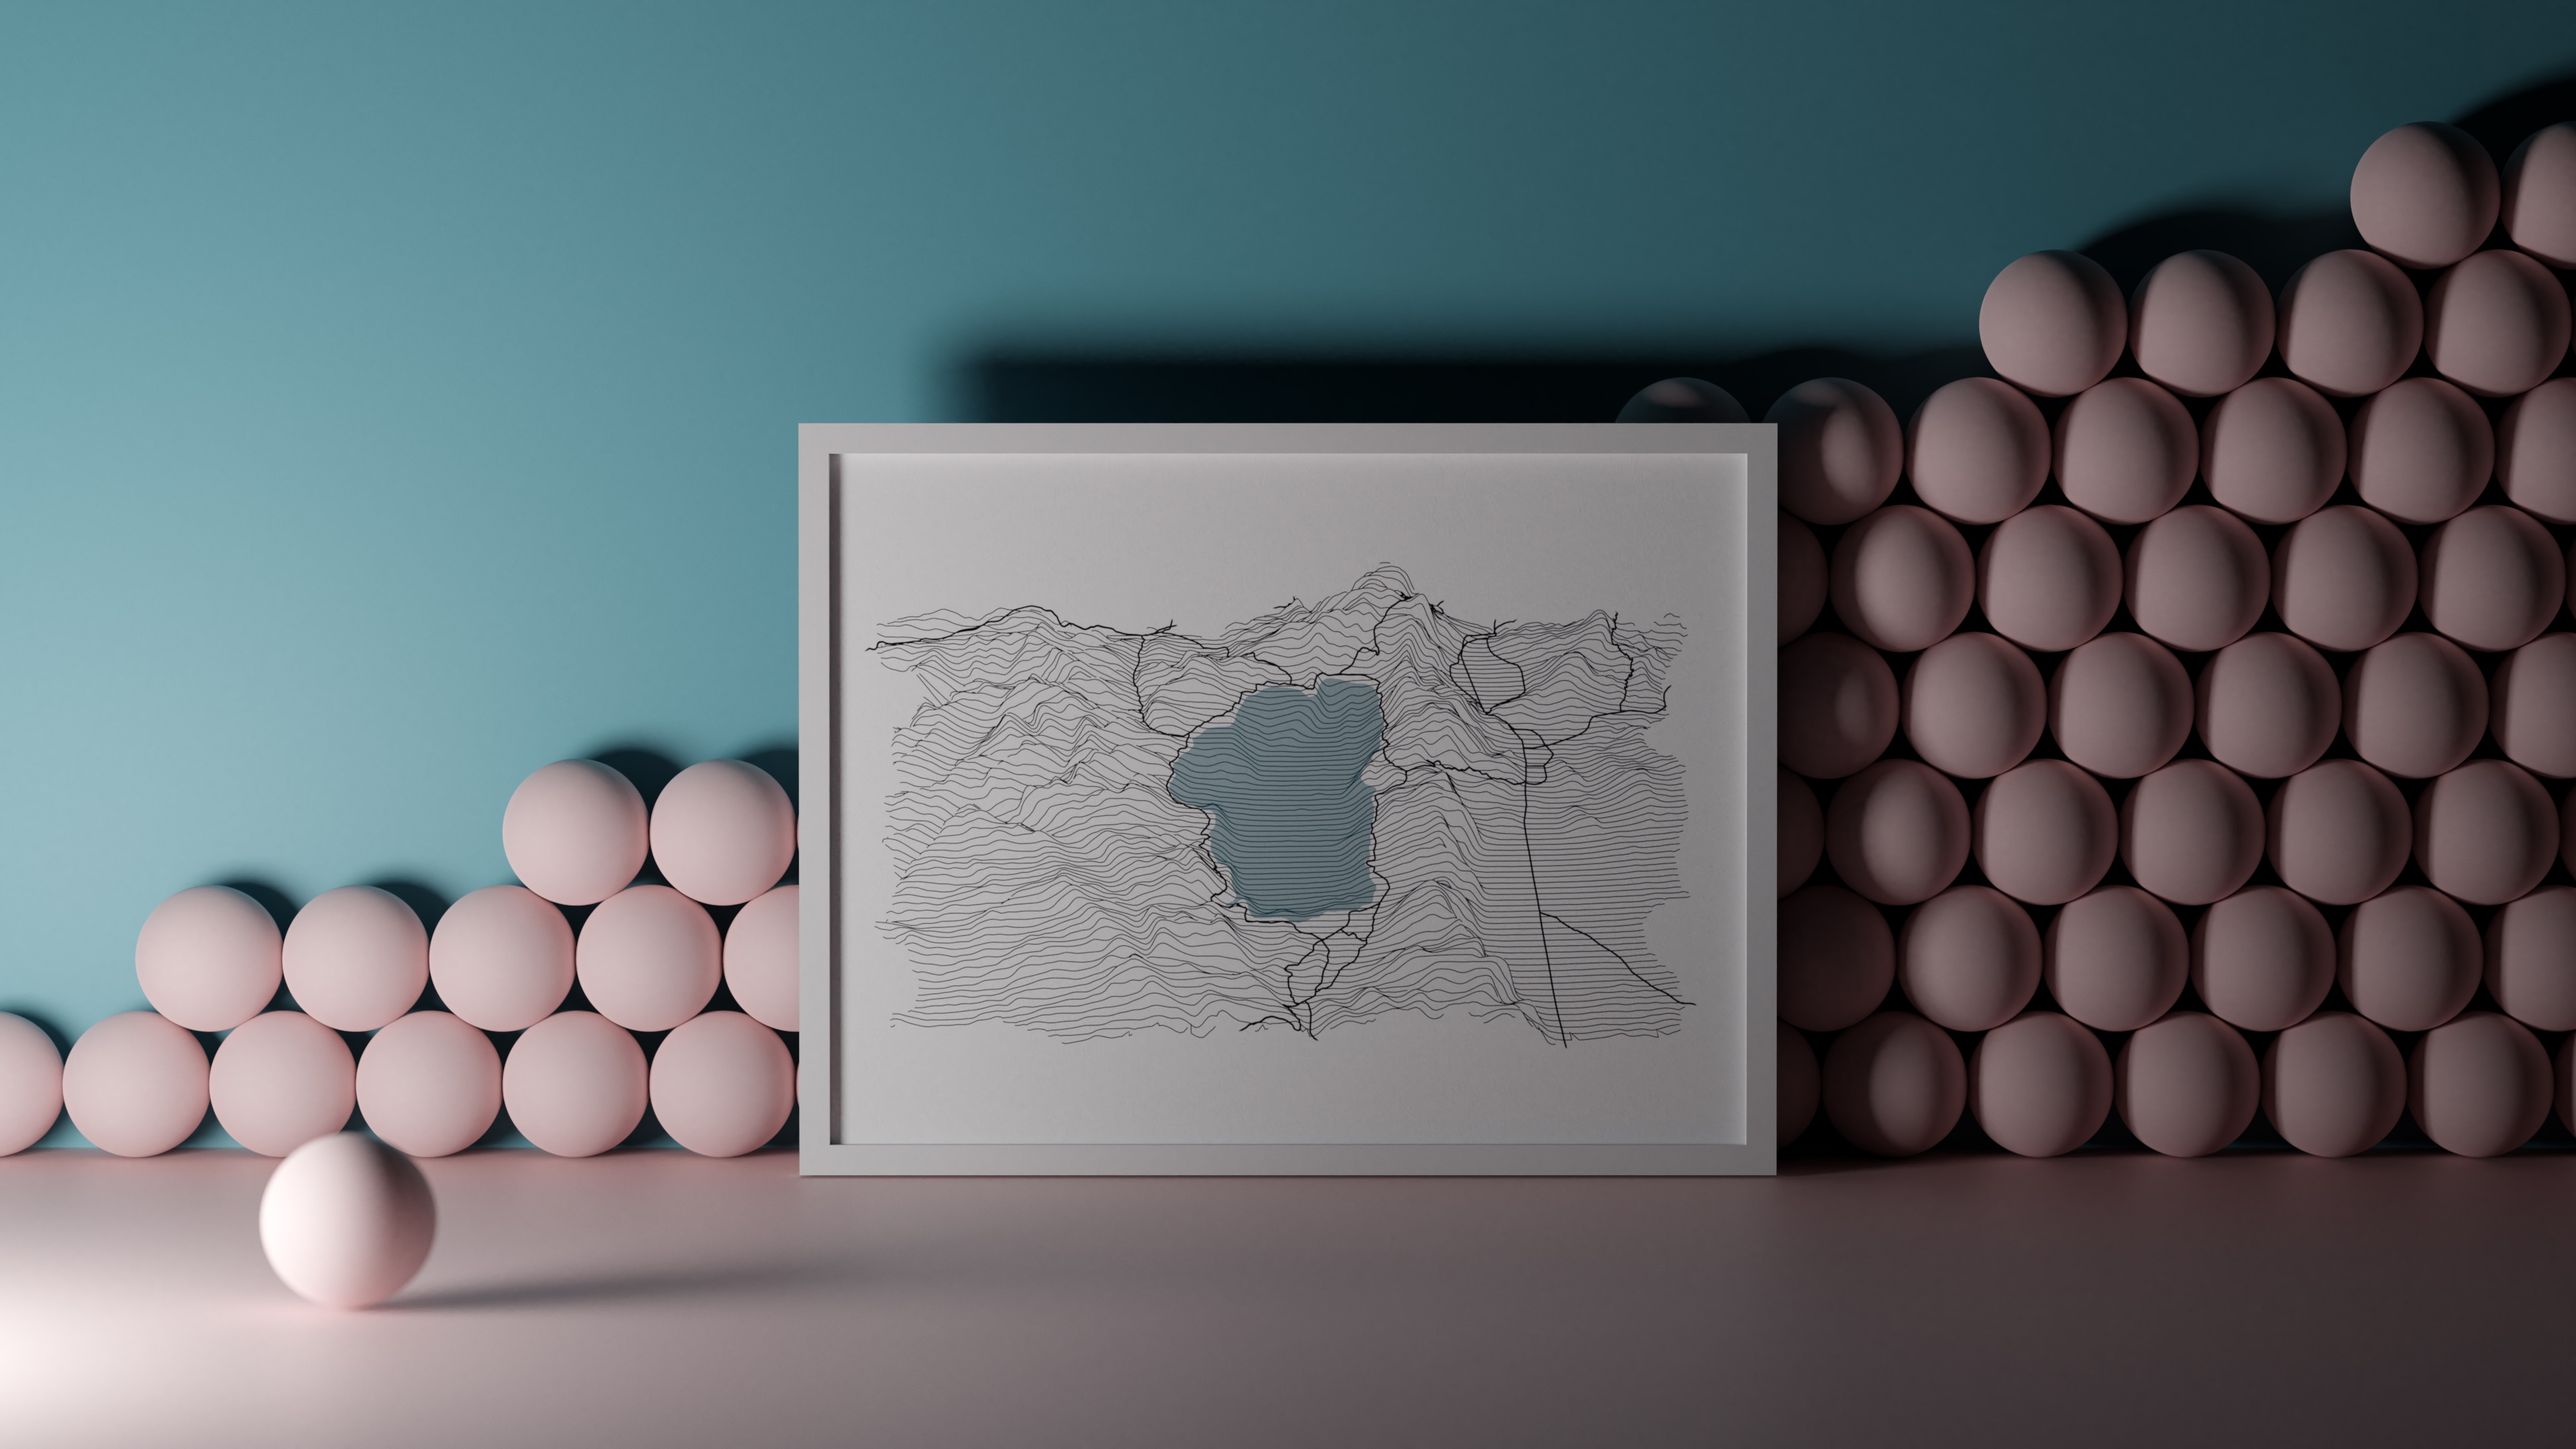
Everything felt nicely balanced in Figure 11, so I marked that as done and moved on to try one last idea.

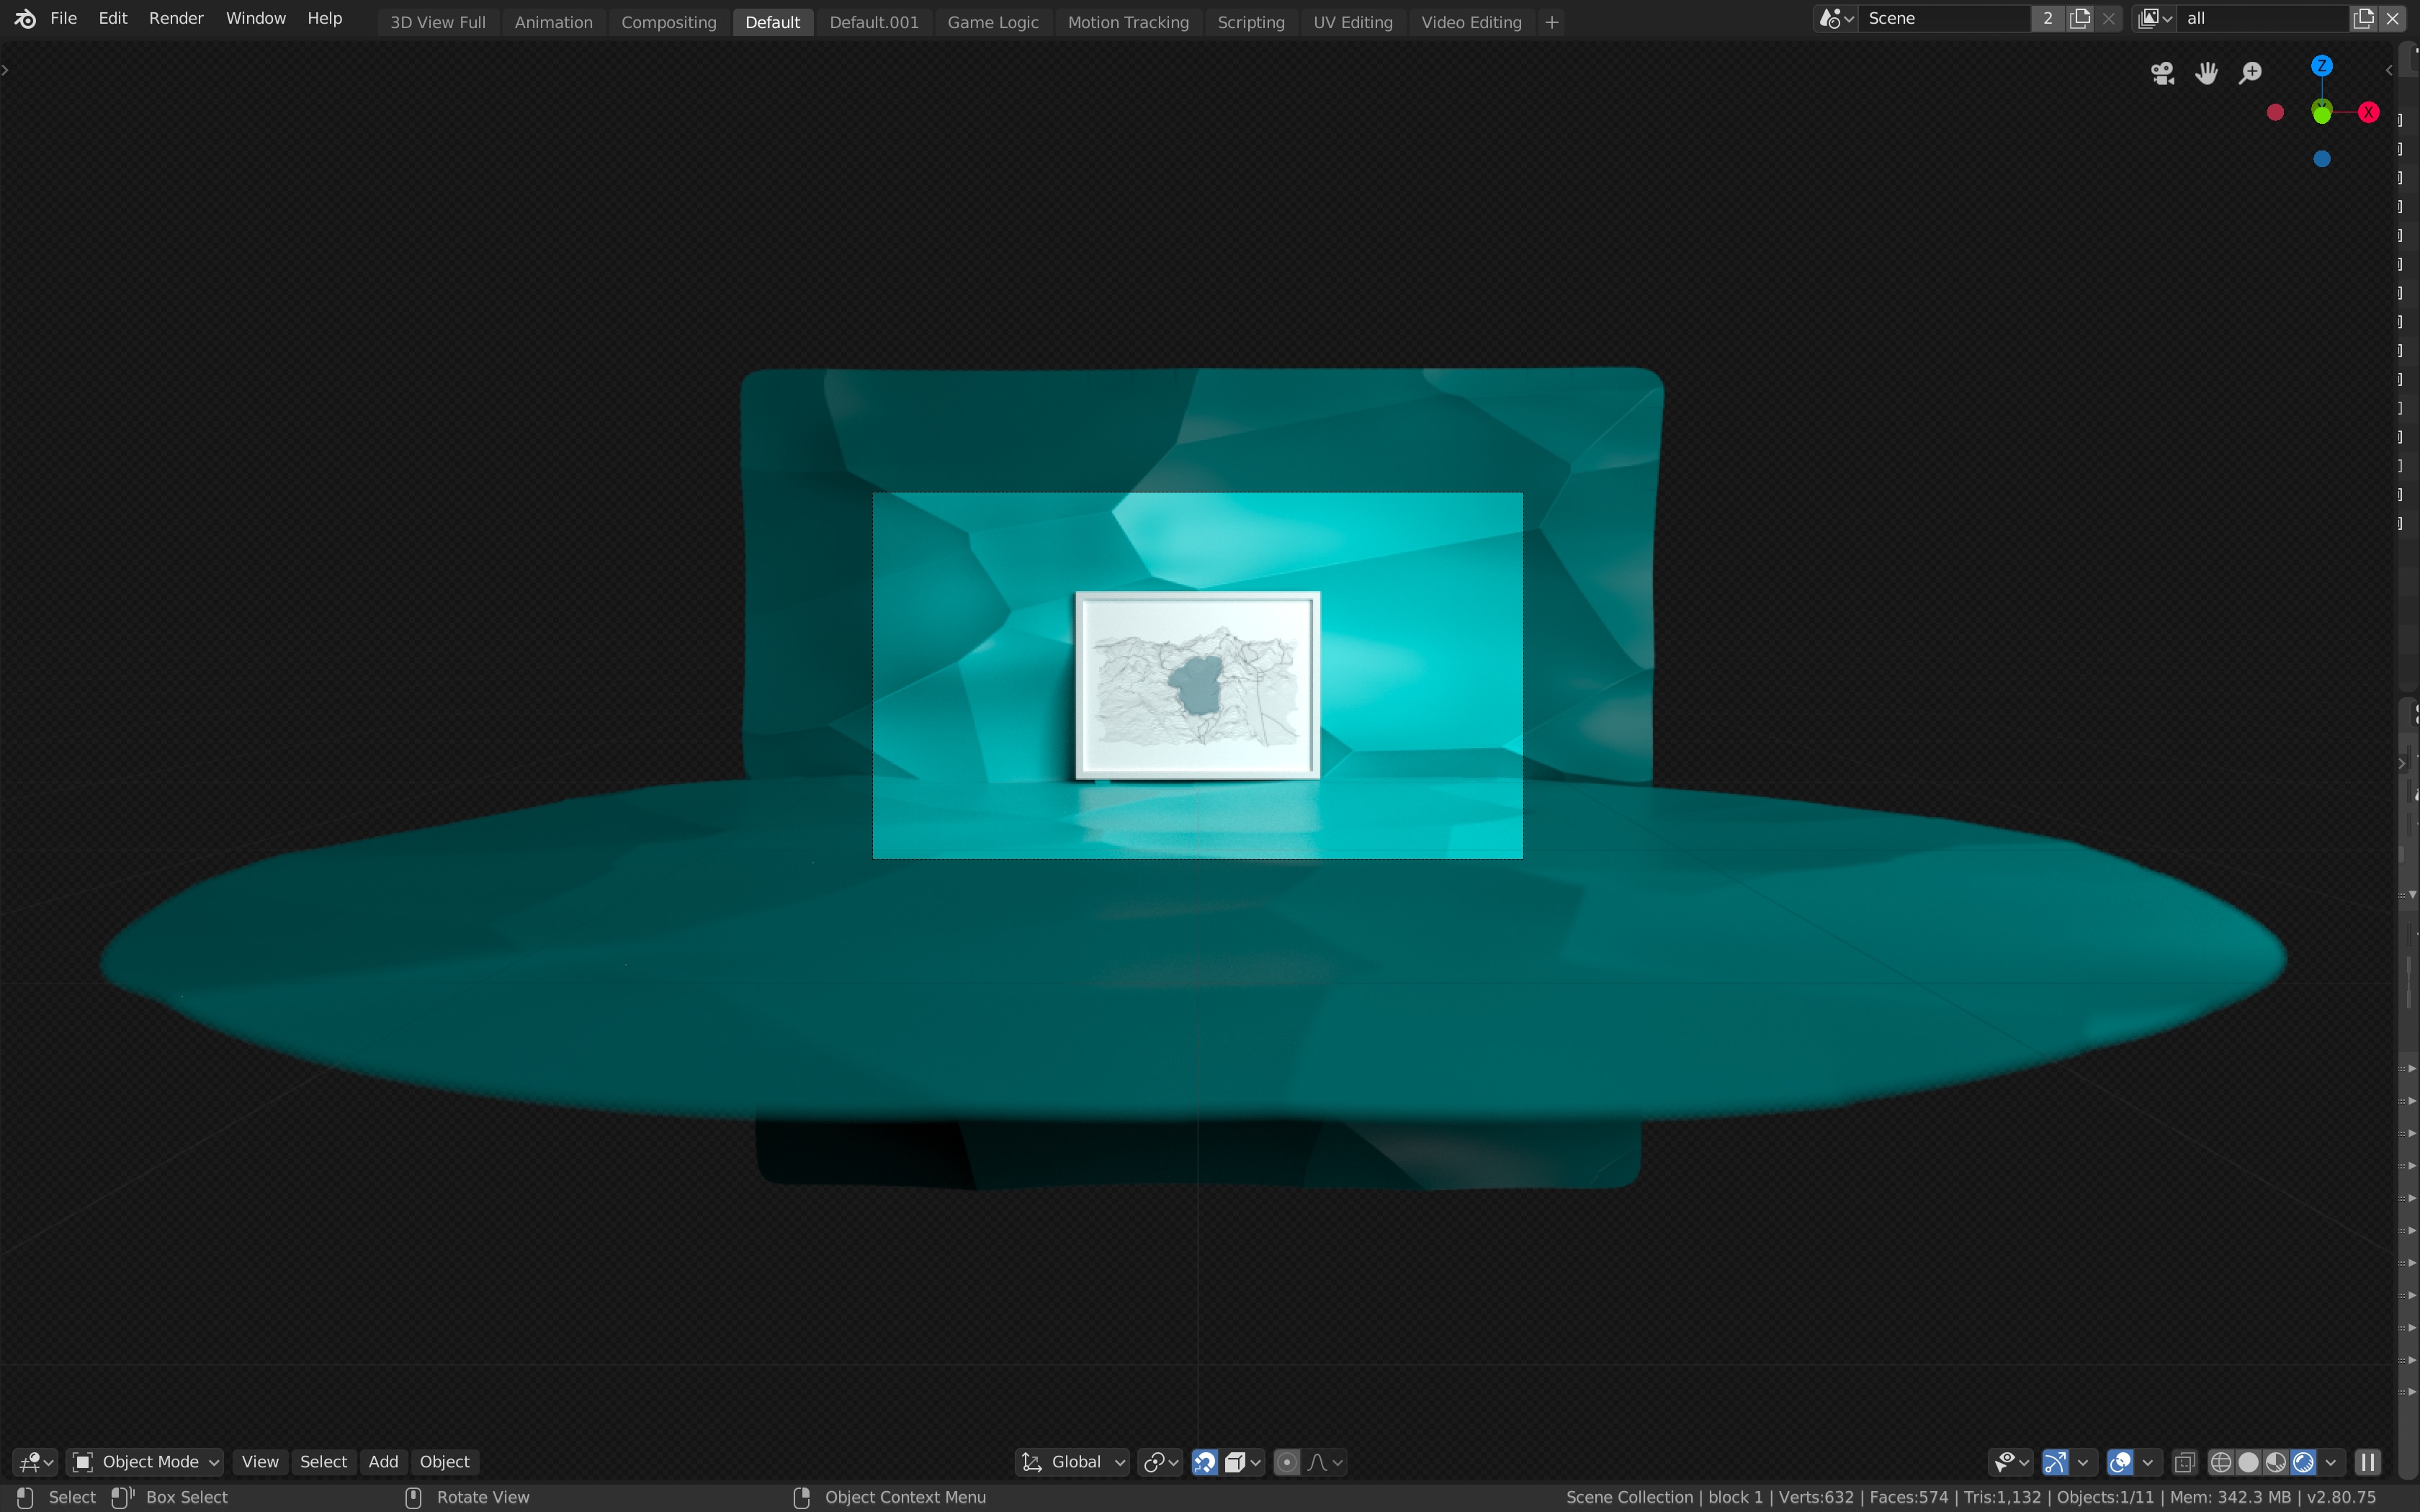
In Figures 12 and 13 I used a Voronoi texture as a displacement map to shape the floor and walls. The result felt futuristic and sculptural, and was clean enough to work well with the picture frame.

Screenshot of a model in the 3D program Blender
Figure 12. The scene in Blender
A map in a picture frame sitting in a futuristic blue room
Figure 13. The final version of this scene (full size)

And that’s where I left it.

I still have work to do on the Lake Tahoe illustration, and there’s a lot more I could do with building little scenes for my photo studio, but I’m pleased with where I got to on my first attempt.