Reel-to-reel player
In 2017, my wife and I started planning out the design of a new online audio museum. Each exhibition would consist of a single reel of curated audio played through a 3D rendering of a classic reel-to-reel tape machine. We wanted visitors to bring the same quality of attention to our museum as they’d bring to a physical gallery: patient, unhurried, and present. The player’s mechanisms and limitations would be part of that slow and considered experience.
The larger project never launched, but with the help of Claude I recently revisited the reel-to-reel player and felt it was worth sharing. You can see it below.
Not all the player’s controls work yet, but those that do are labeled. Press PLAY to start the tape rolling. The section below the player is there to help you understand how it’s put together. Try turning the layers on and off, or manually adjusting the size of the tape packs.
How it works
The player is built using a Blender model that replicates the iconic Braun TG 60. Python scripts render out a collection of 72 images: one background, one depth map, two shadows, four button sprites, 16 tape sprites, and 48 reel sprites. The sprites are automatically cropped and masked (again by Python) and then everything is layered back together in code to create the illusion of a single 3D object.
Both the model and the tape physics are matched to the real-world machine. The diameter of each tape pack is calculated based on the total length of the recordings and the current timecode. Those measurements then drive an appropriate rotation speed for each reel so that together they keep the tape moving through the playhead at the correct rate.
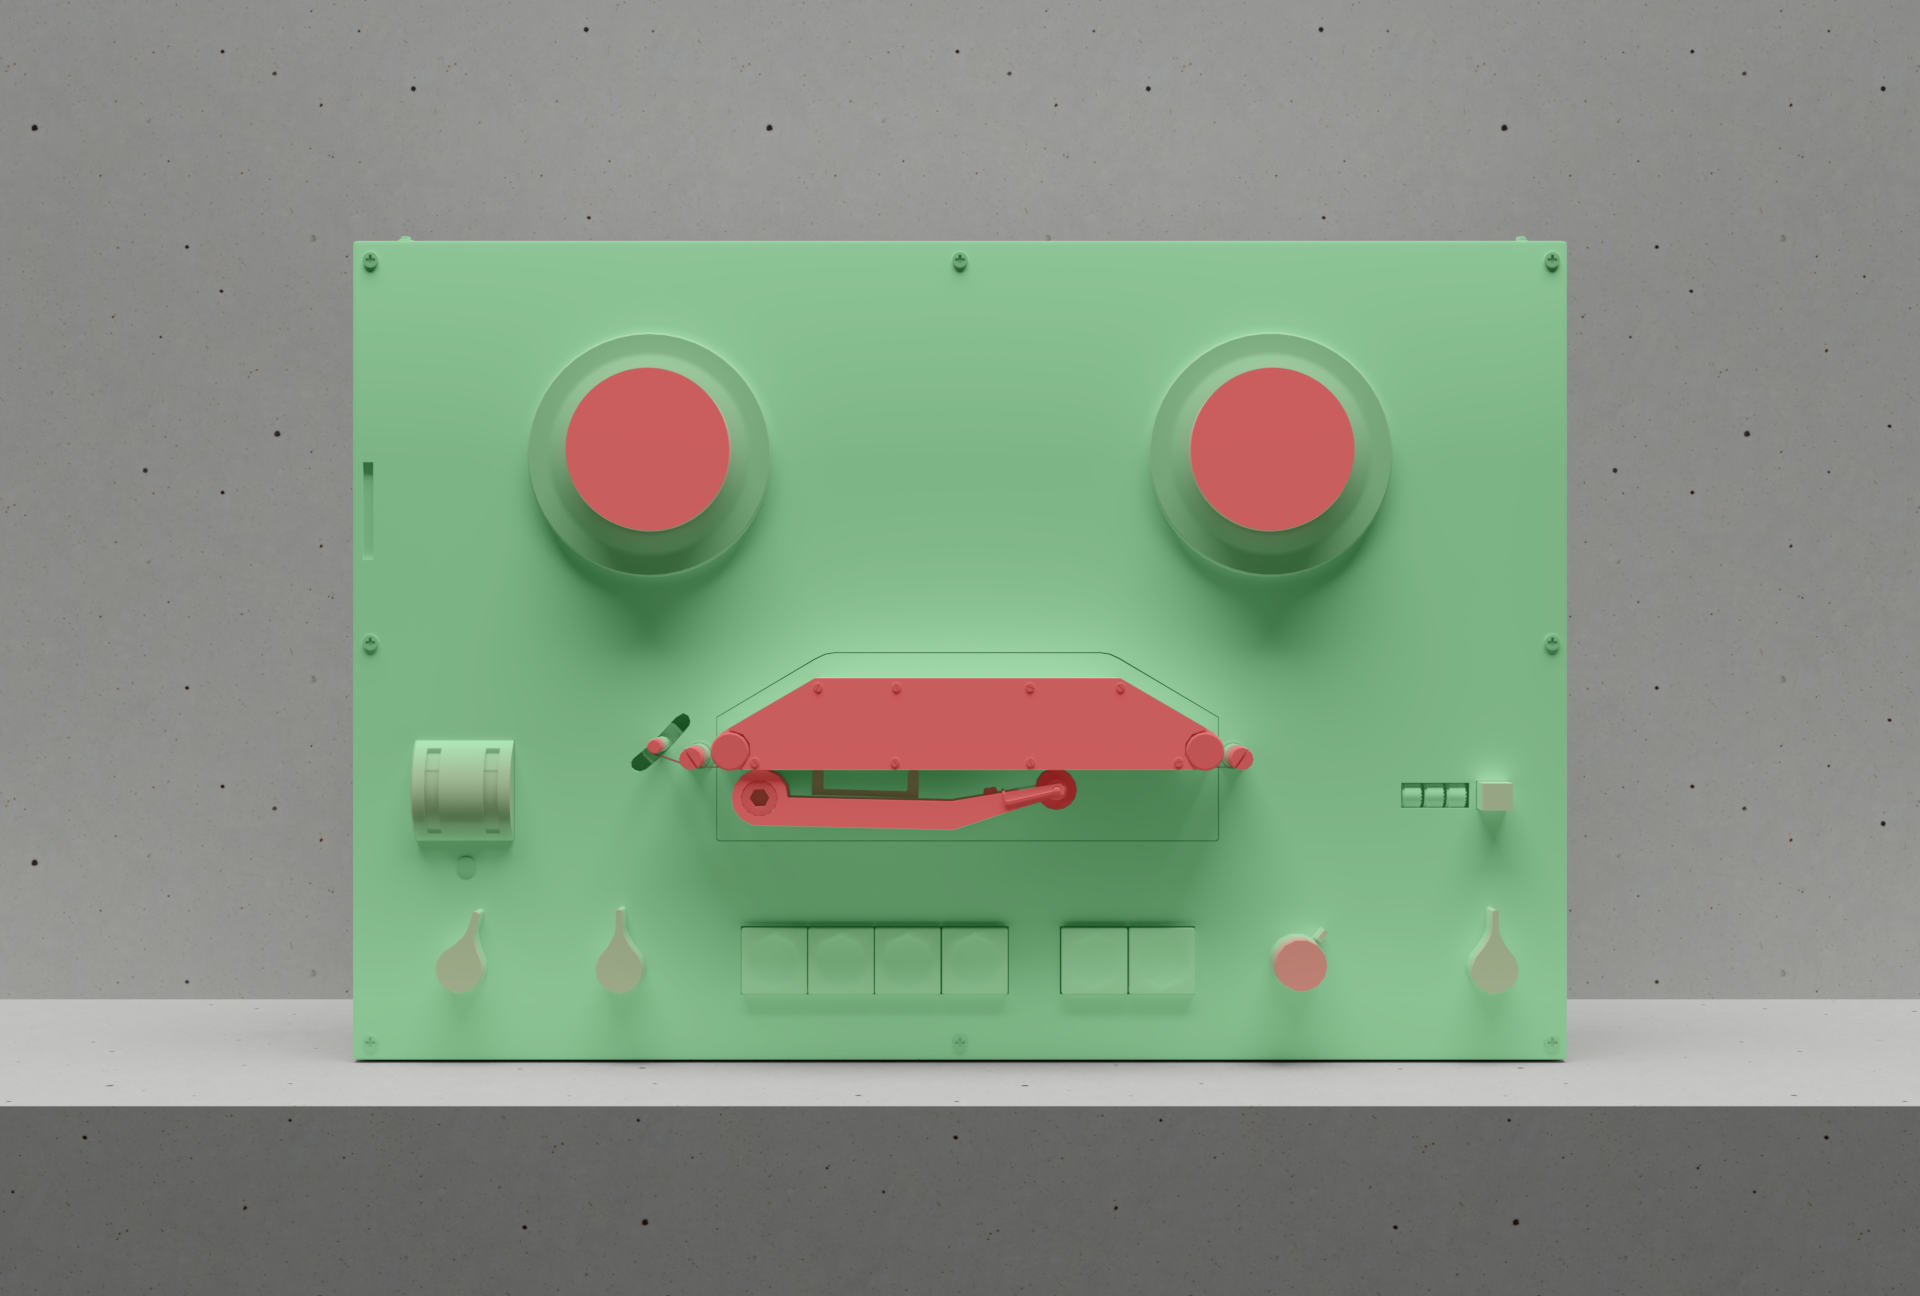
As the tape packs change size, so do the shadows they cast. A depth map is used to ensure these shadows always fall naturally across the player’s features, masking those areas that should remain unaffected. Figure 2 shows a version of that depth map. Green areas are in line with or behind the tape packs, and so may be affected by their shadows. Red areas are in front of the tape packs, and so won’t be affected. A gradient is applied between the two to ensure a smooth and natural-looking falloff.
The plastic reels
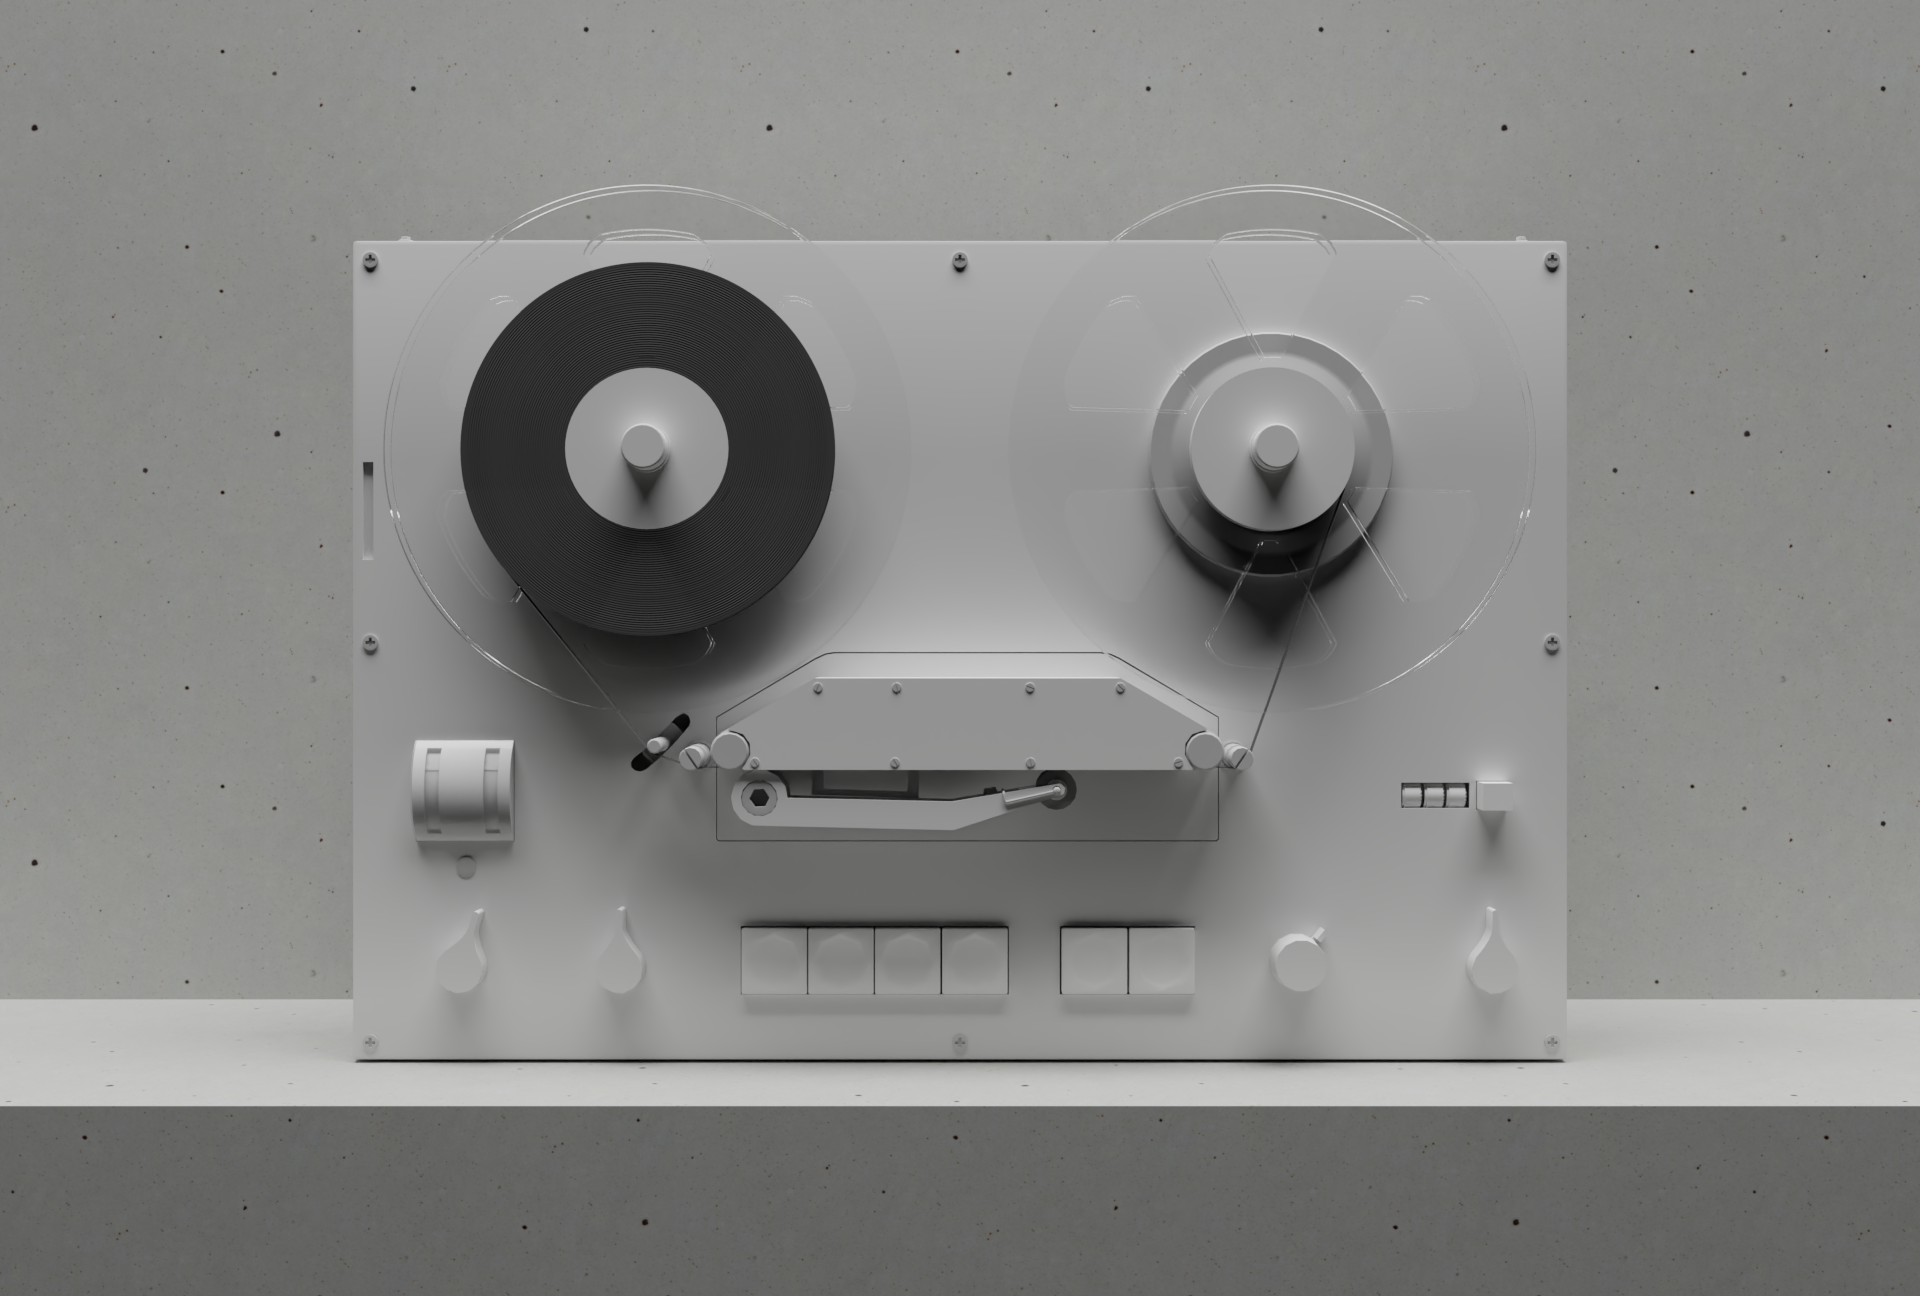
Finding the right material for the plastic reels took longer than almost anything else in the project. The reels need to be transparent, but they also have to feel physically present. Figure 3 shows a series of plastics that have increasing amounts of this “presence”. Pay special attention to the areas where the reel sits in front of the tape pack. Some versions are almost invisible, while others have a more solid feel.

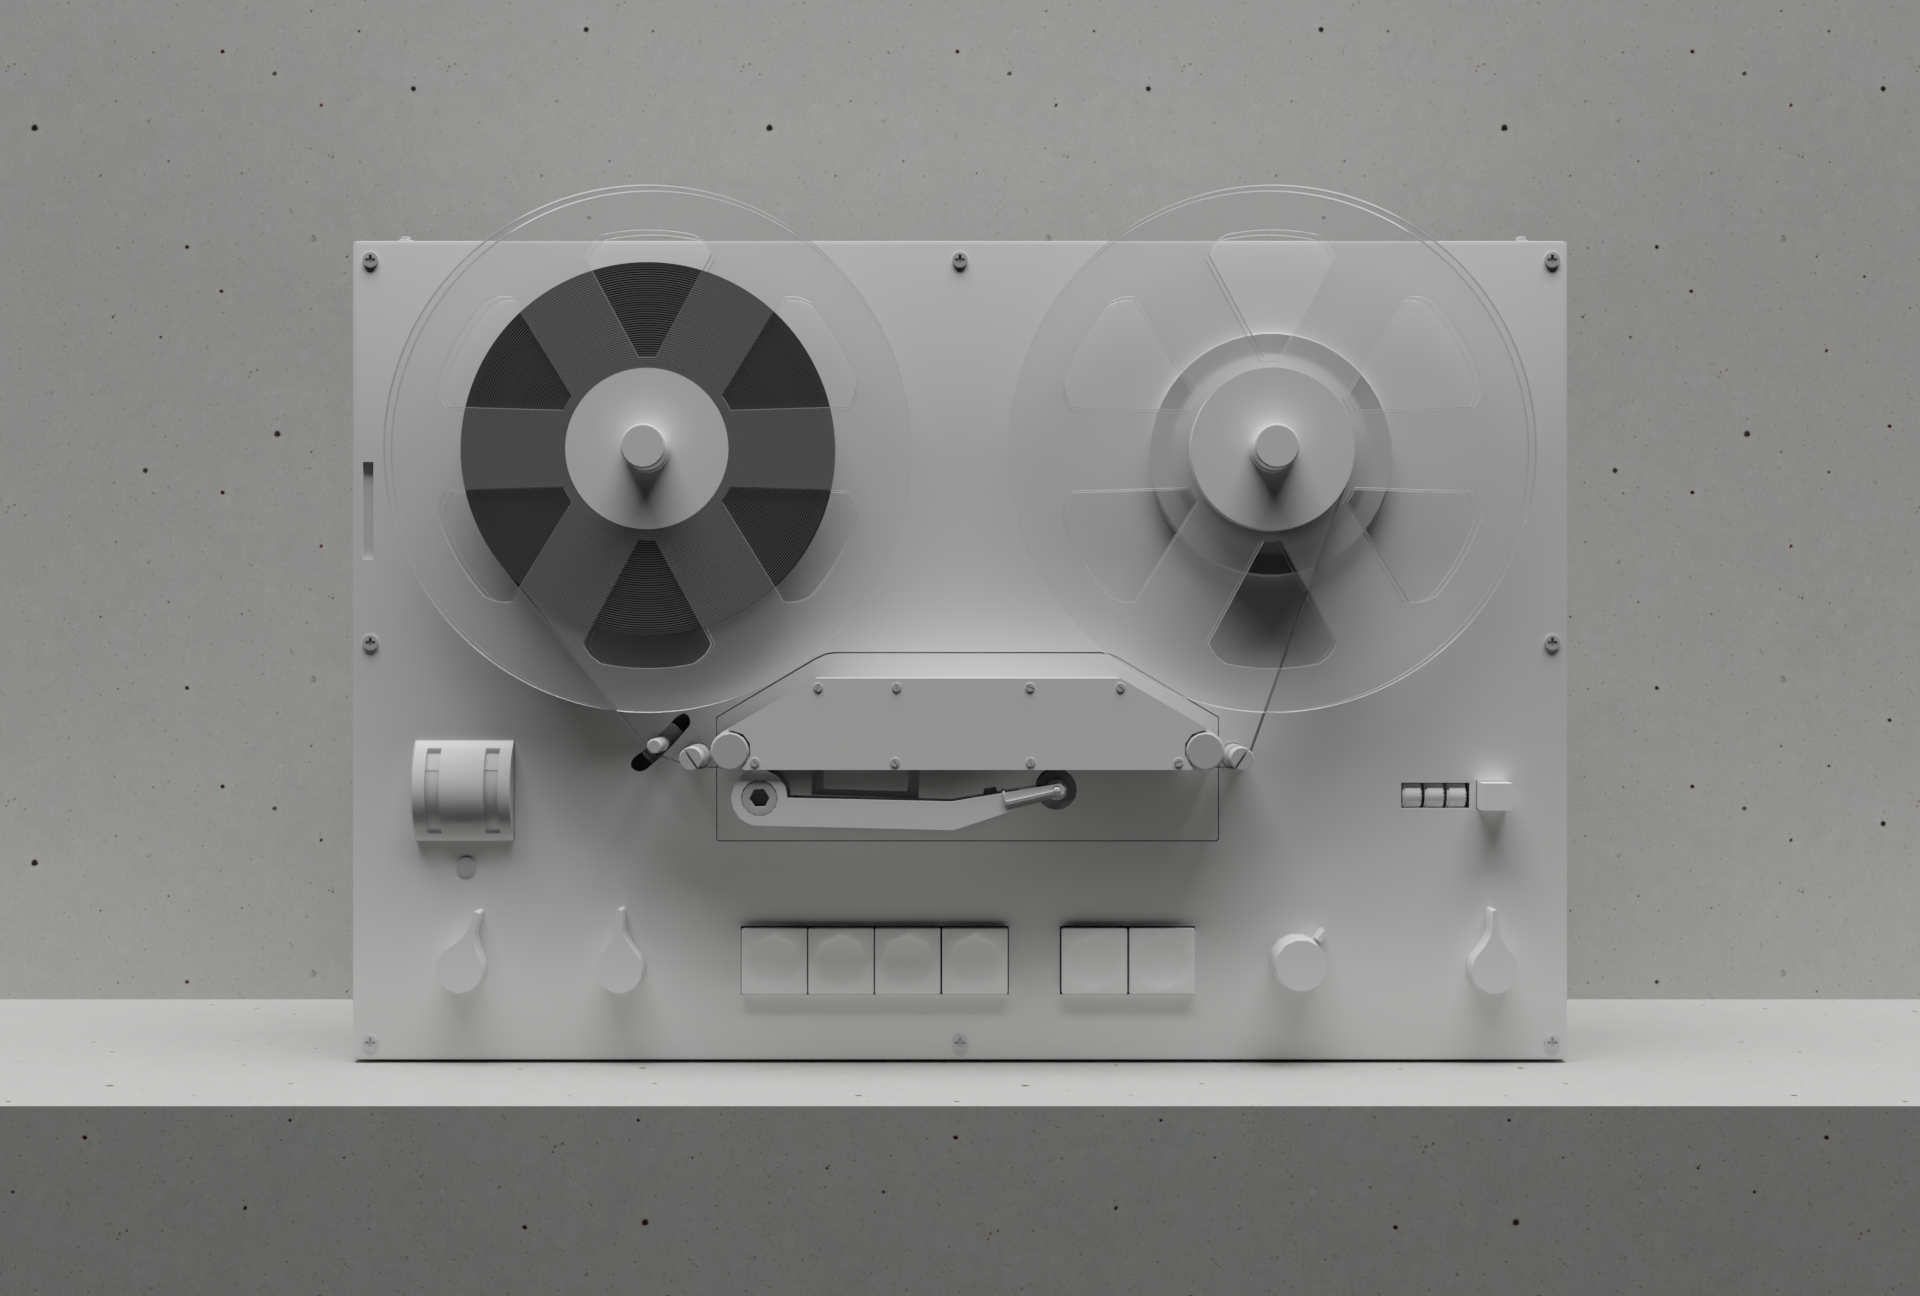
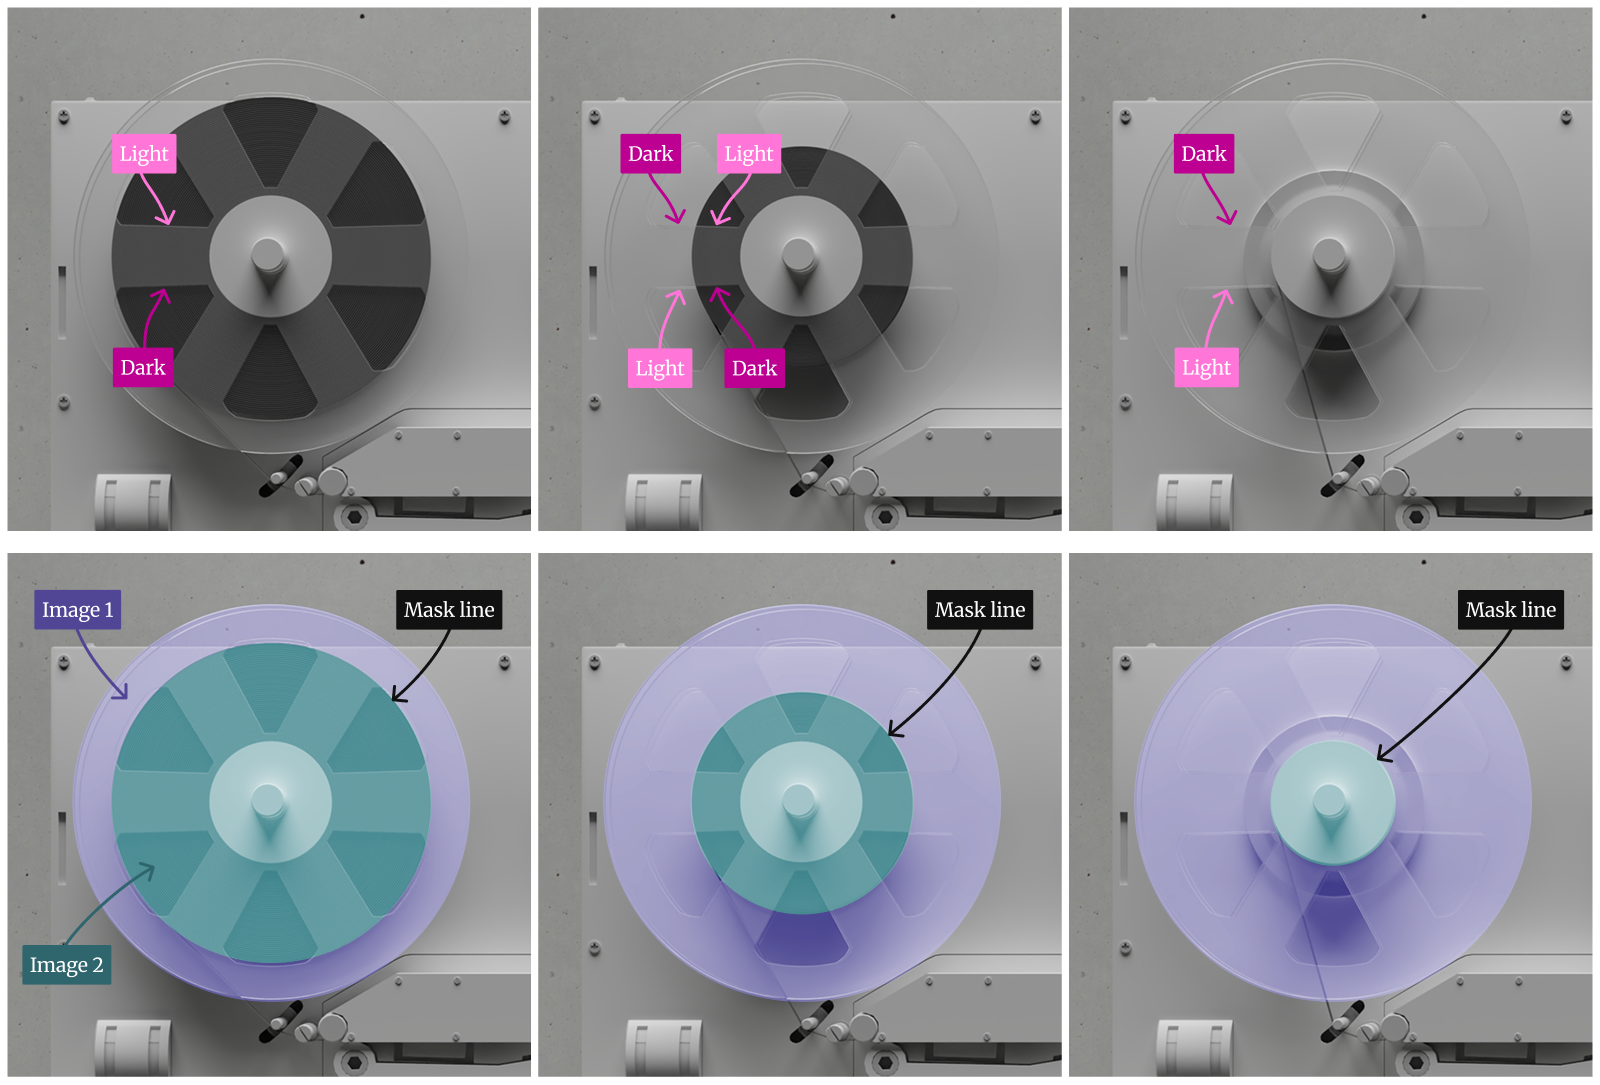
The brightness of the reels’ beveled edges varies based on the material appearing directly behind them, as well as their angle relative to the light source. To capture this behavior accurately, two versions of each front reel are rendered, one with a full tape pack behind it, and one without. These two sets of images are then masked together at the tape pack boundary, recreating the correct look while allowing the pack to grow and shrink as needed (Figure 4).
Performance issues
The player asks quite a lot of your web browser, so don’t be surprised if it glitches every now and then. There are 72 images. There are masks, and transparencies, and depth maps, and shadows and gradients. And all of it is spinning and resizing and moving at 60fps while the audio plays. I spent a long time trying to optimize things, and ended up cutting some of the more CPU/GPU intensive effects completely, but there’s still a chance the animation might stutter and jump.
Collaborating with an agent
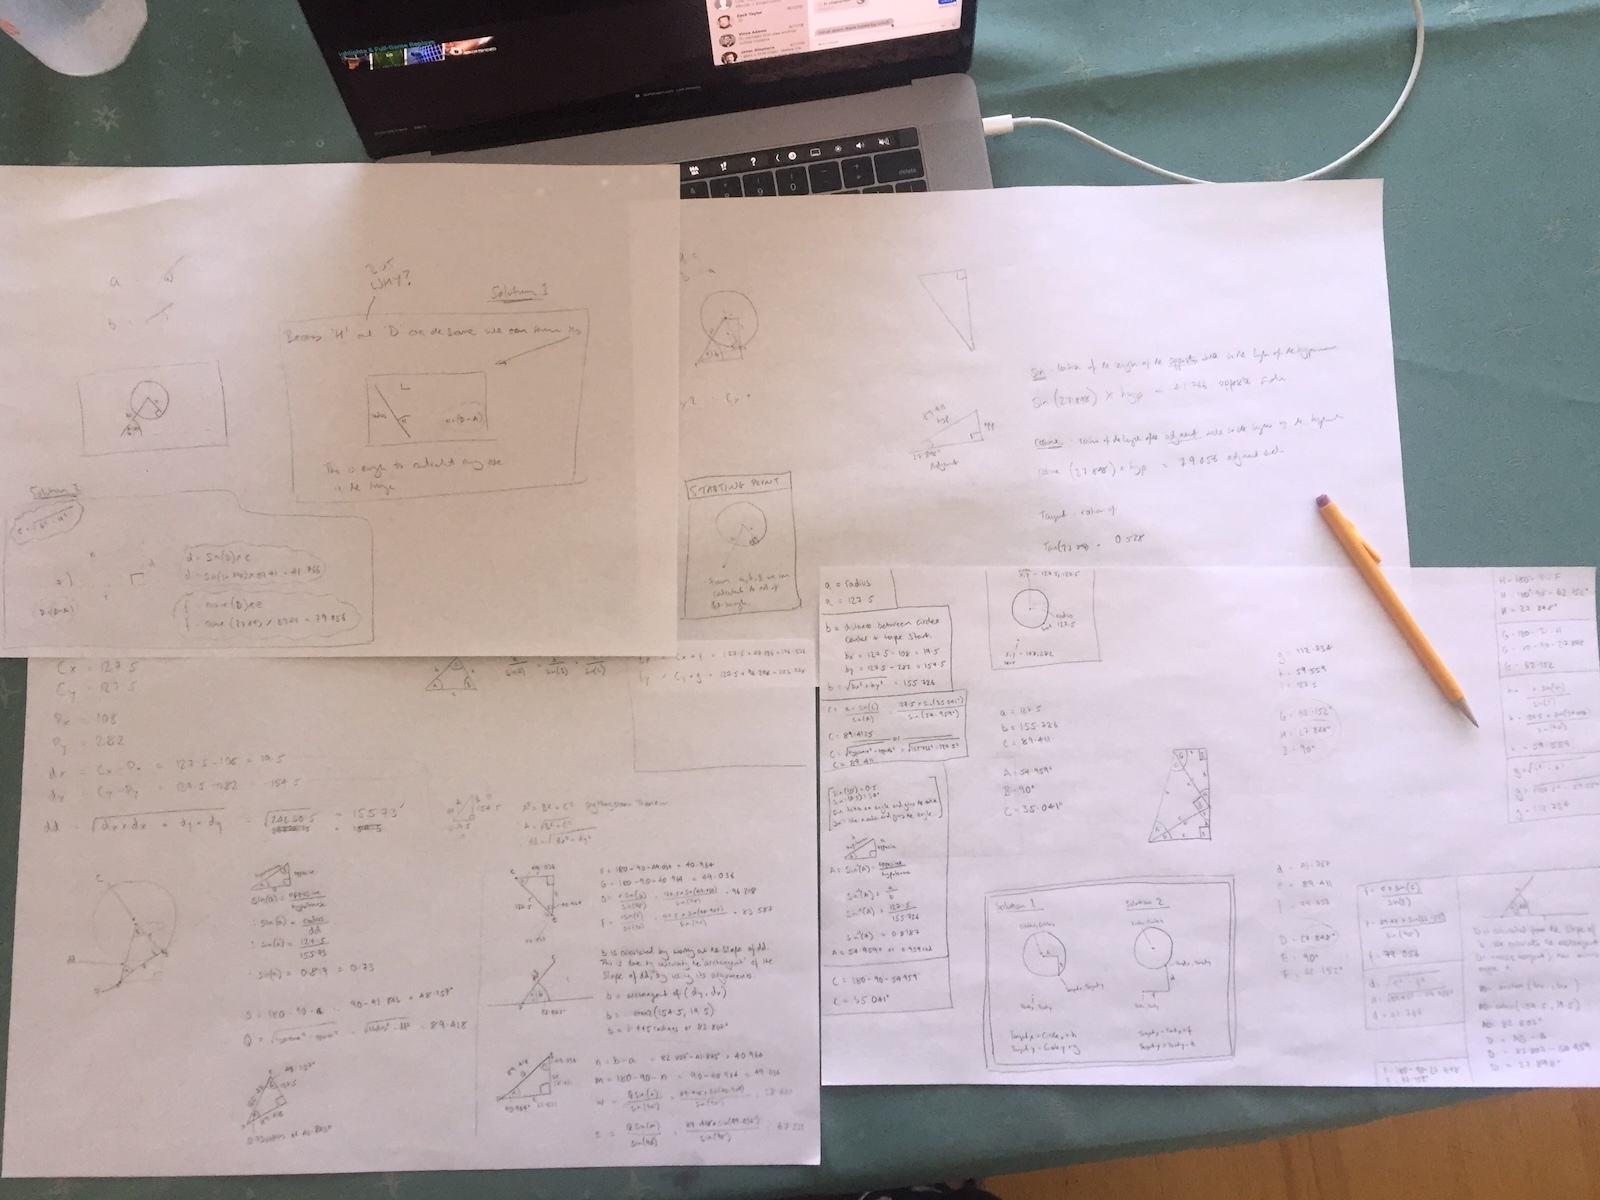
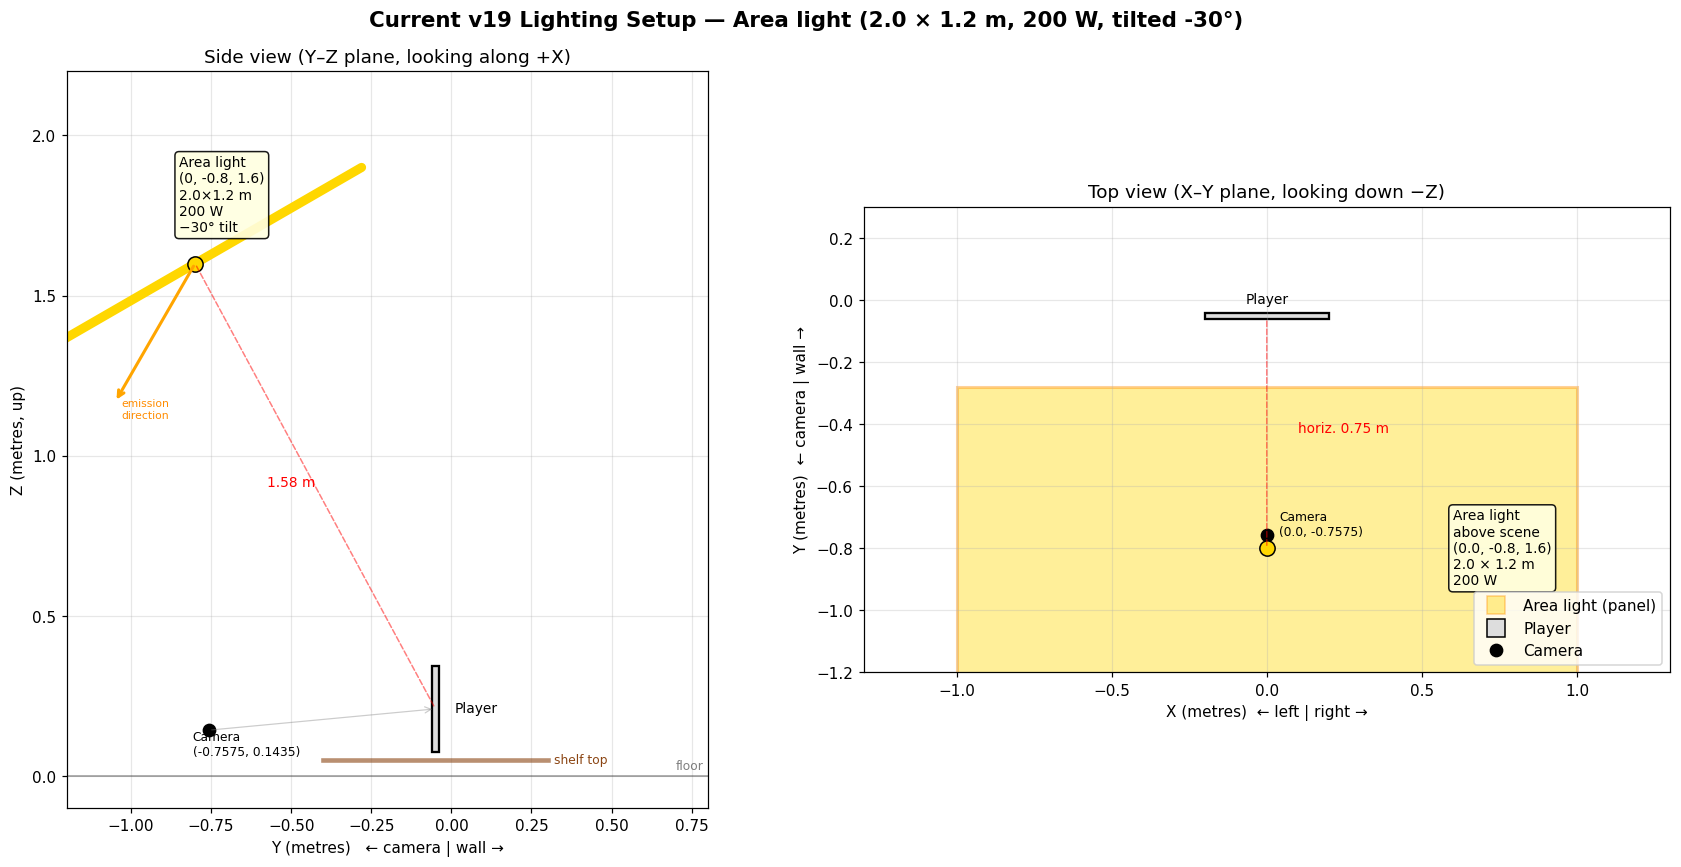
Working with Claude on this project was a generally positive experience, but having an agent sit between me and the 3D scene did come with a couple of downsides. The first was that Claude moved operations out of Blender’s UI and into Python scripts, which made it harder for me to think through any visual problems and resolve them. For instance, I couldn’t just open the .blend file and look at the position of the lights; instead I had to ask Claude to create diagrams of the scene to help me understand what was happening (Figure 5).
The second problem was that Claude Sonnet 4.6 often showed little interest in understanding the issues I saw in renders. It repeatedly dismissed my concerns, or claimed problems had been resolved before bulldozing ahead and committing a new PR. I had to put in an unreasonable amount of effort to have it remember that I was the arbiter of when something was a problem, and when it could be marked as fixed. As I finished this project up I swapped to Claude Fable and then Opus 4.8 Ultracode, both of which produced much better behavior.
On the positive side of things, it was amazing to have Claude create hundreds of test files and variations on layouts, materials, and lighting. The rendering pipeline and post-production scripts it put together were excellent, and we worked together very effectively in performance tuning and adding finishing touches to the player.
This is still just a proof of concept, but I’m glad that the experiment we started back in 2017 hasn’t been lost forever to distraction and inertia.