Tipi for the kids
A couple of years ago I made a small tipi for my nieces and nephews to play with. Nothing human sized, but big enough for them to get some dolls and cars inside. I thought I’d outline how I put it together.
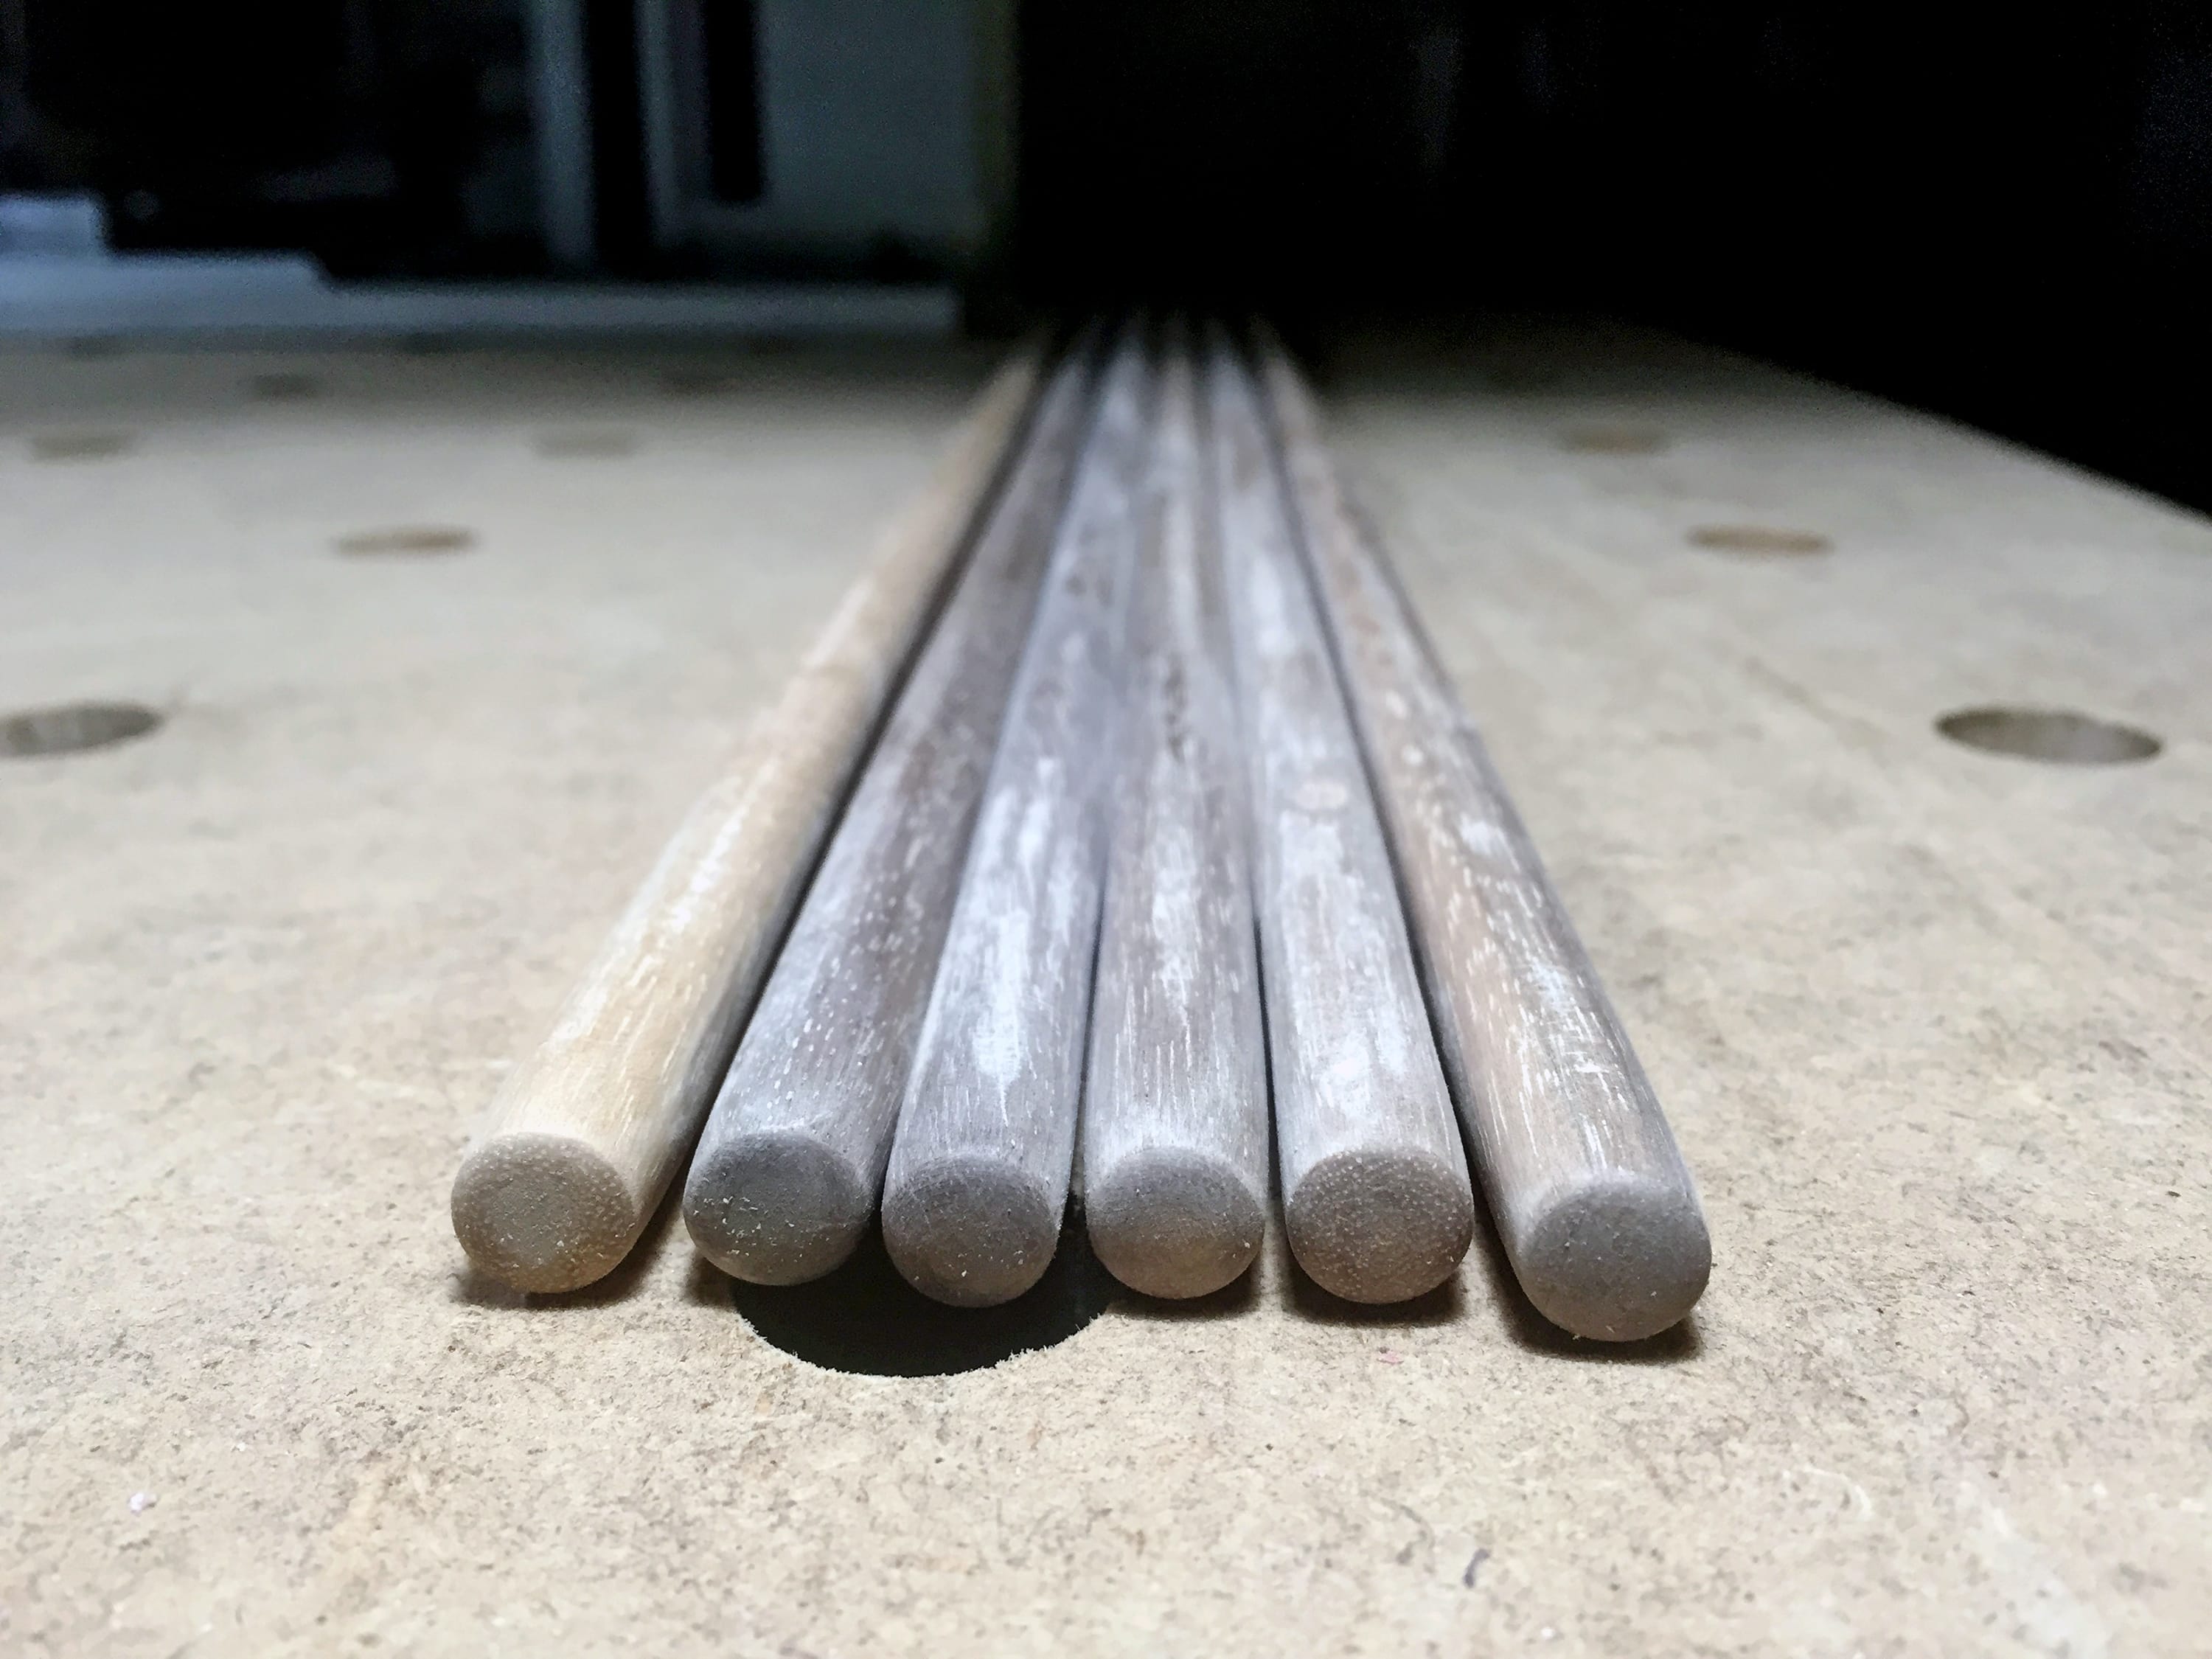
The first thing I did was make the poles. I found a stick of walnut in my parts bin and ran it through the table saw until I had six equal-size, equal-length pieces.

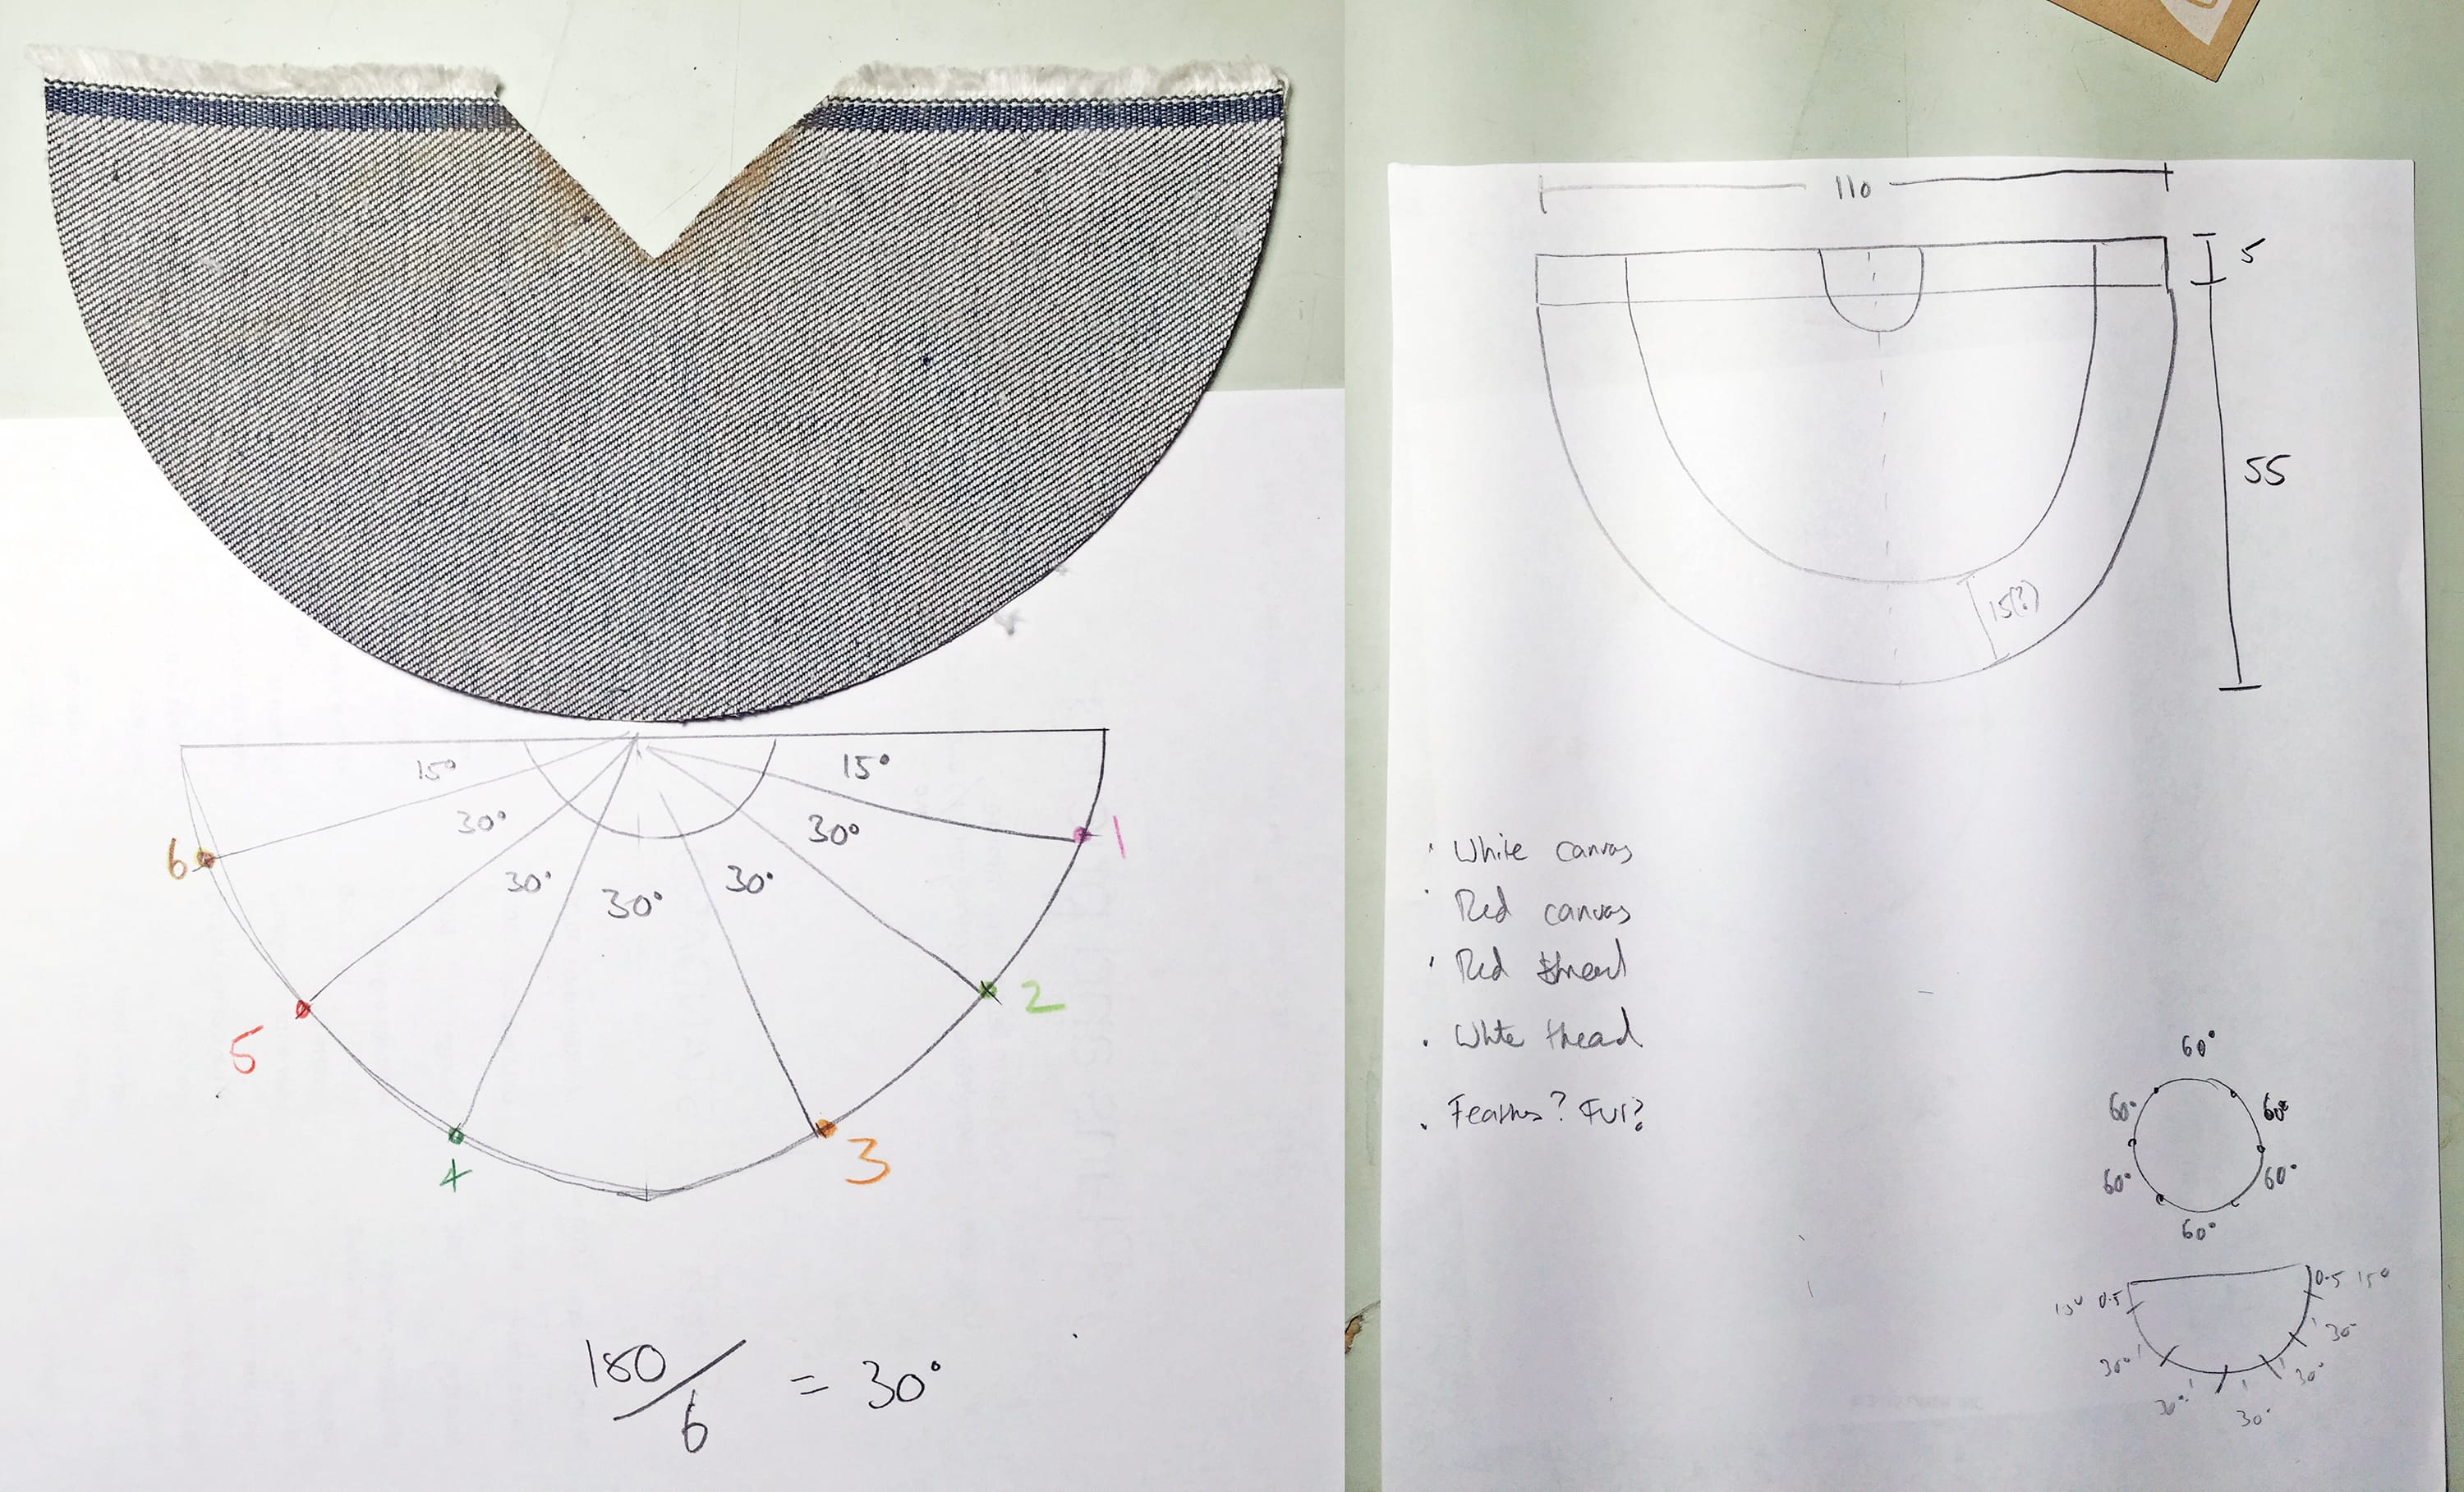
Next I worked out the measurements for the fabric and where the poles would sit.
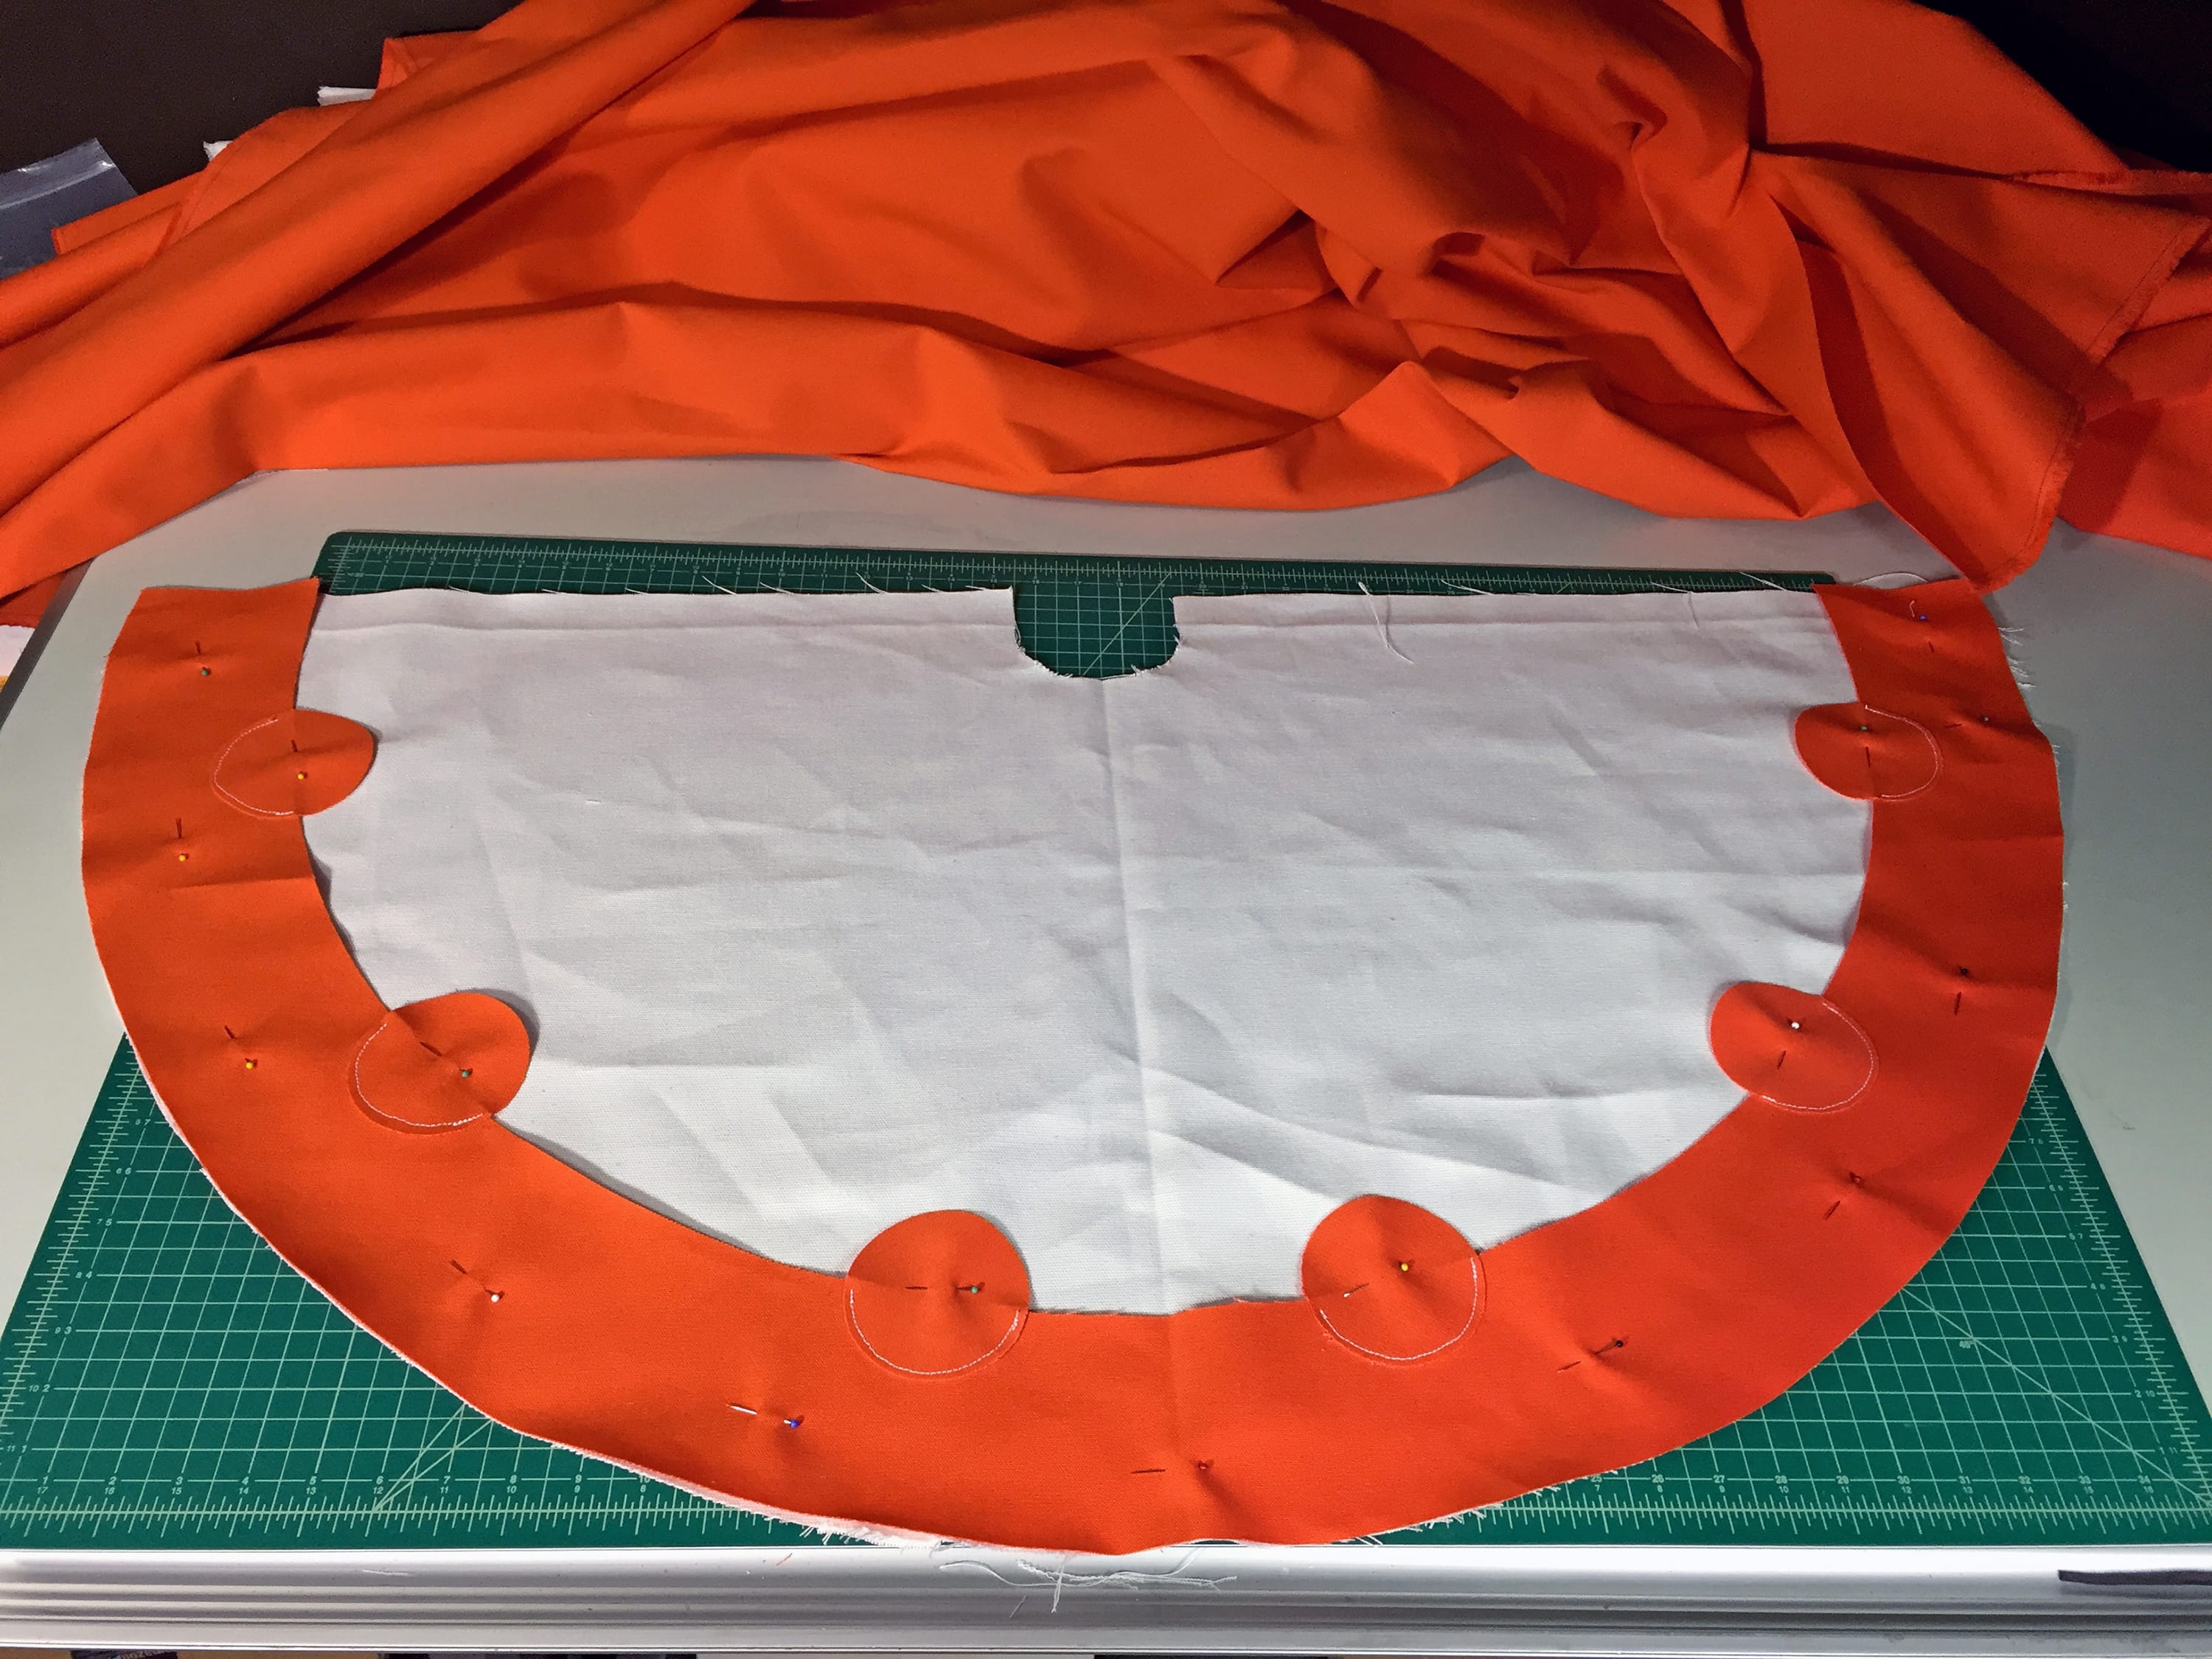
These little sleeves prevented the poles from sliding around on hard surfaces and losing their place.

I added orange fabric to the outside to cover up the stitches from the sleeves.
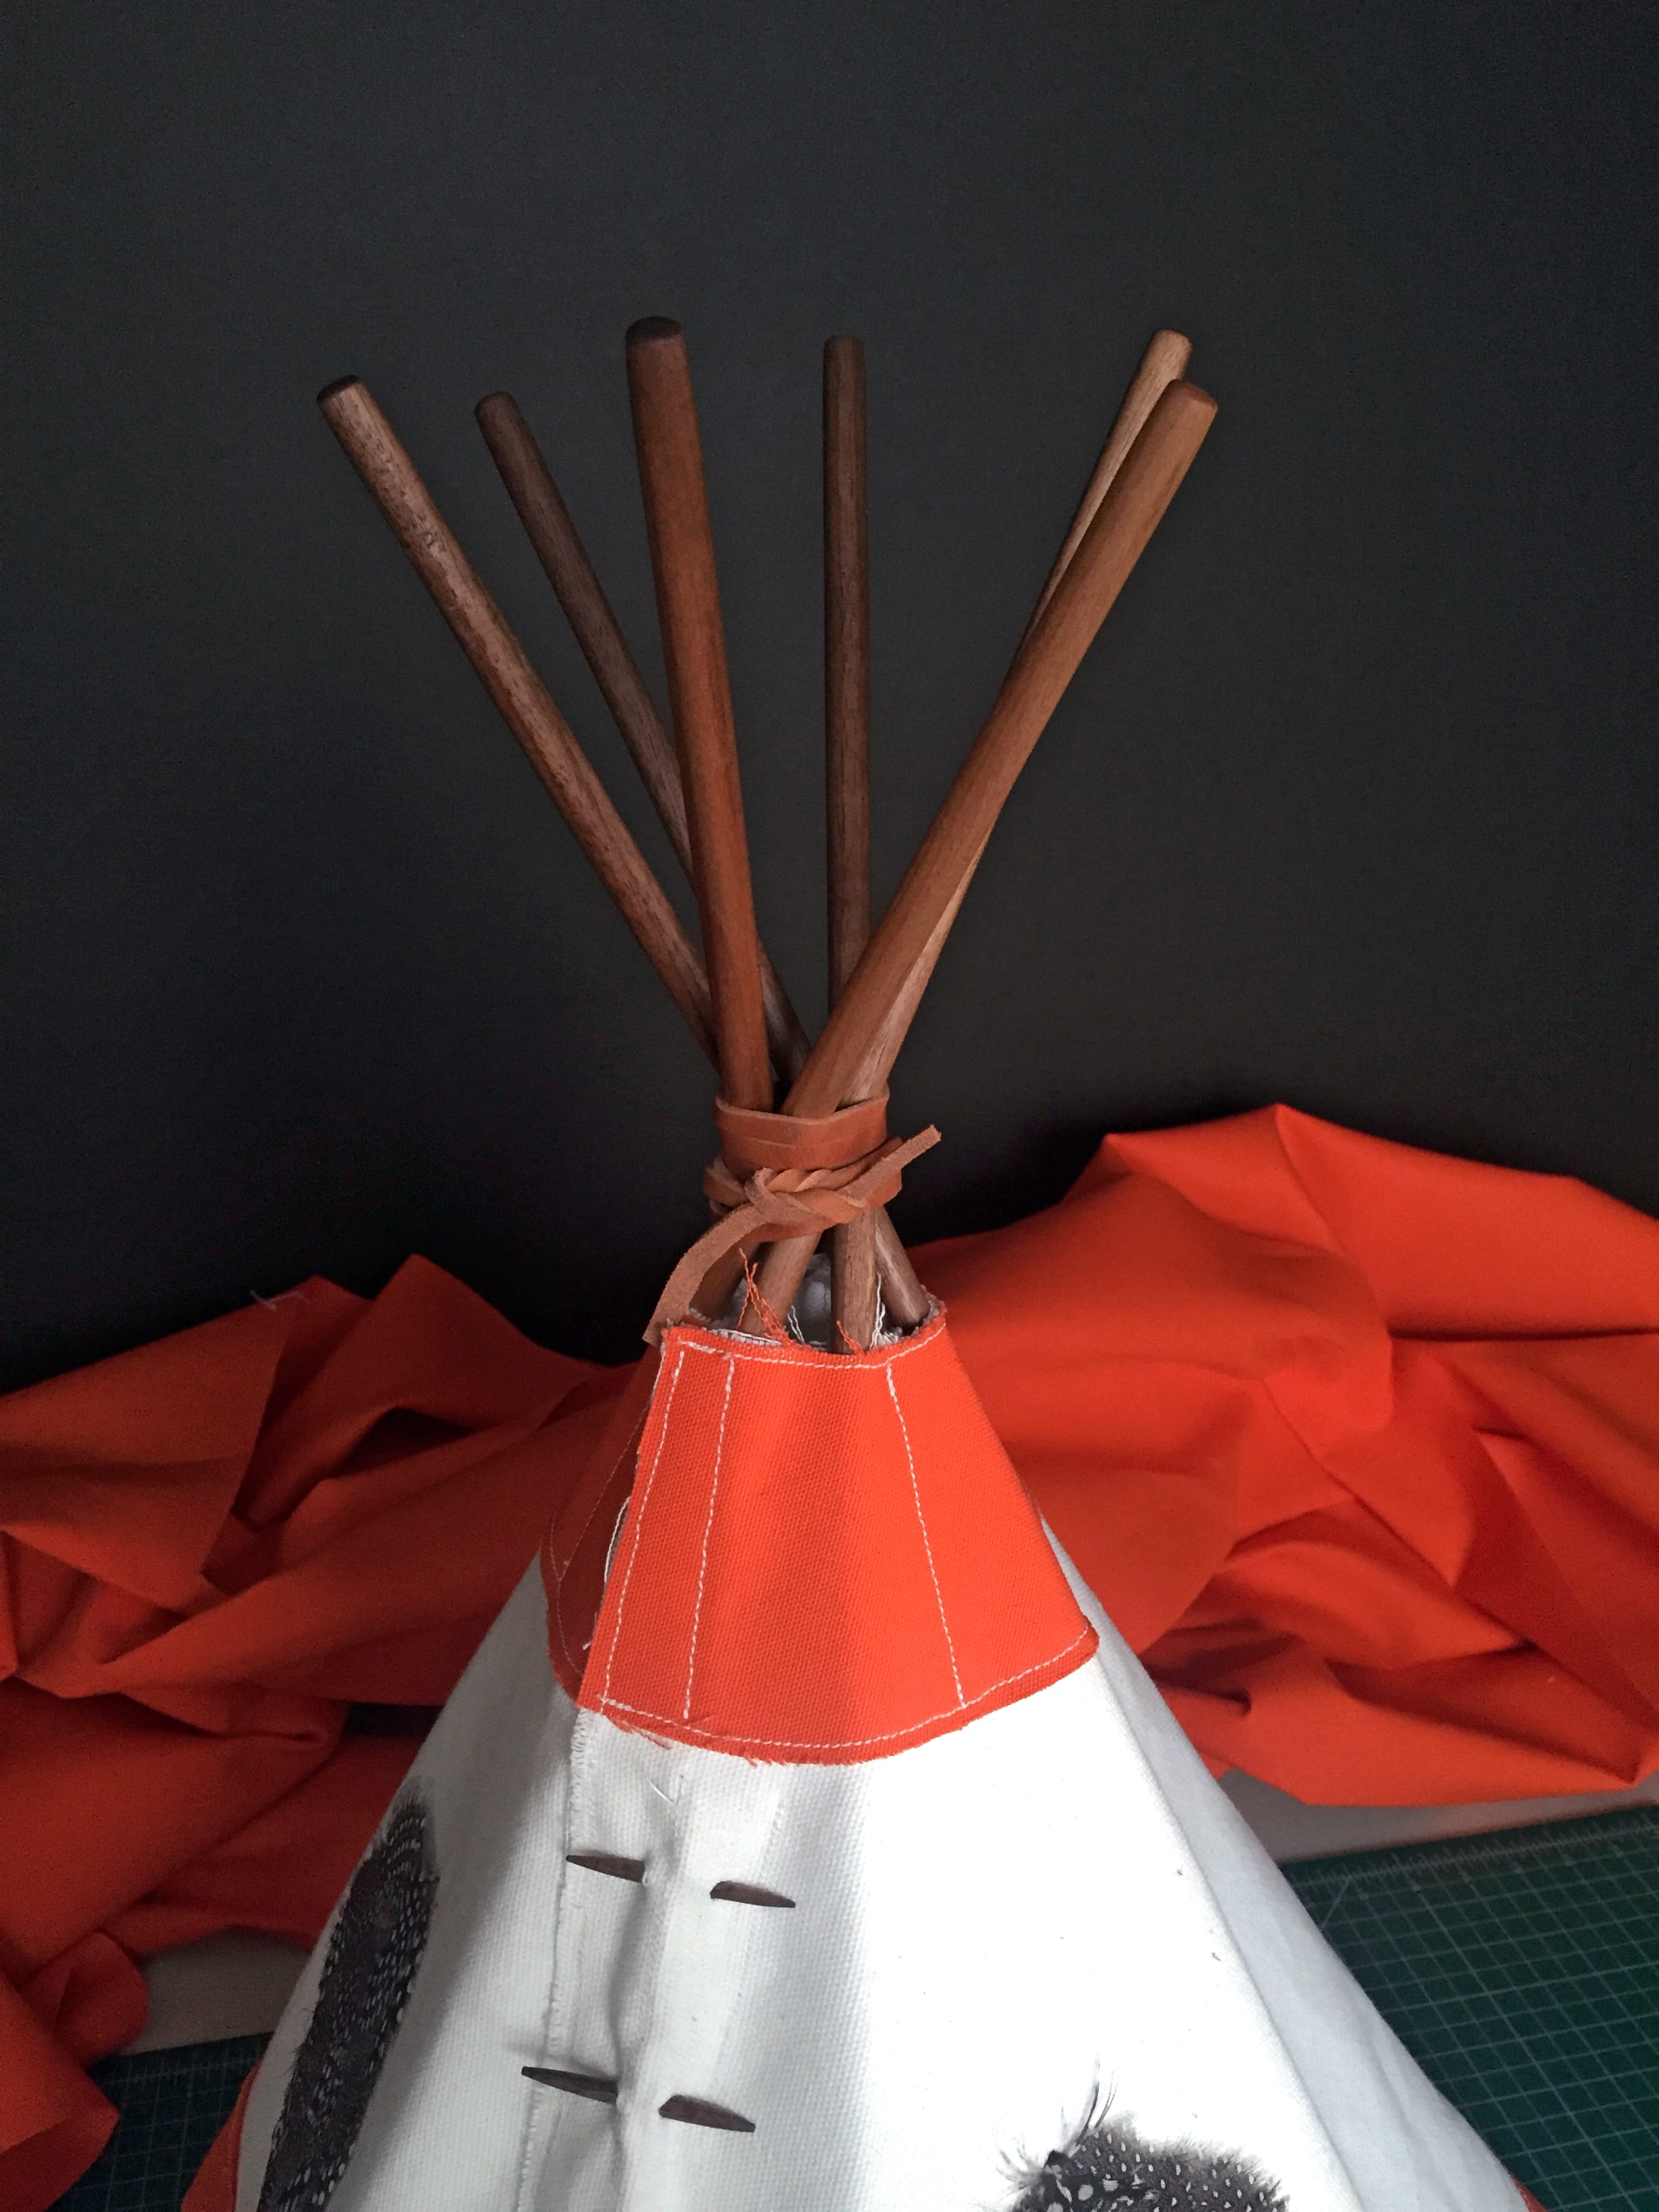
I also sewed in pole sleeves at the top of the tipi, and added in another orange strip to hide those stitches.
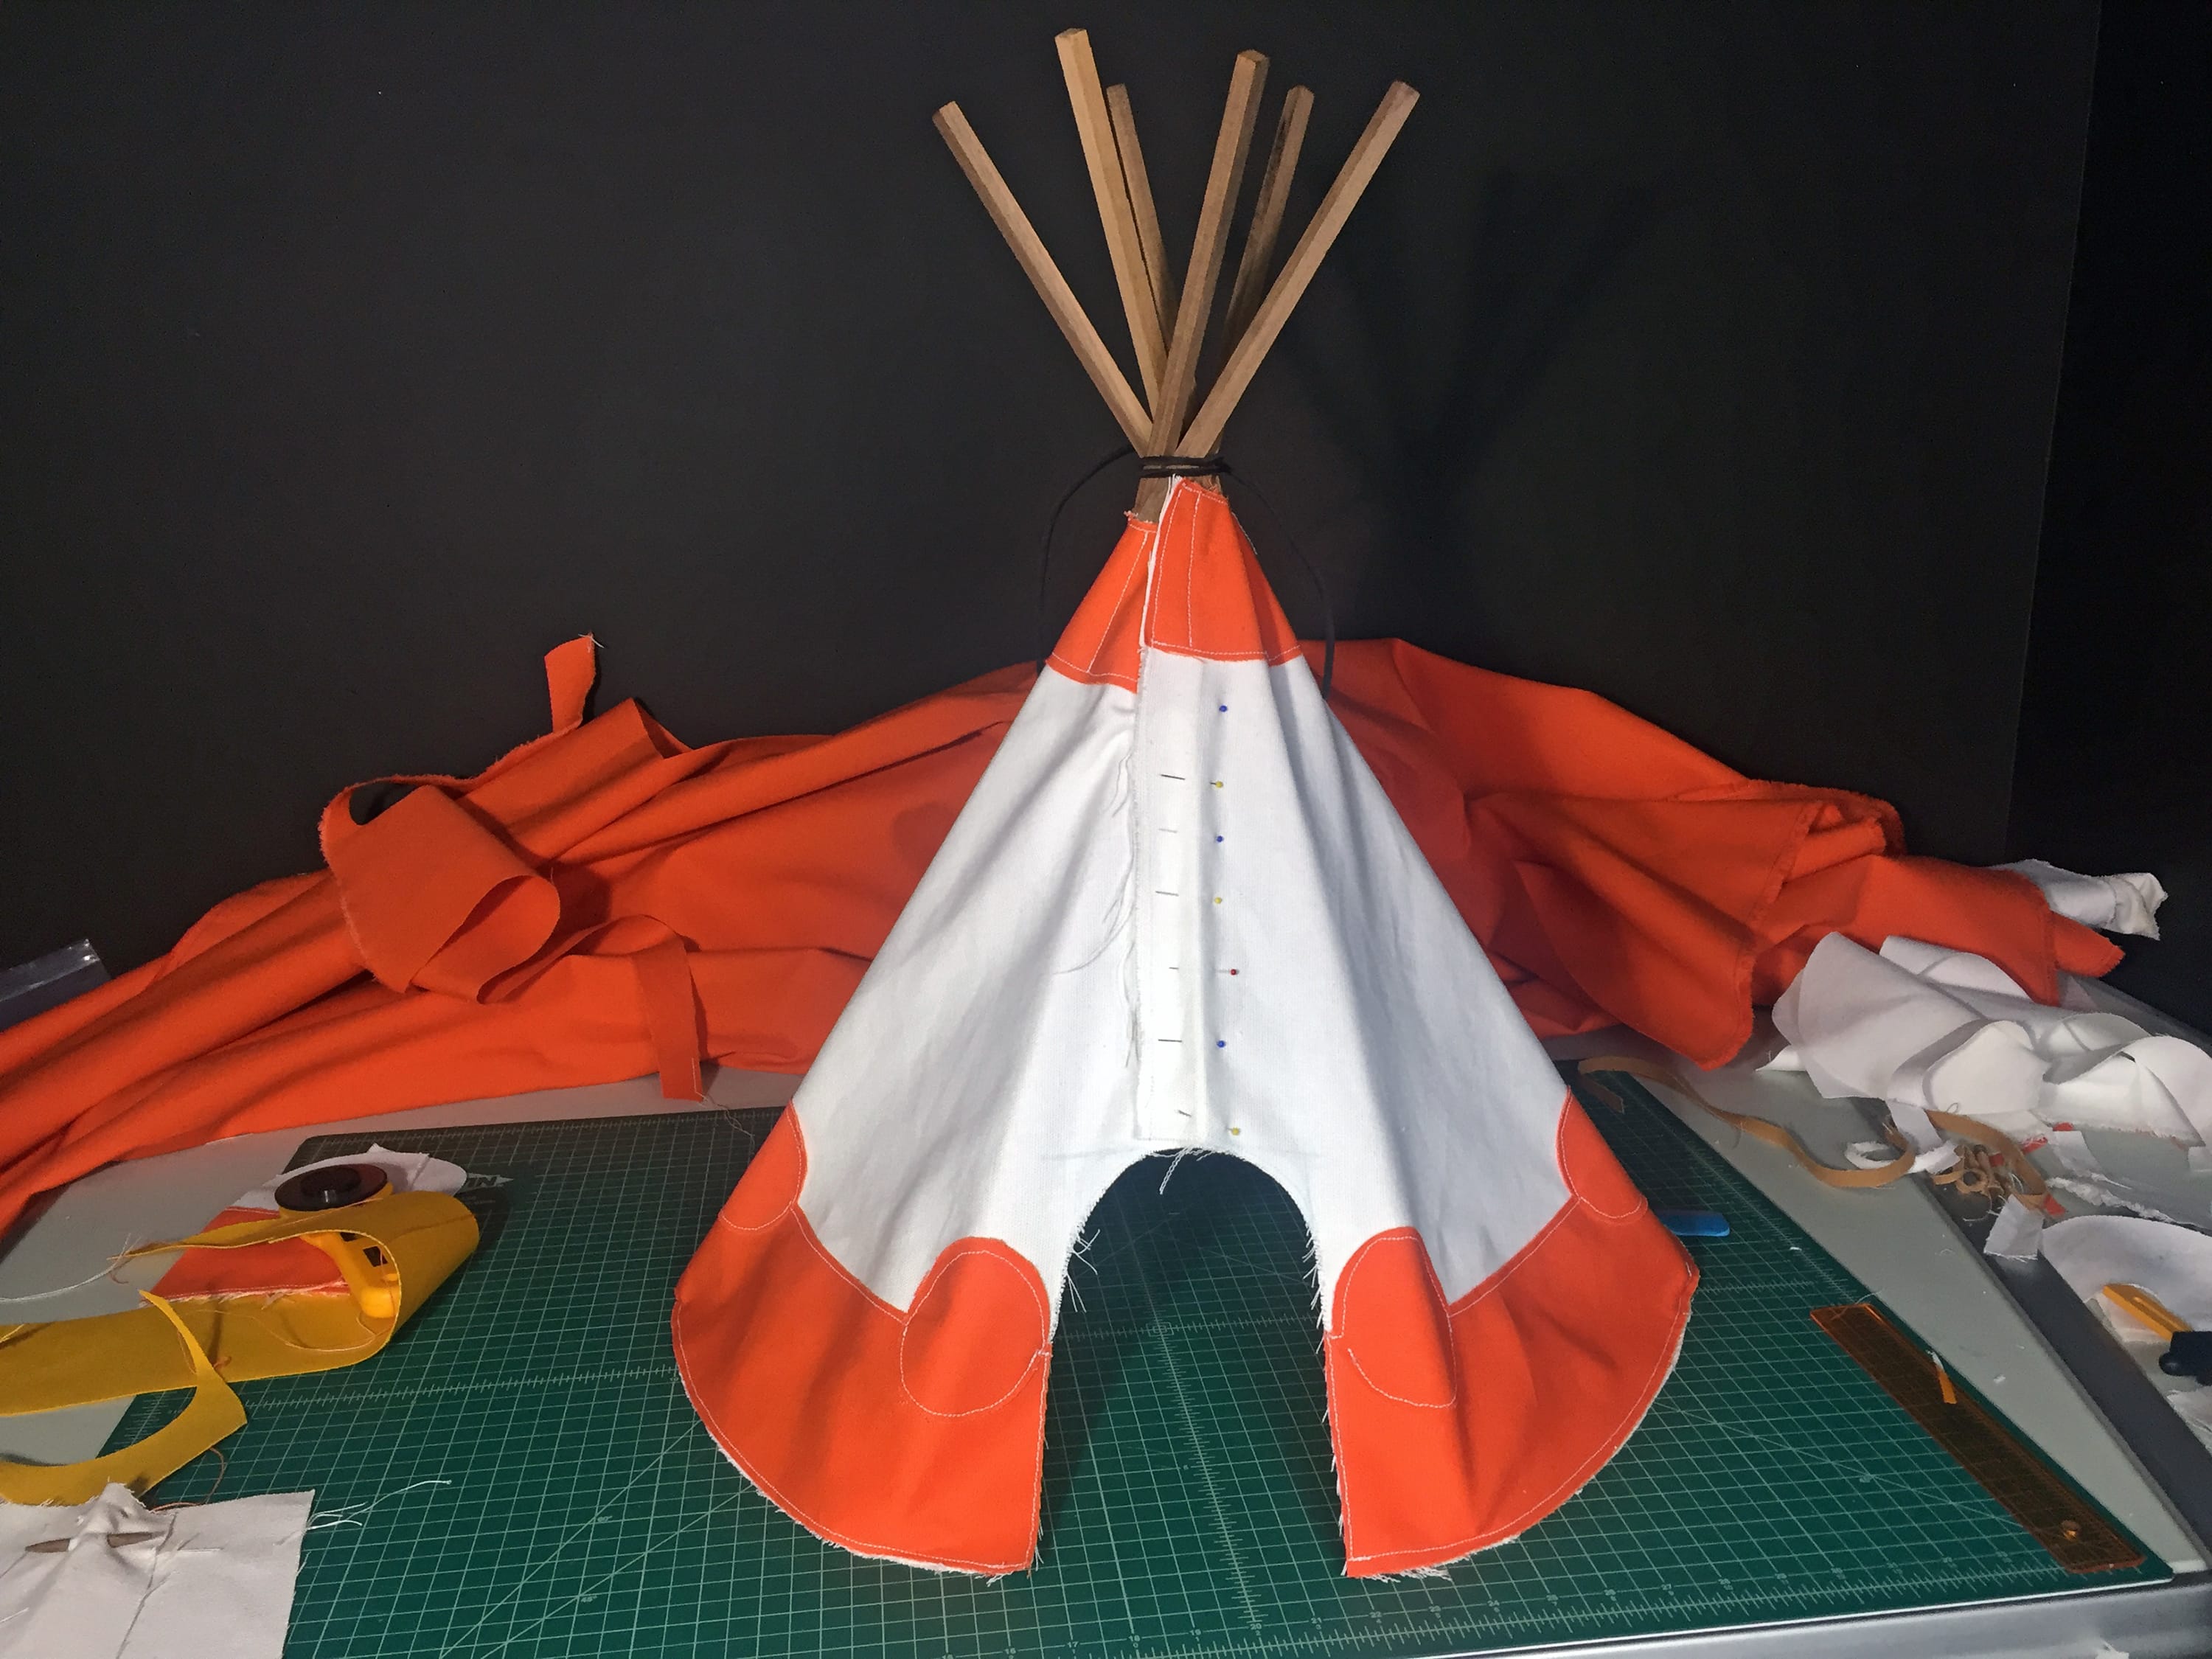
The tipi needed a door, so I outlined the hole in blue chalk before cutting it.

After cutting the door I pinned the fabric together in preparation for sewing it closed. The top looks a little wonky here, but it would get tidier after sewing.
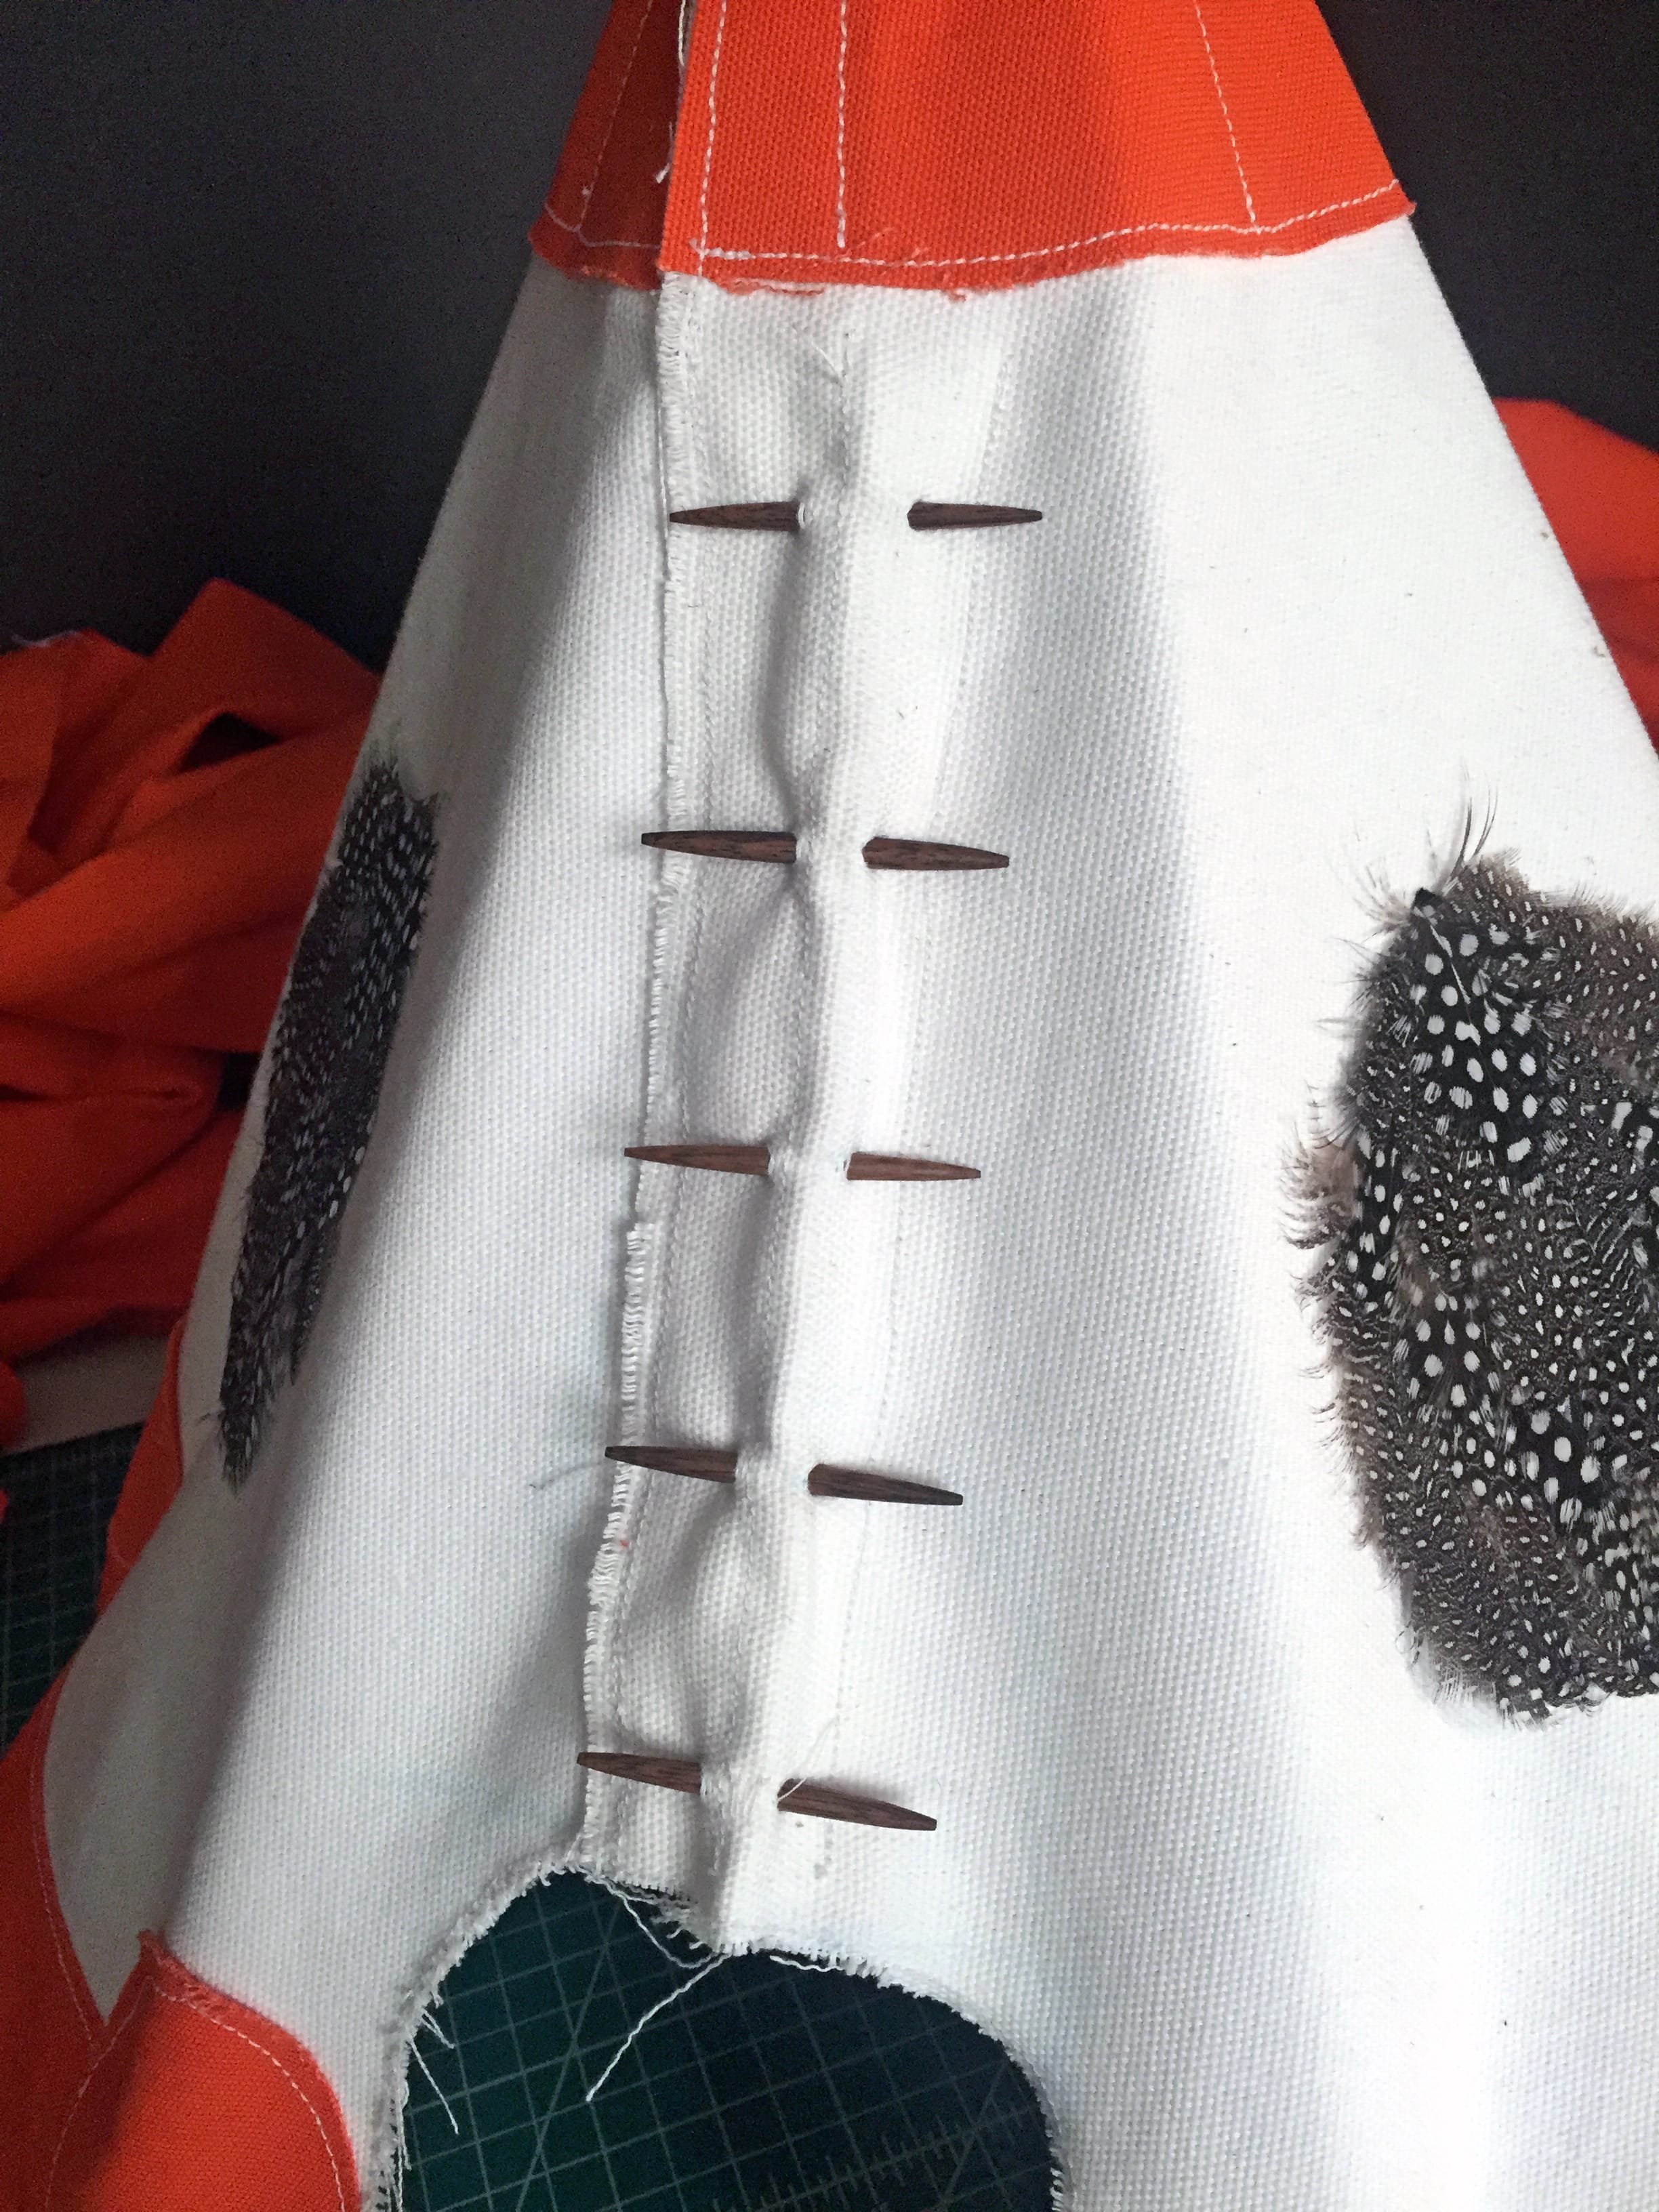
While the front of the tipi would be sewn together, I wanted to give the appearance that it was being held closed by wooden pegs, as seems to be traditional. I cut each peg from a piece of walnut before shaping, sanding, and waxing them.
And here they are in place.
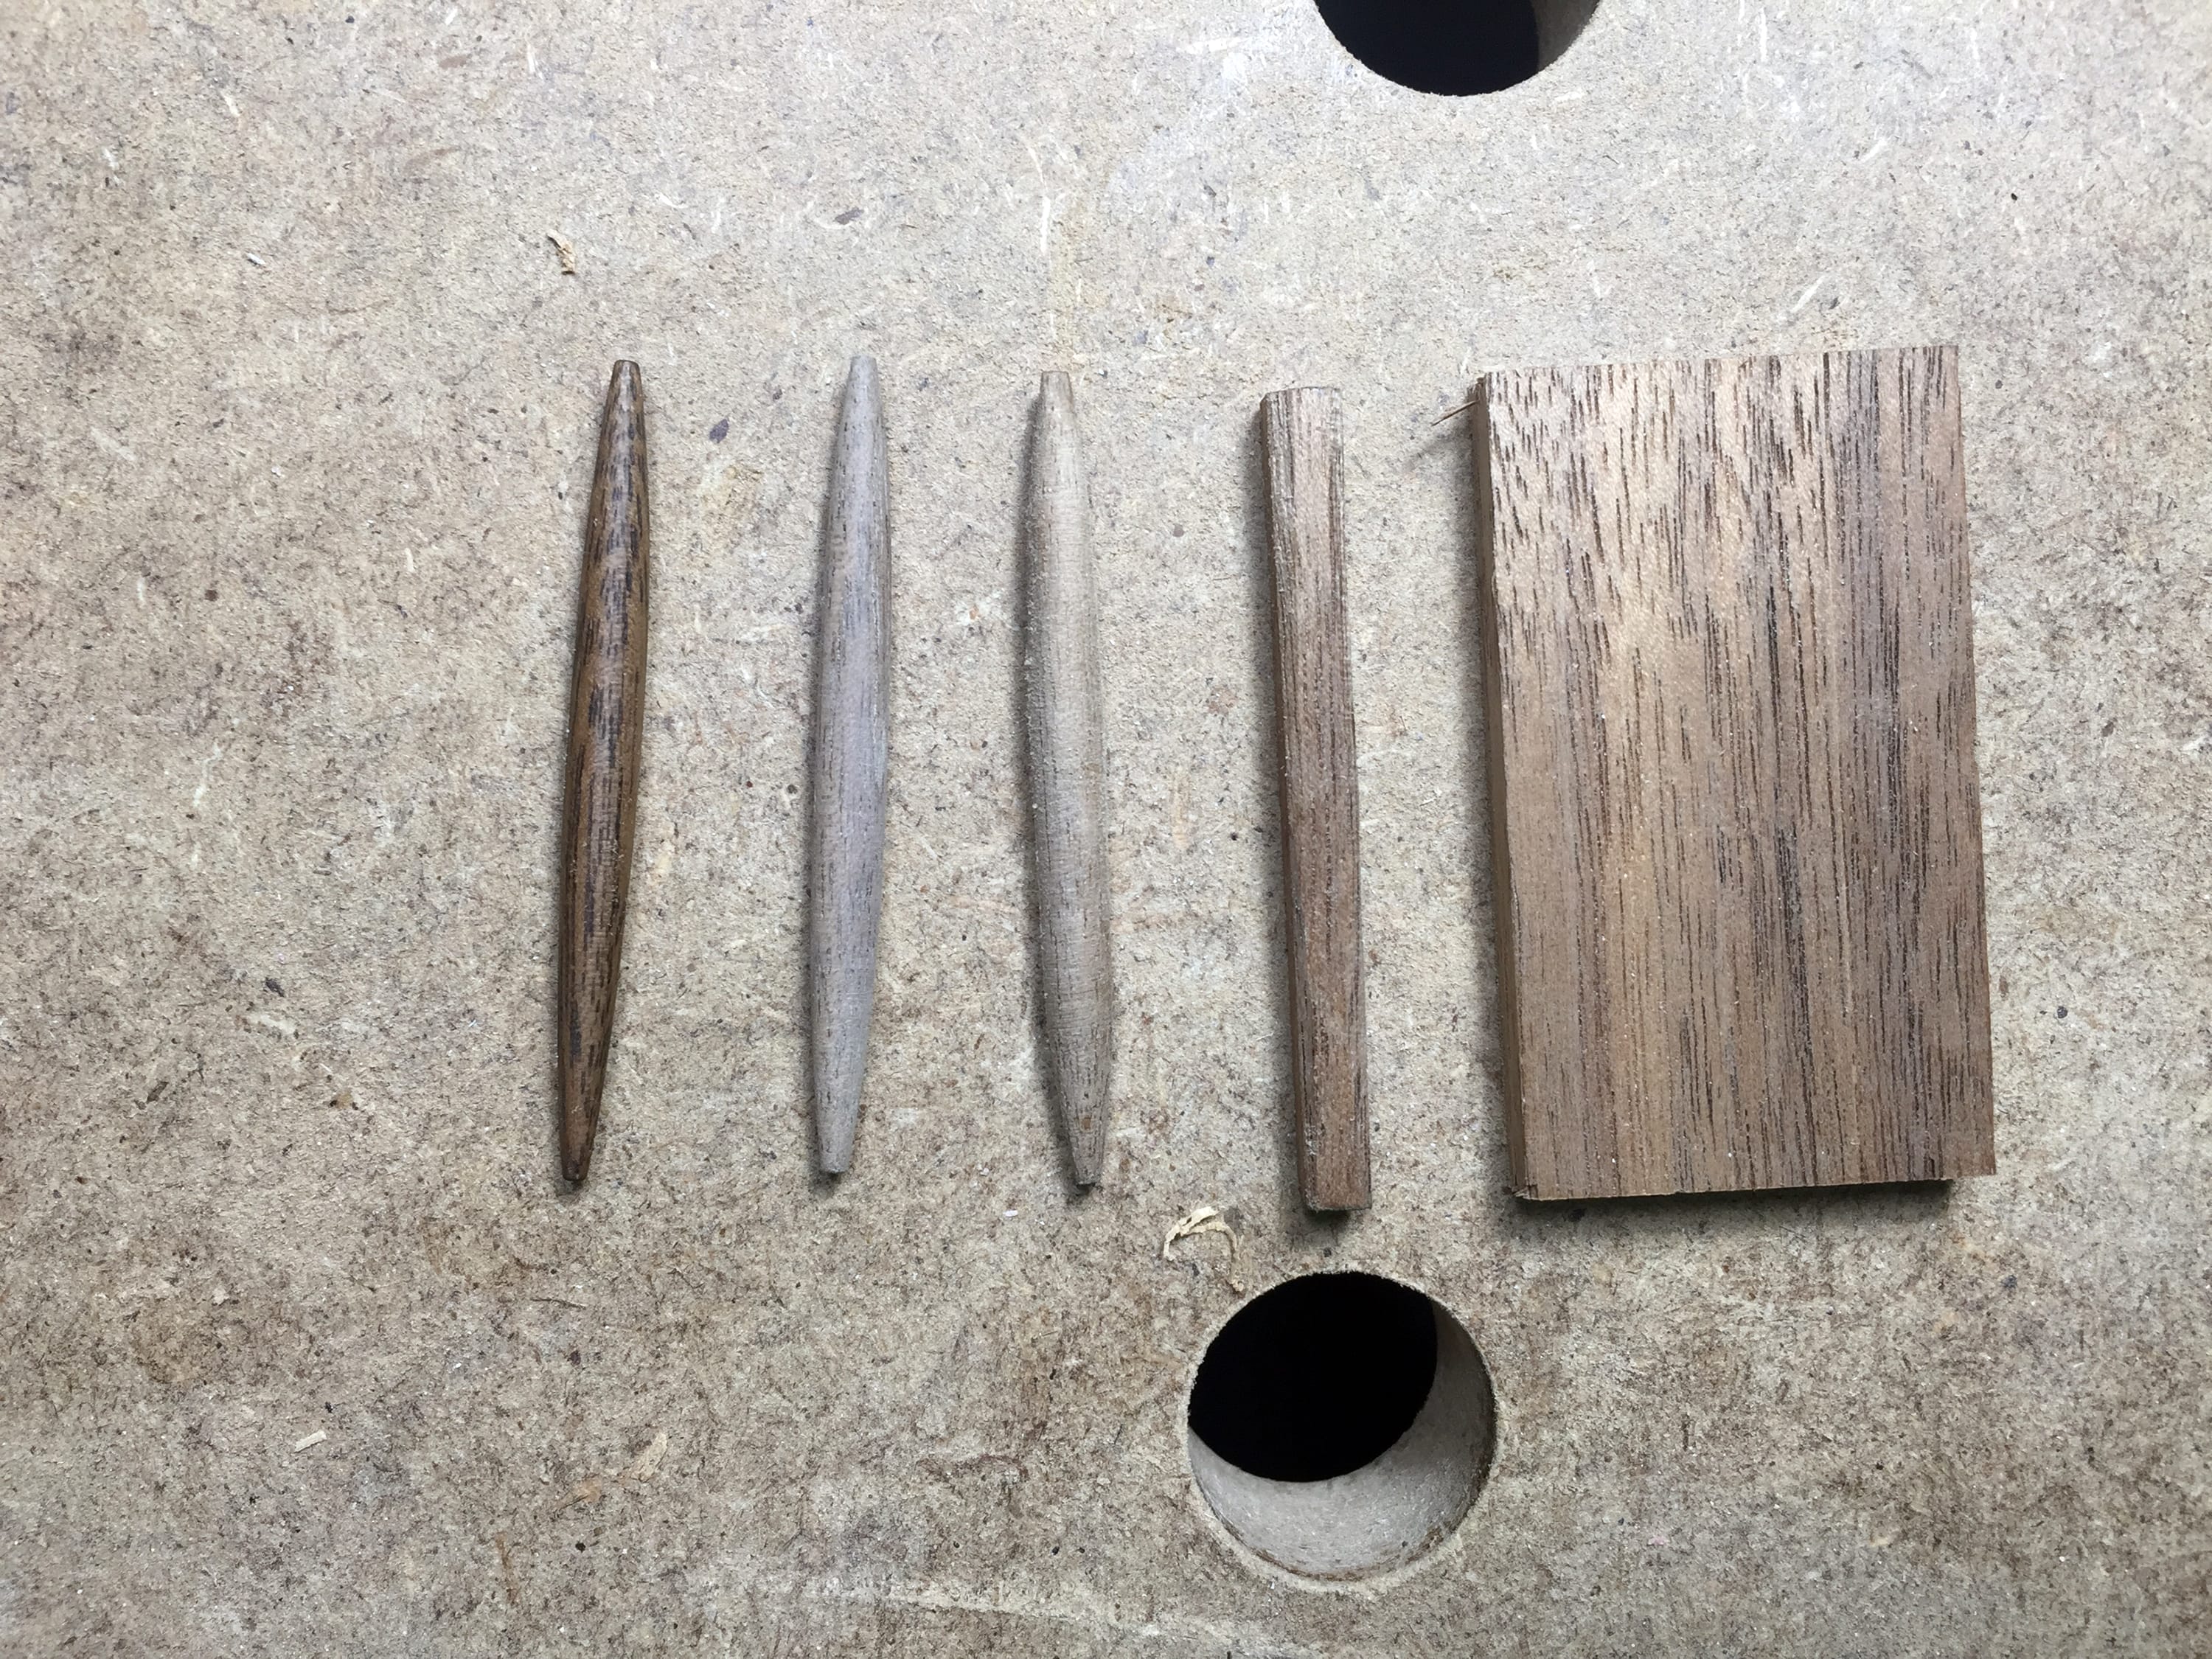
Next I took the poles I’d cut and used a spokeshave to round them off.
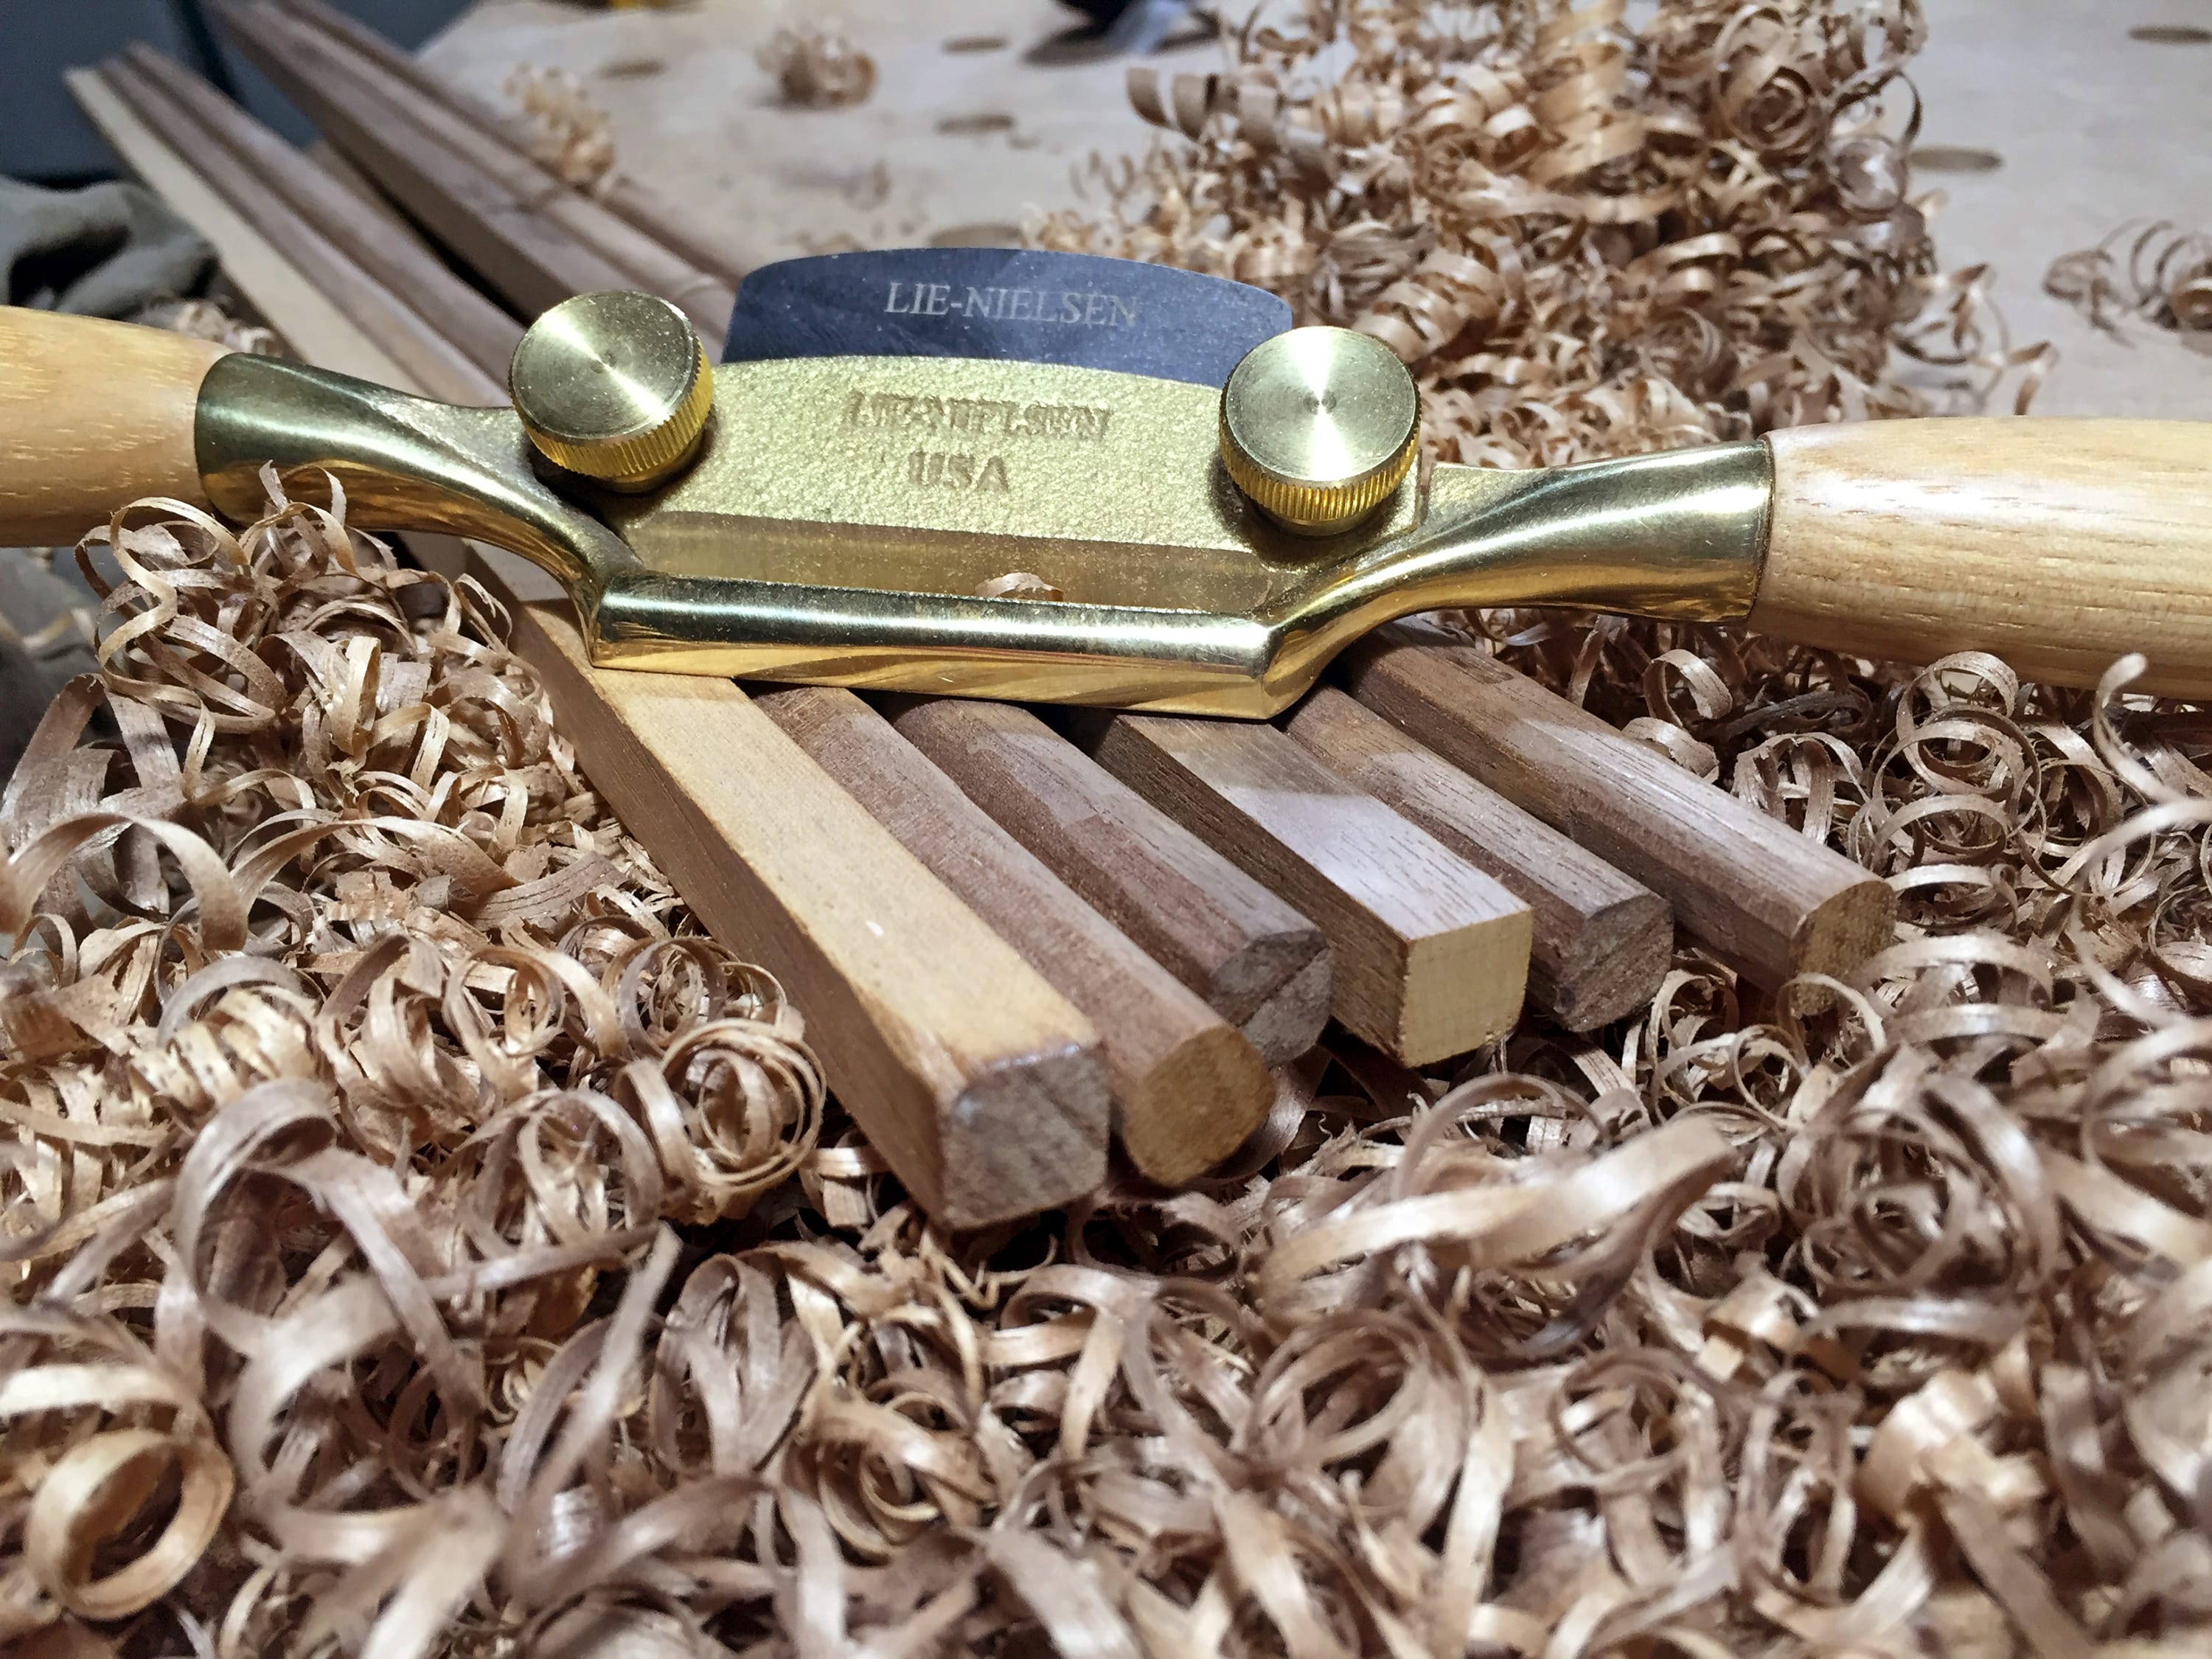
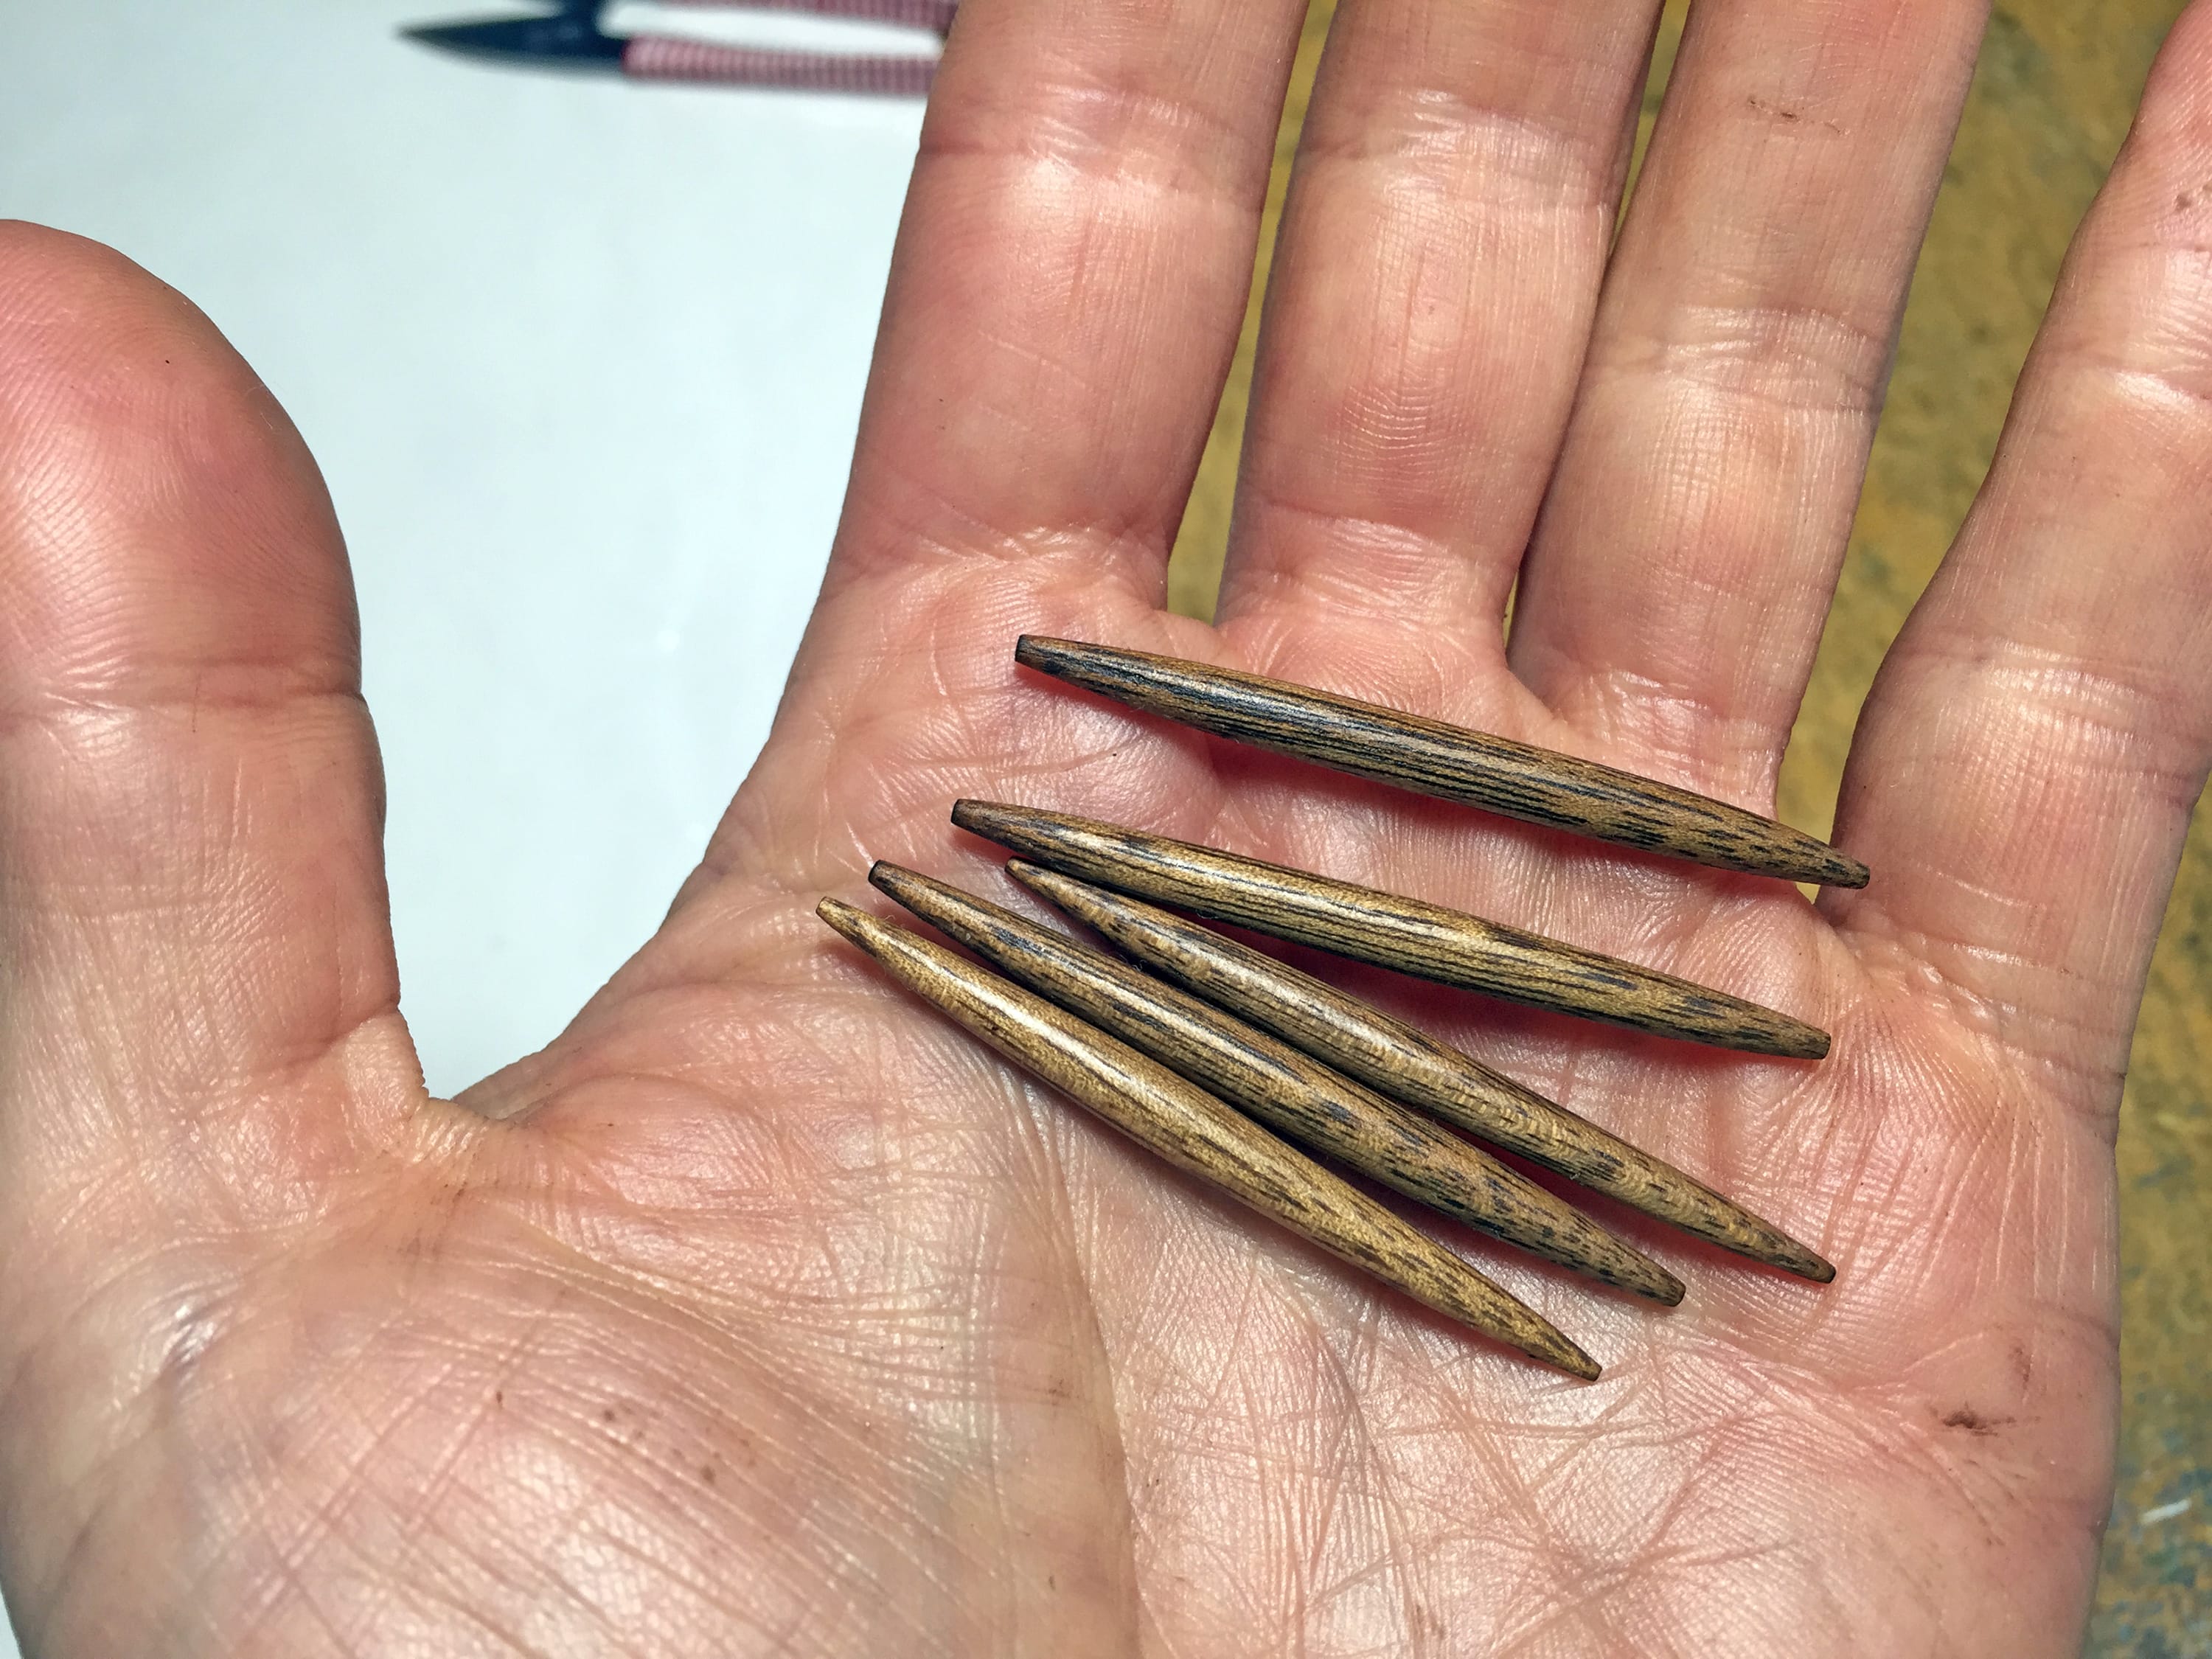
After a bit of sanding the poles were ready for a homemade walnut oil and beeswax finish.
They came out great. I used a strip of leather to tie them all together.
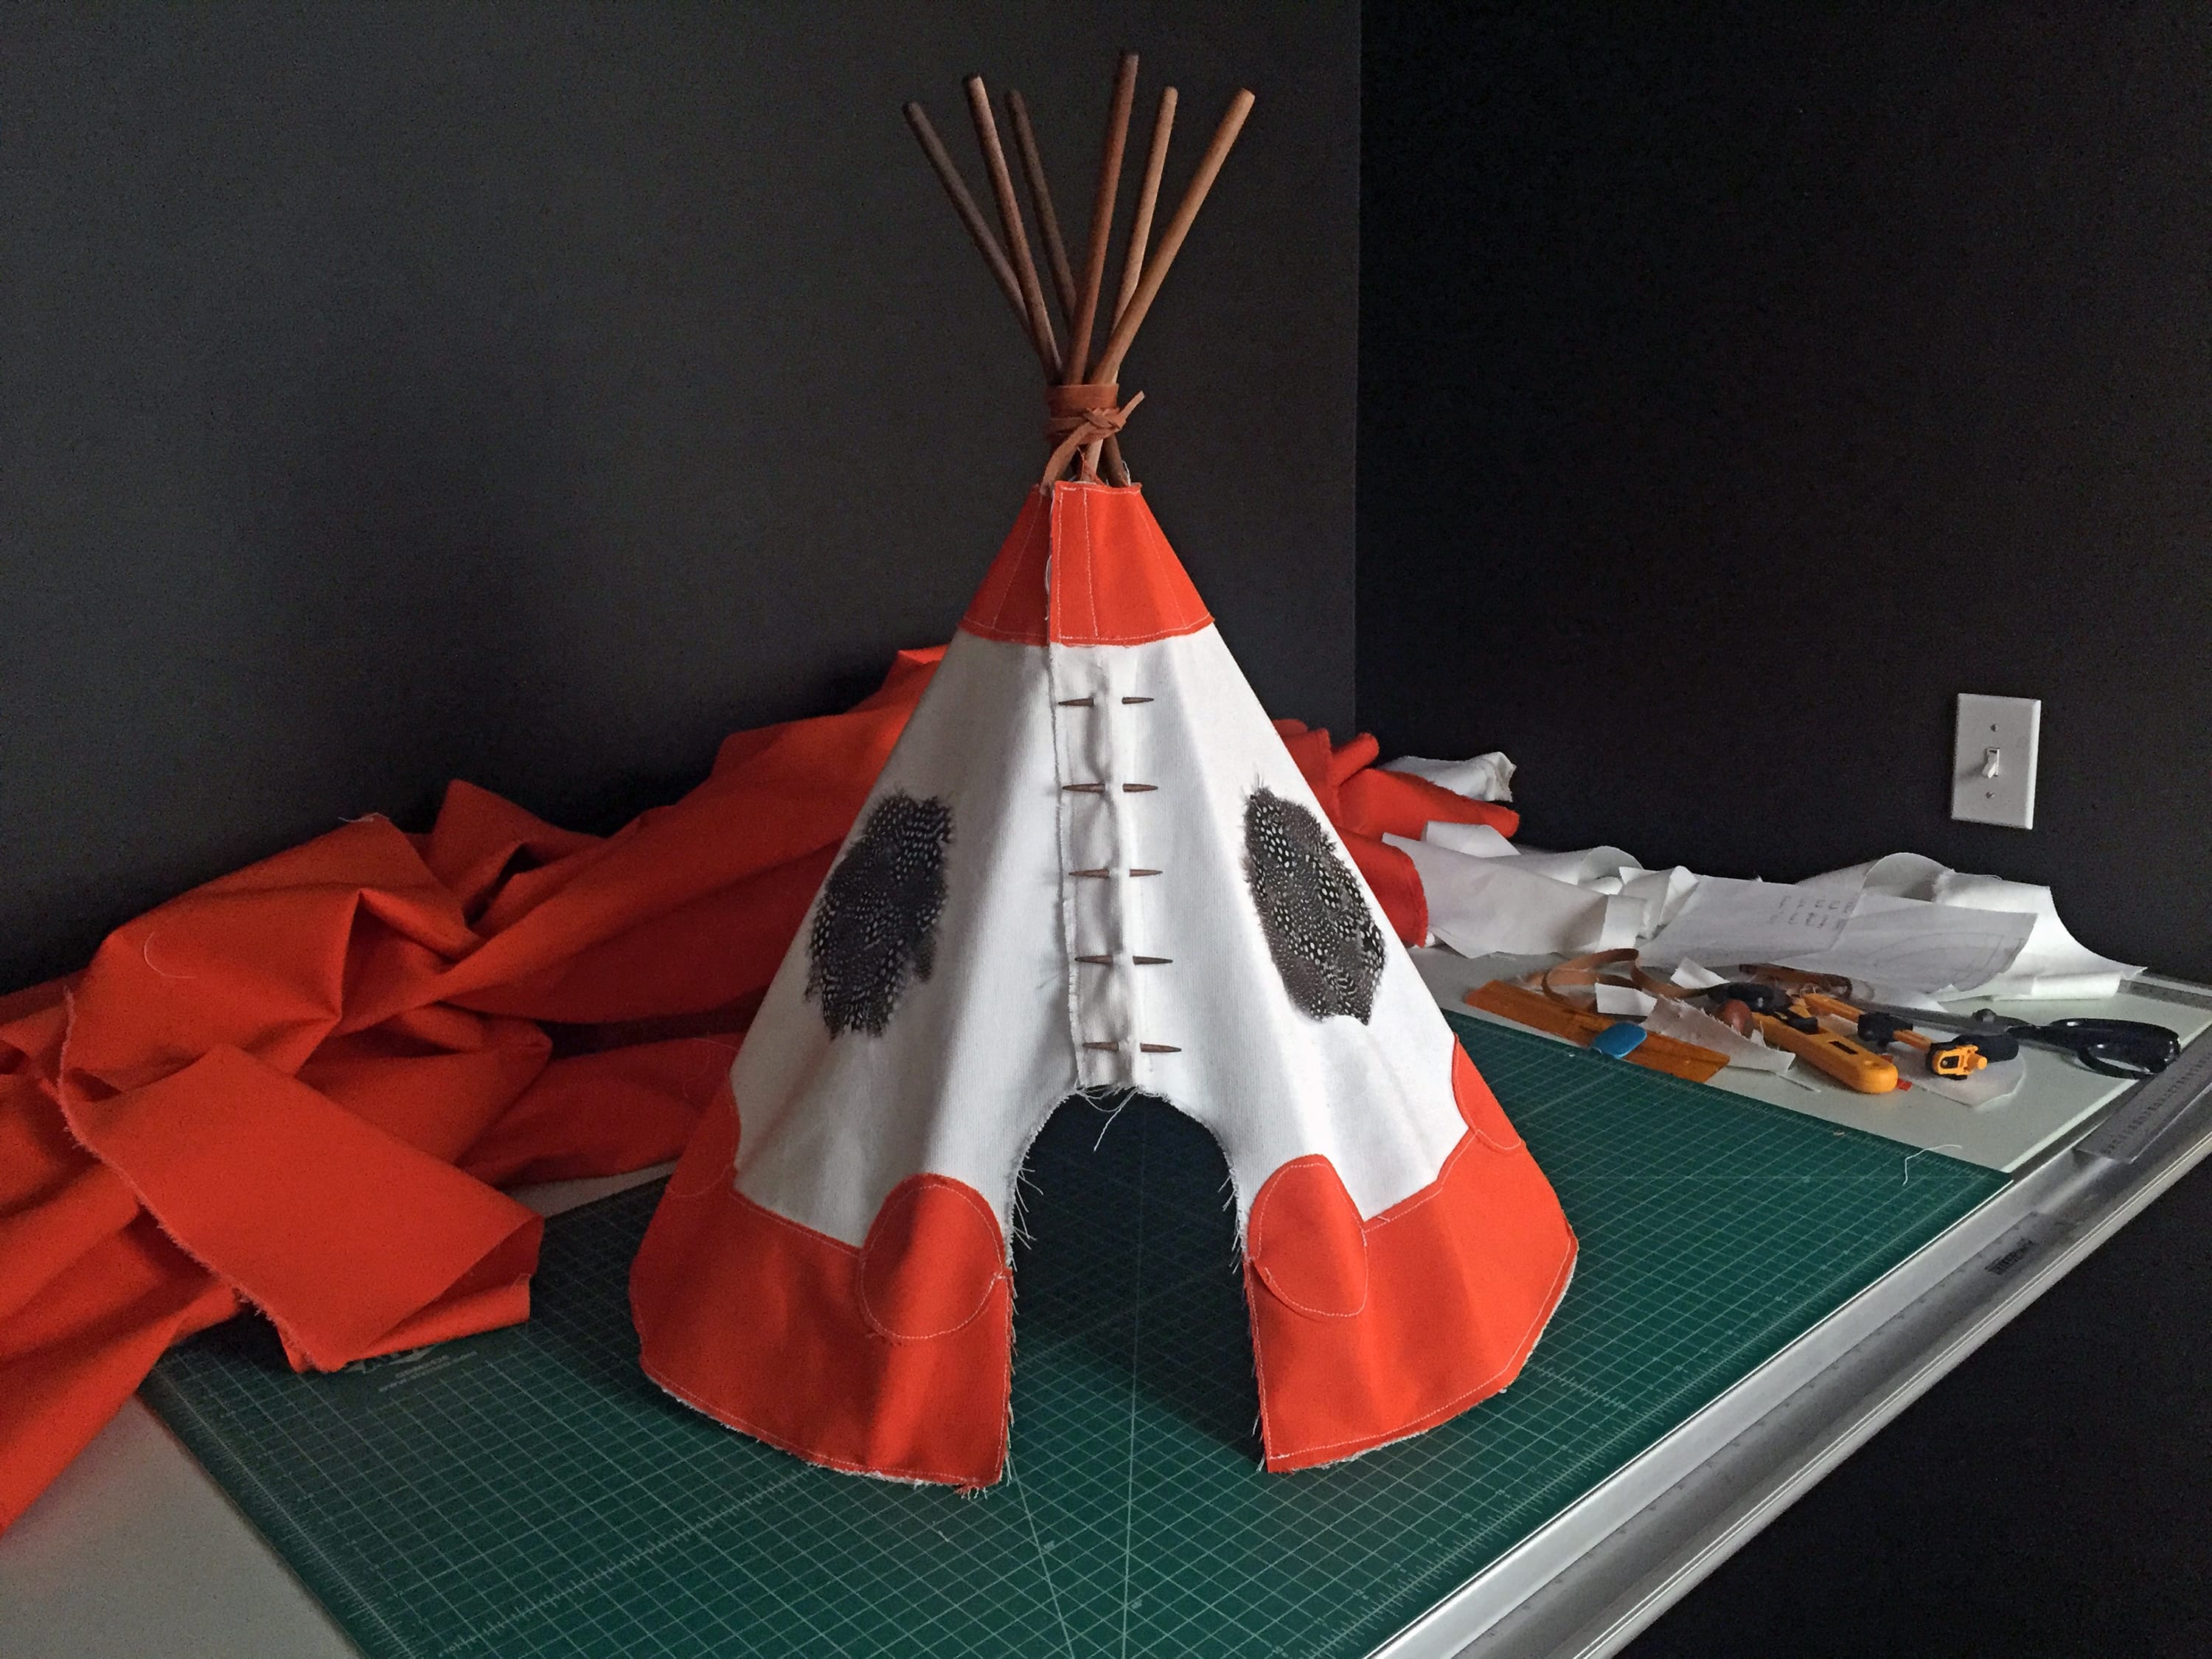
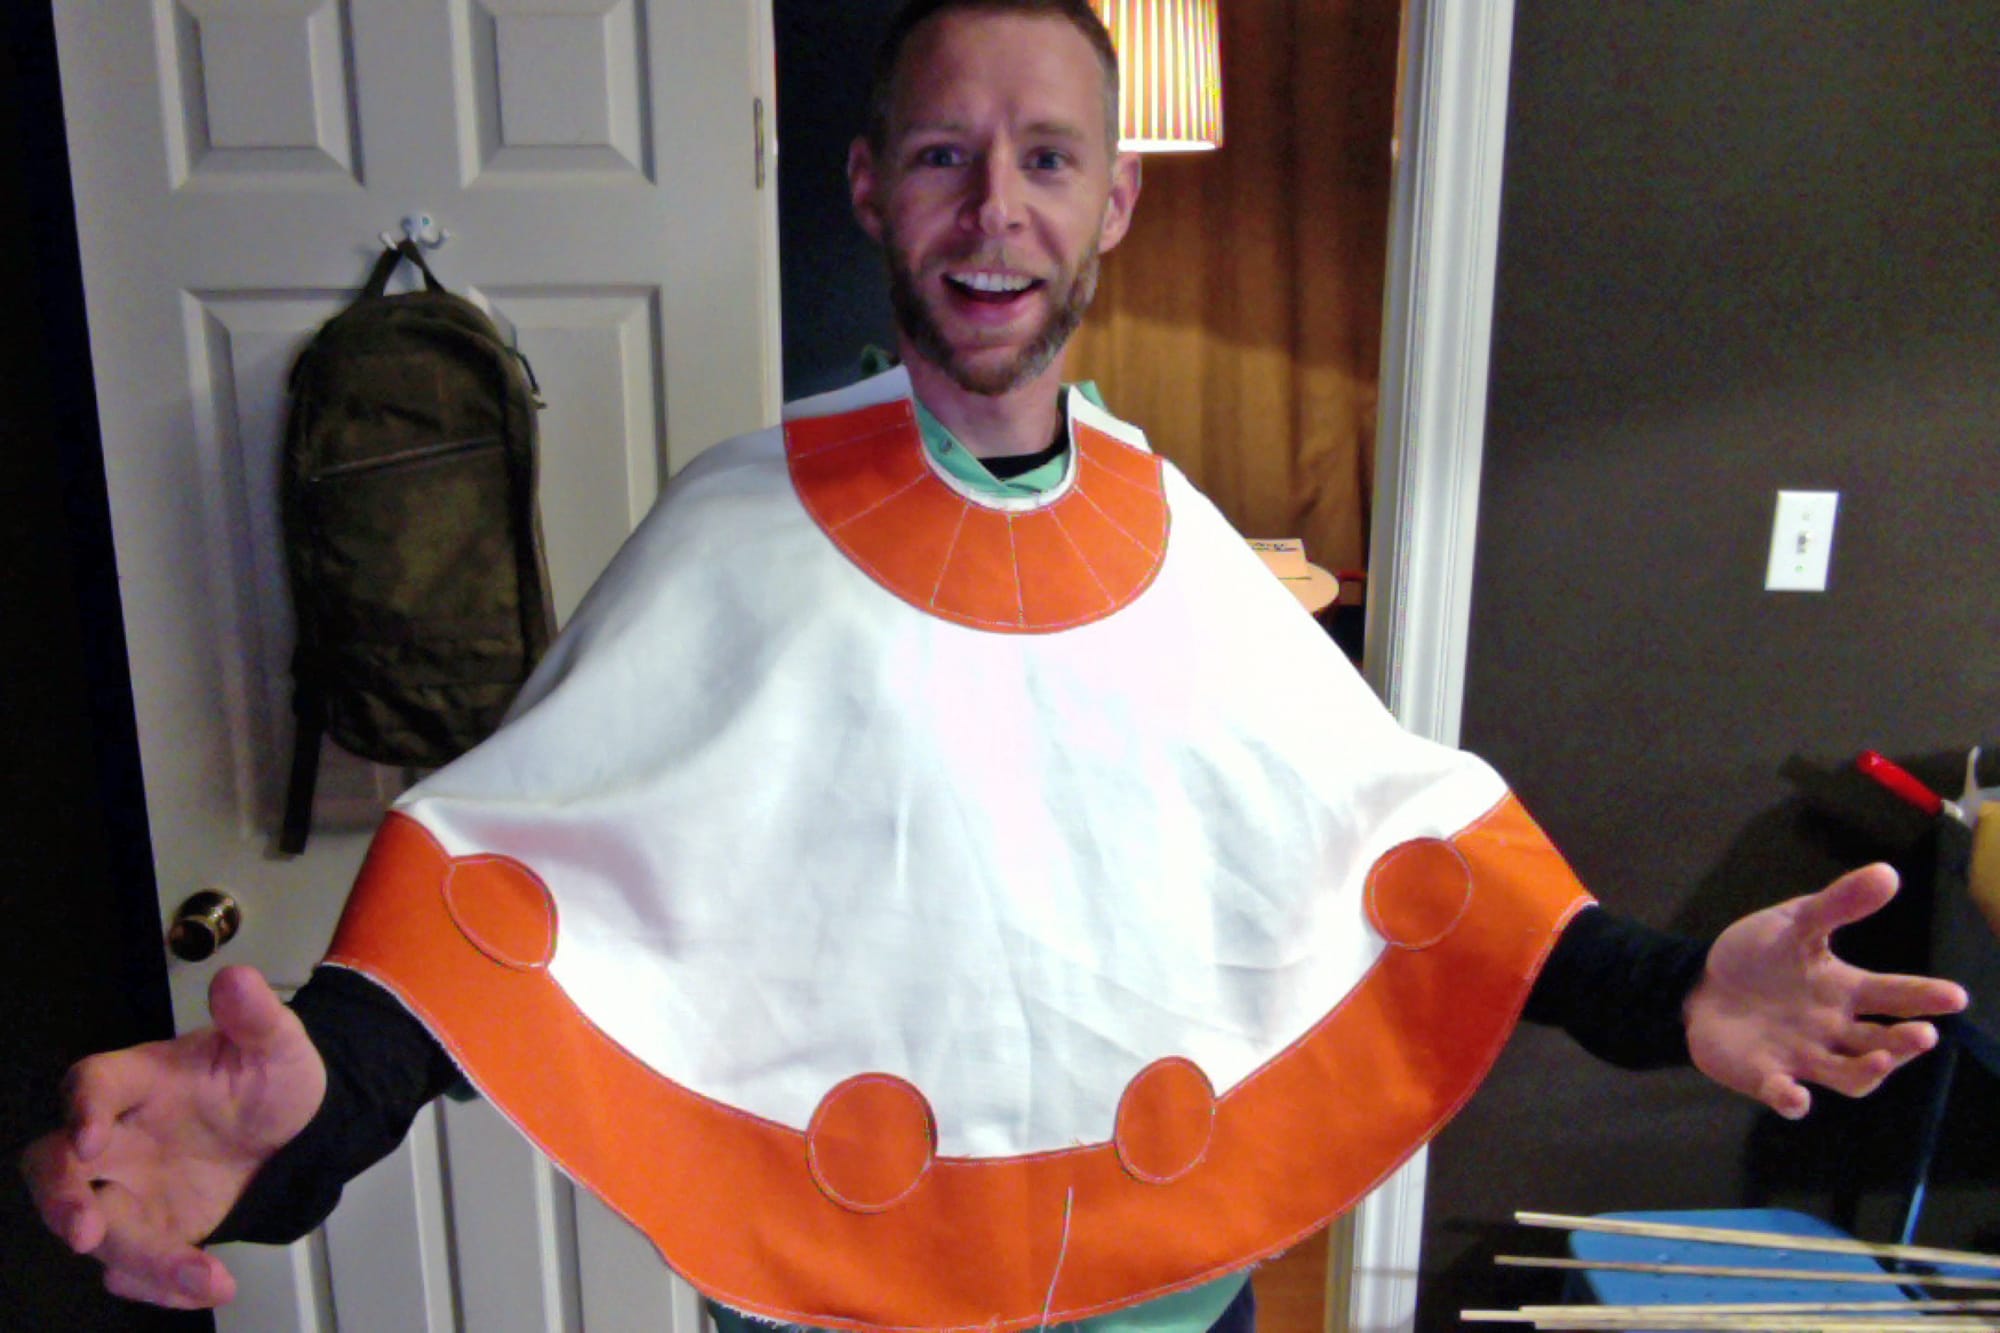
And here’s the finished tipi. The edges were a bit ragged, as was the sewing, but I don’t think the kids cared.